Installing your Spotlight Cam Plus, Plug-In
Download/view the manual (US English, French Canadian and Latin American Spanish).This article outlines the step-by-step process to install your Spotlight Cam Plus Plug-In.
Quick Start
- Download and open theRing app.
- SelectSet Up a Device.
- Scan QR code with theRing app.
Hardware included:
- Security screw for metal collar
- Mounting screws
- Wall anchors
- Cable clips
- Cable clip screws
Tools needed:
- Phillips-head screwdriver
- Drill (optional)
Note: Remove protective film from device. This ensures your device works properly.
Choose a location close to an outlet.
Make sure your camera is positioned close enough to an outlet for the length of the included power cable. Your camera can be mounted on an outdoor wall, eave, or overhang. As a reminder when installing, please do not remove the rubber seal from the base as this could cause potential water damage.
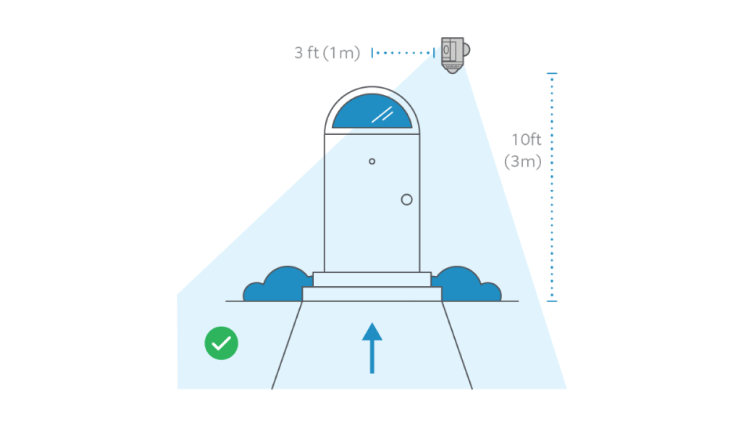
For optimal motion detection:
Mount the camera about 3 feet (1 meter) from the middle of the entry point, and about 10 feet (3 meters) above the ground.
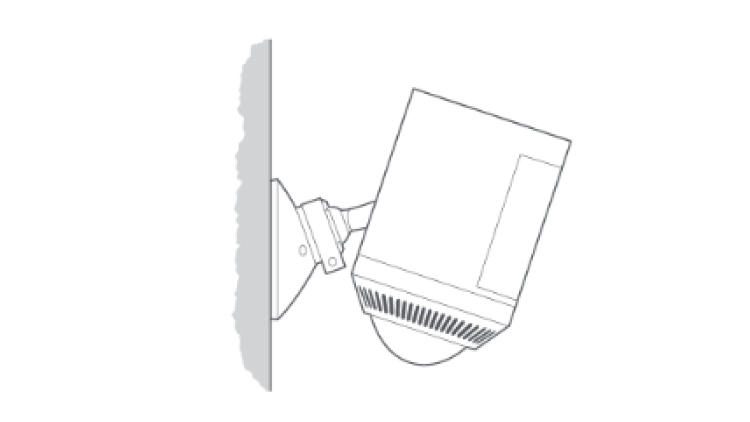
If installing on a wall...
Your camera comes ready to mount, with the ball joint pointing down. No adjustments are needed before installation.
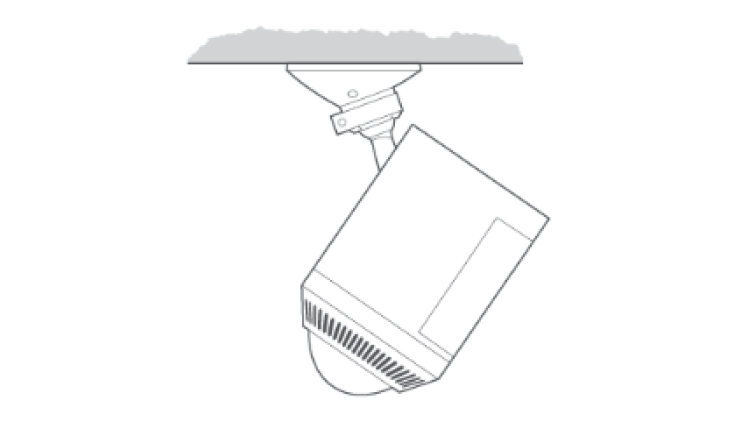
If installing on an eave or overhang...
Remove the battery compartment cover by twisting it counterclockwise and insert the ball joint plate with the ball joint pointing up.
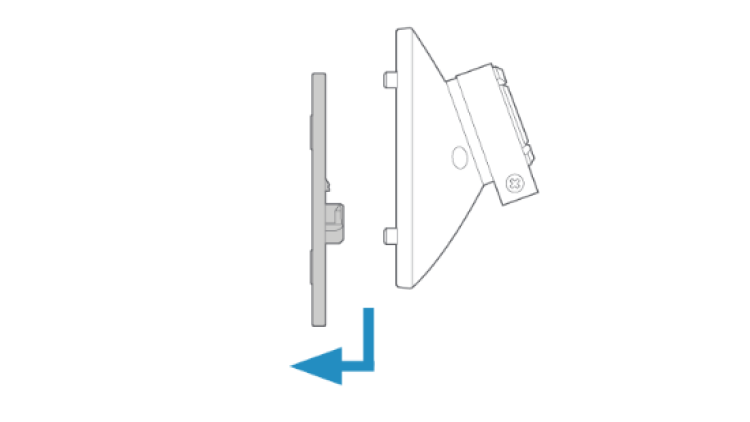
Remove the mounting plate.
Slide it down to remove it from the camera mount.
Install the mounting plate.
For wall installation, the UP arrow should point up.
- For an eave or overhang, the arrow should point toward the area you want to monitor for motion.
- If installing on a wood surface, screw the plate directly into the wall.
- If installing on a masonry surface, mark four screw holes using the plate as a guide. Drill pilot holes using a 1/4” drill bit. Insert the included wall anchors, then drive the four mounting screws through the mounting plate into the wall anchors.
WARNING! Only use the included mounting screws when securing the mounting plate.
CAUTION! DO NOT drill into your home’s electrical wiring.

Attach the camera mount.
Slide it onto the mounting plate.

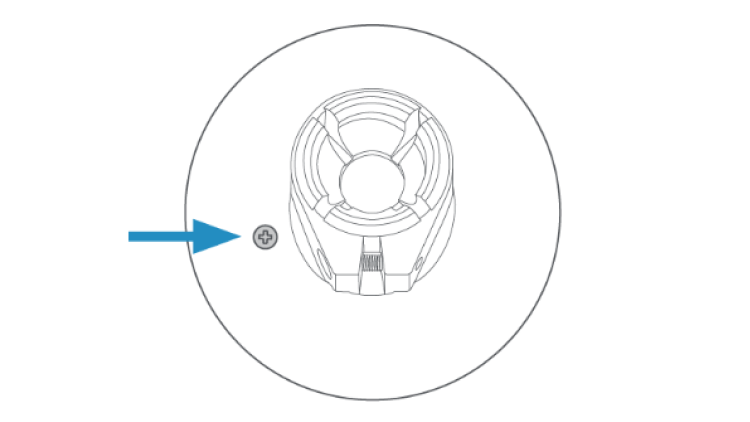
Then, tighten the security screw.
Plug the power adapter into your camera.
Insert the USB-C end of the power adapter into the back of your camera.
Attach your camera to the camera mount.
Loosen the metal collar on the camera mount using a Phillips-head screwdriver (not included). Push the ball joint into the socket until it snaps into place.

Turn on your camera.
Plug the power adapter into a power outlet.
Adjust the camera angle.
Rotate the camera to focus on the area of your choice. Look at Live View in the Ring app to make sure it’s positioned at your desired angle.
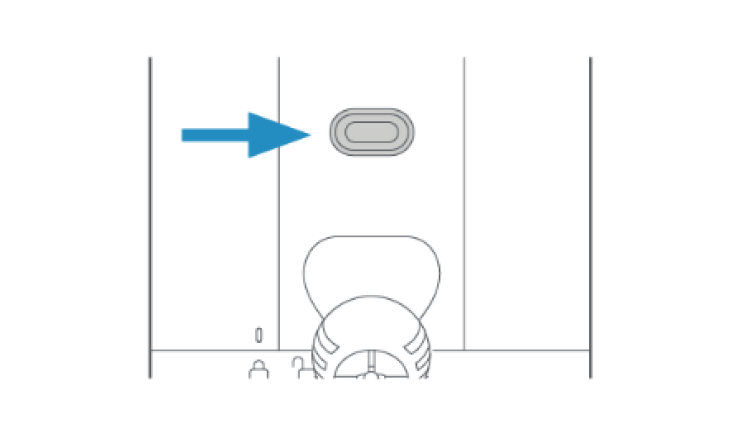
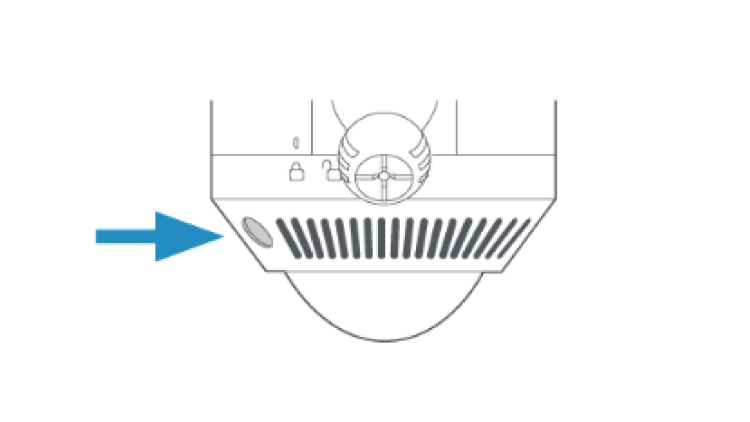
Tighten the security screws.
Tighten the security screw on the metal collar to secure the camera position. Then, tighten the security screw on the bottom of your camera to secure the battery compartment.
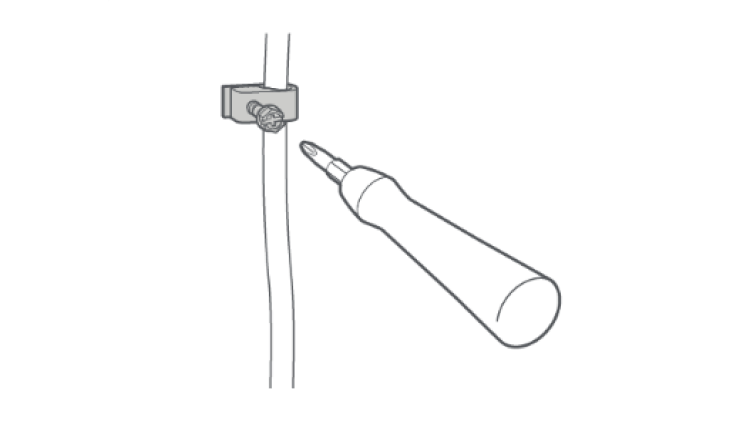
Secure the power cable.
Use the provided cable clips to secure the cable on your wall. Use a 1/4” drill bit to pre-drill holes in the wall and insert the provided anchors first if installing on a masonry surface, like stucco or brick.
The power cable can be painted to match your wall.
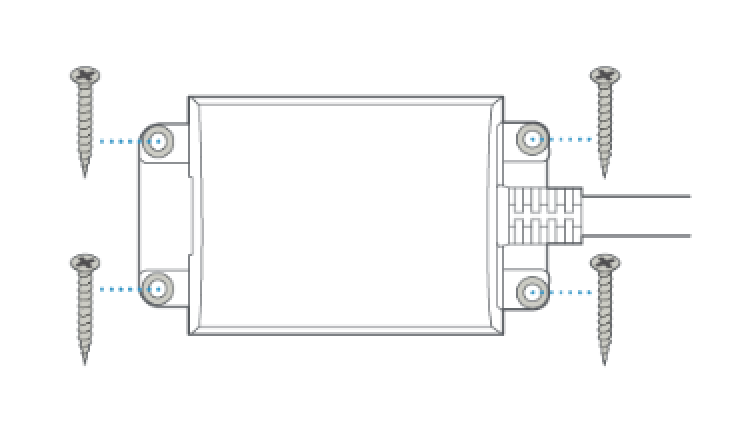
Secure the adapter.
Secure the power adapter to the wall with the included mounting screws.