
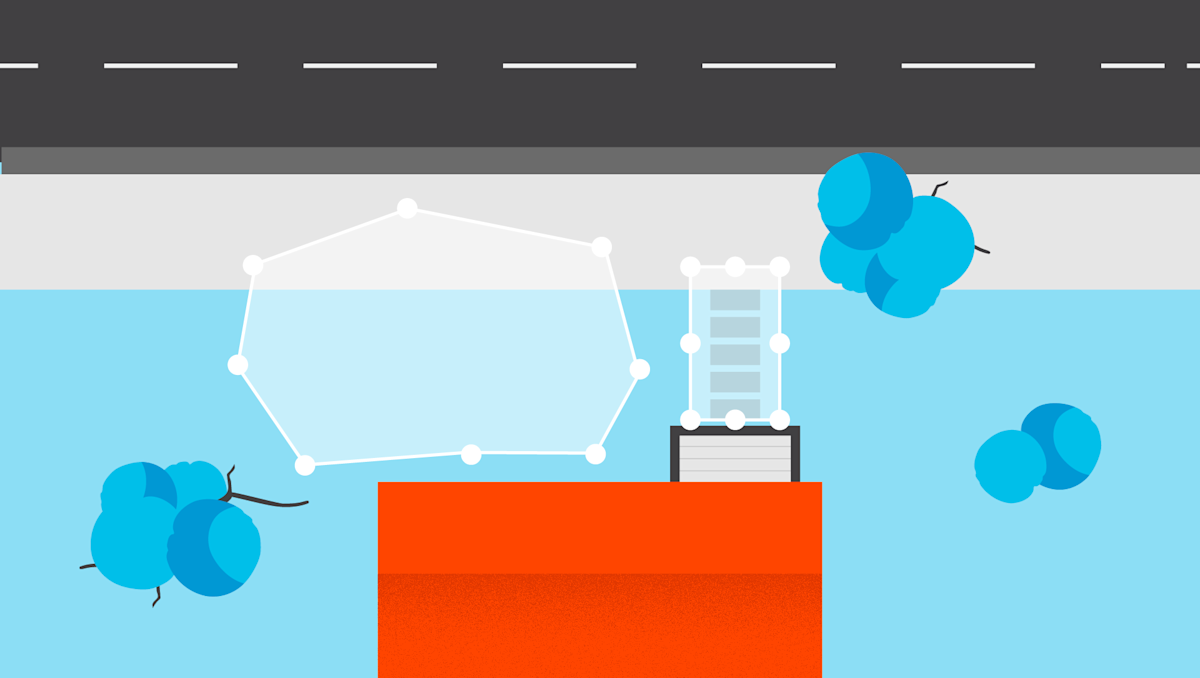
Use Bird's Eye Zones for More Relevant Motion Alerts
On select Ring devices, you can set up Bird's Eye Zones for more precise motion detection and more relevant Motion Alerts up to 30 feet from your Video Doorbell or Security Camera – so you can get notified about activity in your front yard, not the sidewalk.
Bird's Eye Zones are available with:
- Battery Doorbell Pro
- Wired Doorbell Pro (formerly Video Doorbell Pro 2)
- Floodlight Cam Wired Pro
- Spotlight Cam Pro
- Stick Up Cam Pro
To use Bird’s Eye Zones most effectively:
- Define your own custom Bird's Eye Zones (see steps below).
- For cameras only: Tilt the back of your camera at a 45 to 60° angle. When viewed through the camera, the horizon should be level.
- Createfor ground view, making sure they cover the same area as your Bird’s Eye Zones, as motion outside a Camera Motion Zone will always be ignored.
How to set up Bird's Eye Zones
Open the Ring app to the main dashboard.
Tap more (•••) on the camera you want to access.
Tap your device's Settings.
- TapMotion Settings.
- TapSet up Zoneson the map at the top orBird's Eye Zonesbelow it.
- TapSet up Feature.
- TapContinue.
- When prompted by the app, enter the location where your camera or doorbell is installed.
- TapContinue.
- Drag the map until the device icon is in the right position, marking the location of your device as accurately as you can.
- TapContinue.
- Use the slider to rotate the map, marking the direction of your camera’s view.
- TapContinue.
- For cameras only: For optimal motion detection, set the correct mounting height and tapContinue.
- Tap Edit to adjust your zone so it only covers the area you want to monitor.
- If you chooseSkip for now,a default zone will be used.
- Tap the zone and drag the circles to define a new area.
- Rename the zone and tapDone.
- TapContinue.
- Tap Start test to test your Bird's Eye Zones, then tapConfirmto complete setup.
Note: The technology that powers Bird's Eye Zones may be affected by weather changes, obstacles, reflections, wifi connectivity and other factors. In Motion Settings > Bird’s Eye Zones, you can update Detection Location, set Device Mounting Height (for cameras only), Test Bird's Eye Zones to ensure the map and your zones are properly aligned, and Reset Bird's Eye Zones to restore the feature to factory settings.
How to edit Bird's Eye Zones
Open the Ring app to the main dashboard.
Tap more (•••) on the camera you want to access.
Tap your device's Settings.
- TapMotion Settings.
- TapEdit Zones.
- Tap a zone and drag the circles to define a new area.
- TapDone, thenSave.
How to turn Bird's Eye Zones off
Open the Ring app to the main dashboard.
Tap more (•••) on the camera you want to access.
Tap your device's Settings.
- TapMotion Settings.
- TapBird's Eye Zones.
- ToggleUse Bird's Eye Zonesoff.