Troubleshooting Tampered Contact Sensors
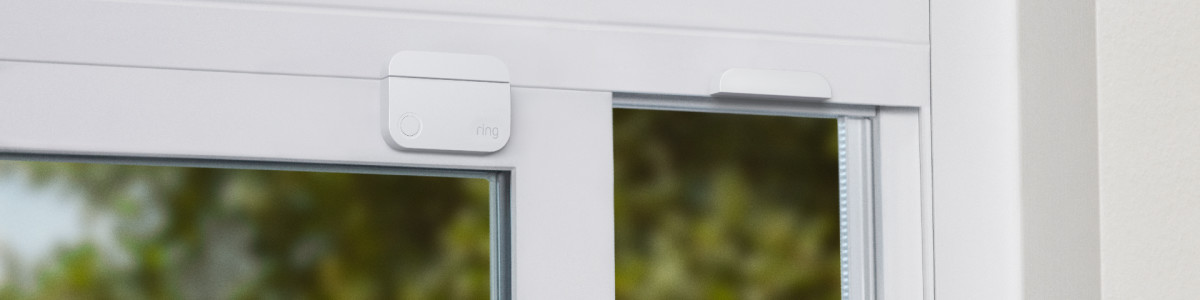
Installed on windows and doors, Contact Sensors monitor when someone enters the home or opens a window. If the Contact Sensor is triggered, the alarm will siren, a notification will be sent to you via the Ring app, or both depending on your personal settings.
When a sensor has been removed or adjusted in some way, the tamper switch provides an added layer of security by triggering your Alarm to siren and prompting the Tampered Indicator to notify you in the app that the sensor has been tampered with.
Review your Contact Sensor’s installation instructions.
Before starting troubleshooting steps for Outdoor Contact Sensor, review the installation instructions.
Resolving a tampered Contact Sensor (1st and 2nd Gens) and Outdoor Contact Sensor
If your Contact Sensor (1st Gen) is tampered, first take off the cover or front plate, then press and hold the tamper button for five seconds. If the sensor is still tampered, it is likely offline.
If you have an Outdoor Contact Sensor, check the device to ensure that it hasn’t fallen off of your outdoor gate or shed due to inclement weather.
For more troubleshooting, proceed to the following steps:
- Disarm the Contact Sensor in the Ring app usingMode Settingfor the specific device you’re working on or disarm the Ring Alarm system from the dashboard of the app to prevent triggering the alarm while troubleshooting.
- Select the device on the Ring app and check the battery status. If it’s low, you’ll need to replace your batteries.
- Carefully slide the Contact Sensor from its mounting bracket.
- Remove the batteries, wait a few seconds, then reinsert.Make sure that the polarities (+ and -) match up correctly.
- Slide the cover back on the mounting bracket securely until you hear it snap into place.
- If you’re still receiving a tampered notification, remove the magnet from its position, wait five seconds, then stick it back in place.
- For Contact Sensor (2nd Gen): Make sure it is no more than 1 inch away from the sensor.
- For Contact Sensor (1st Gen):Make sure it is no more than 1/2 inch away from the sensor.
- For Outdoor Contact Sensor: Make sure it is no more than 1 inch away from the sensor.
- Confirm that your sensor is showing asonlineand can communicate with the Base Station.
- Confirm that the tamper indicator is deactivated in your Ring app.
Find more help for each sensor:
Important: The process of removing your coin cell batteries may differ depending on the type of Contact Sensor (2nd Generation) you’re using. You may need to use a small tool, such as a micro screwdriver, to remove the batteries from their casing.
Additional troubleshooting steps
If the prior steps did not resolve the tampered indicator issue for your Contact Sensor, you may need to retry the connection to the device, reset, reinstall, or reconfigure the device. Make sure that the batteries are properly installed, and the cover is securely snapped in place.
Before performing the following steps, make sure that the device is properly positioned at your window or door. Disarm your Ring Alarm system. Check that the batteries are properly installed and the cover is securely in place.
To retry connection:
Open the Ring app to the main dashboard.
Tap the Alarm tile under Devices.
Tap Connected Devices.
- Select the tamperedContact Sensor.
Tap the Device Settings tile.
- TapAdvanced Options.
- Select the option toRetry Connectionand follow the directions on that screen.
- TapRetry Connectionagain on the next screen.
- Check your Contact Sensor in the app to confirm the tampered indicator has cleared.
To remove your Contact Sensor:
Open the Ring app to the main dashboard.
Tap the Alarm tile under Devices.
Tap Connected Devices.
- Select the tamperedContact Sensor.
Tap the Device Settings tile.
- TapRemoveat the bottom of the screen.
- TapRemoveagain to confirm.
- TapGot itonce your Contact Sensor is successfully removed.
- Slide your Contact Sensor from its base so that you can see the batteries.
- Use a paper clip to quickly press and release the pinhole button at the top, above the batteries.
- Proceed with the next step to re-install your sensor.
To re-install your Contact Sensor:
Open the Ring app to the main dashboard.
- TapSet Up a Deviceat the bottom of the screen.
- TapSecurity.
- TapSensors.
- Choose your Contact Sensor.
- Follow the prompts to add your sensor.
- Confirm that your Contact Sensor is no longer showing as tampered.
To reconfigure your Contact Sensor:
Open the Ring app to the main dashboard.
Tap the Alarm tile under Devices.
Tap Connected Devices.
- Select theContact Sensoryou want to reconfigure.
Tap the Device Settings tile.
- TapAdvanced Options.
- TapReconfigure Deviceand follow the instructions on the app screen.
- Follow the prompts to reconfigure your device.
- Confirm that your Contact Sensor is no longer showing as tampered