
Installing your Video Doorbell Wired
Learn how to install your Video Doorbell Wired.
Check out our installation manuals
View the manual for Video Doorbell Wired with Plug-In Adapter. View the manual for Video Doorbell Wired with in-home chime and transformer.Watch the video guide for installing Video Doorbell Wired
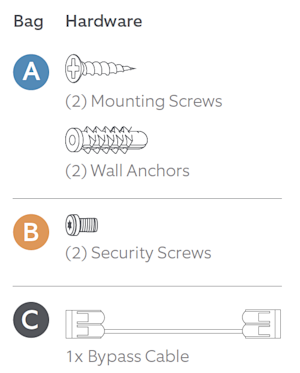
The installation hardware includes:
- 1“ Mounting Screws (A)
- Mounting Anchors (A)
- 3/16“ Security Screws (B)
- Jumper Cable (C)
Tools needed:
- Phillips head screwdriver
- Drill with 1/4“ (6 mm) drill bit (optional)
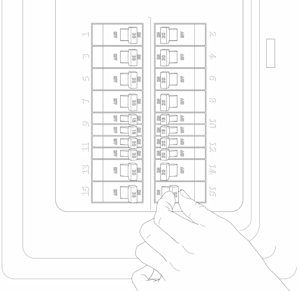
Step 1: Turn off power at the breaker
Step 2: Check transformer compatibility
Verify compatibility prior to installation to avoid damaging your devices.
Learn more about compatible doorbell transformers.
Step 3: Install the jumper cable
If you have an in-home chime, follow our guide for installing your jumper cable in the chime.
Step 4: Uninstall your existing doorbell button
Remove your doorbell from the wall and disconnect the wires. Make sure they don’t fall back inside your wall so you can access them later.
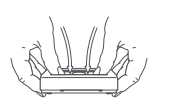
Step 5: Remove the faceplate from the doorbell
Grasp the edges of the faceplate and push gently against the front of the doorbell to remove.
Step 6: Prepare the mounting position
If your device will use a Wedge or Corner Kit (sold separately), install the kit before mounting the doorbell.
Installing on a wood surface
Drill and wall anchors are not needed.
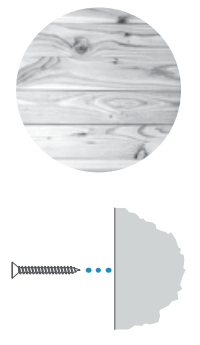
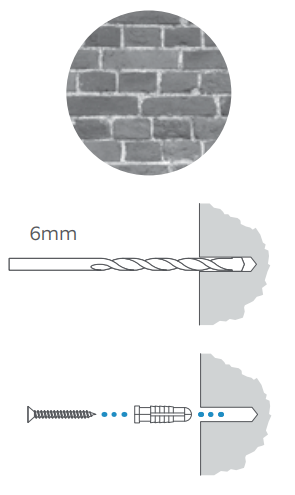
Installing on a masonry surface
- Using the marked screw hole locations, drill pilot holes using a 1/4“ (6 mm) drill bit.
- Insert the included wall anchors.
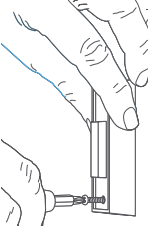
Step 7: Connect the doorbell wires or Plug-In Adapter
Hardwiring to an in-home chime or transformer
On the back of your Ring doorbell, connect both wires to the terminal screws. Only connect one wire per screw. Tighten the terminal screws to secure the wires.
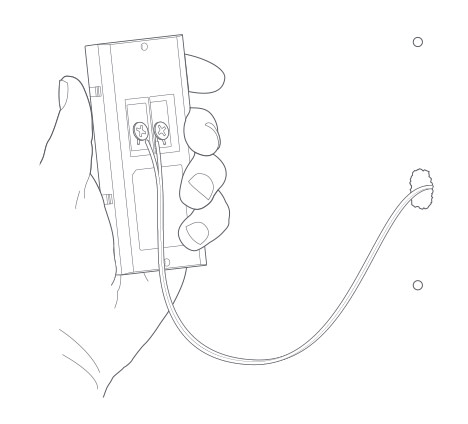
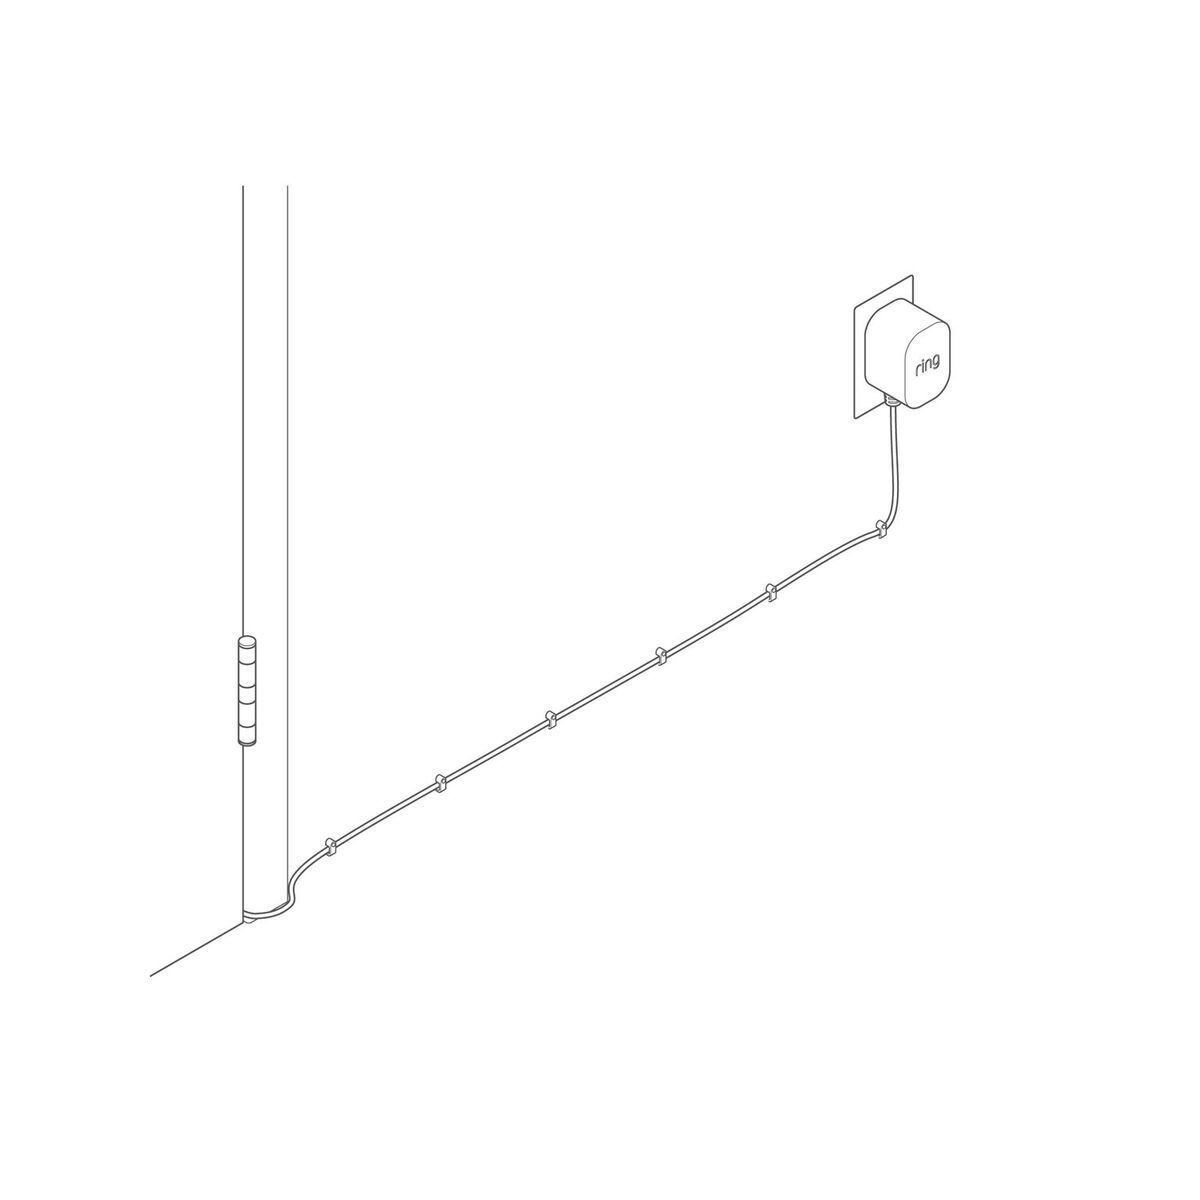
Connecting to a Plug-In Adapter
- Connect the adapter cables to the two terminal screws on the back of your Ring doorbell, then screw them into place.
- Plug the adapter into a power outlet.
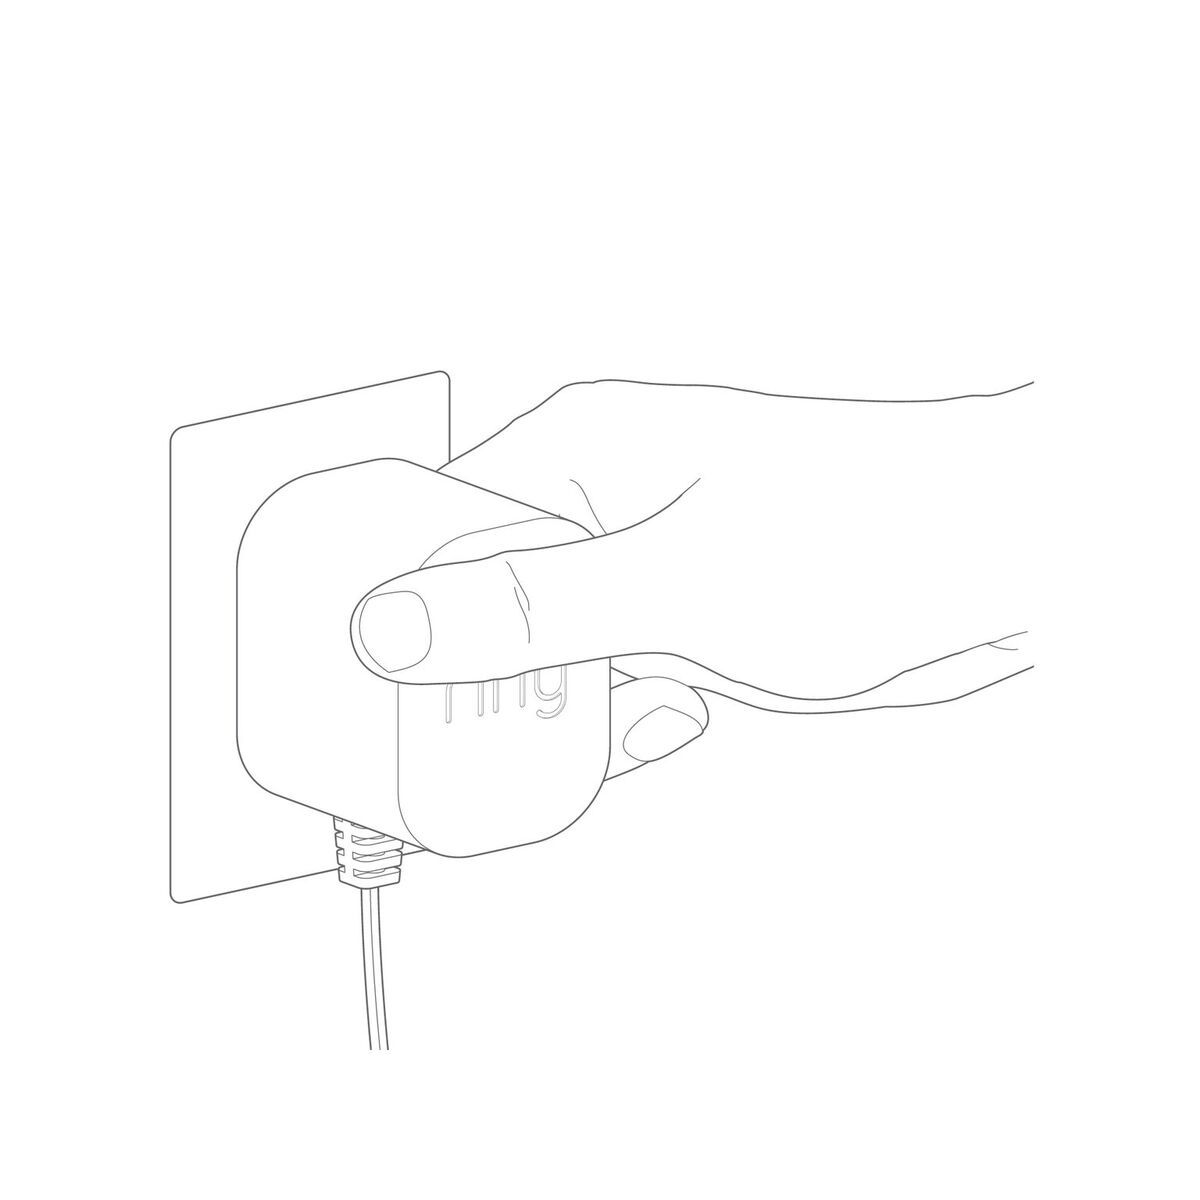
- Secure with cable clips.
Step 8: Mount the doorbell
Mounting directly to a wall
Feed any excess wiring and wire nuts back into the wall, then secure your Ring doorbell to the wall using the included mounting screws from bag A.
Mounting to Corner or Wedge Kit
Feed any excess wiring and wire nuts back into the wall, then secure your Ring doorbell to the mount using the short screws provided with the Corner or Wedge Kit.
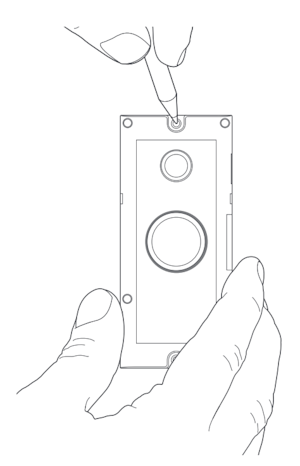
Step 9: Secure your Ring doorbell
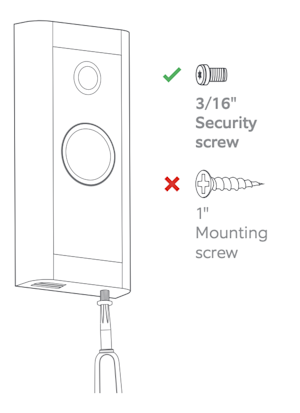
Re-attach the faceplate, then use the included screwdriver to insert and tighten one of the 3/16” Security Screws.
CAUTION! If you use the wrong screws to secure the Video Doorbell Wired, you could damage the battery during installation or create a fire hazard, and be seriously injured.
Step 10: Restore power at the breaker
It might take a moment for your Ring doorbell to power on. It will light up when it’s ready. Learn more about doorbell light patterns.
Step 11: Use the Ring app to set up the doorbell
Once your doorbell is installed, follow the in-app instructions to set up your device.