Installing Your Mailbox Sensor
Learn how to install Mailbox Sensor use by following these steps.
Tools needed

Drill with 5/16 in (8 mm) masonry bit
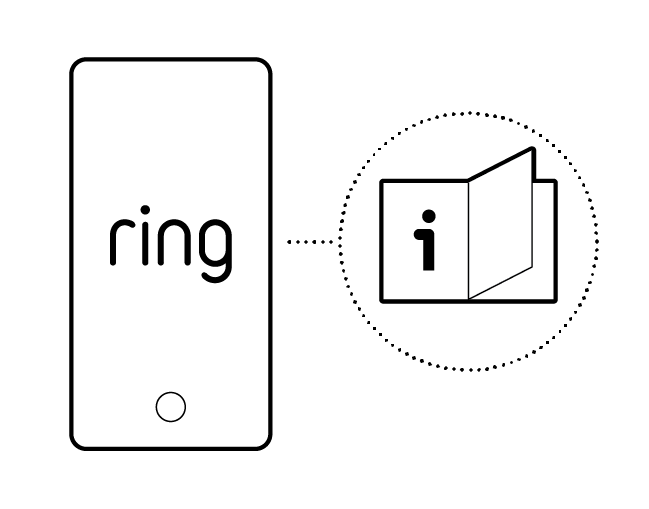
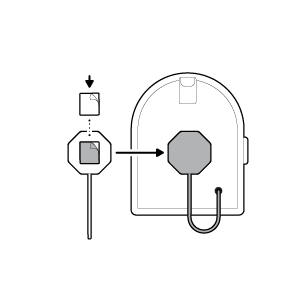
1. Download the Ring app.
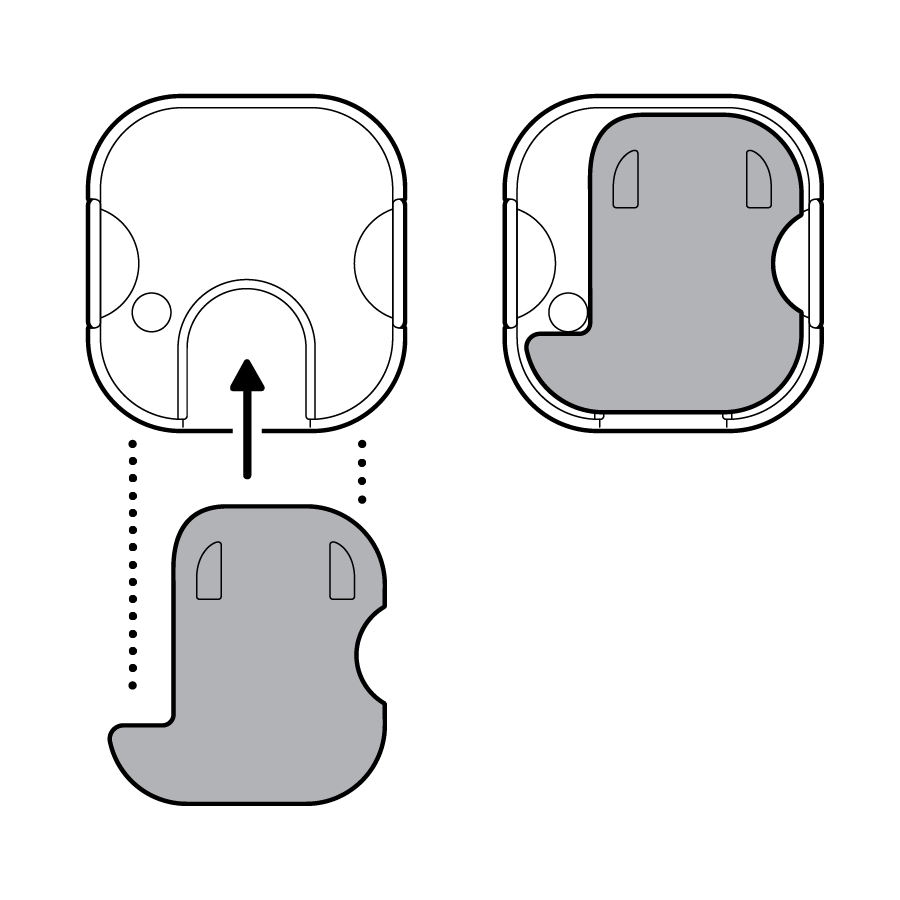
2. Slide to remove the mounting plate.

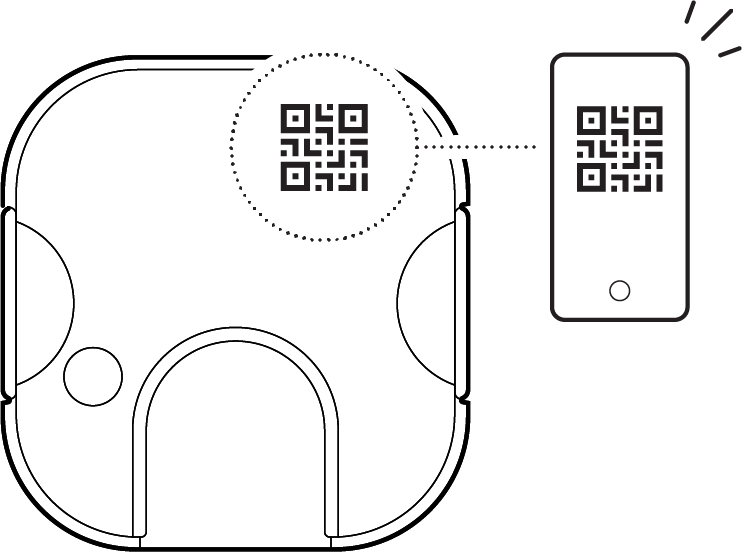
3. Scan the QR code on your device.
4. Reattach the mounting plate.
5. Follow in-app instructions.
Non-metal mailbox installation
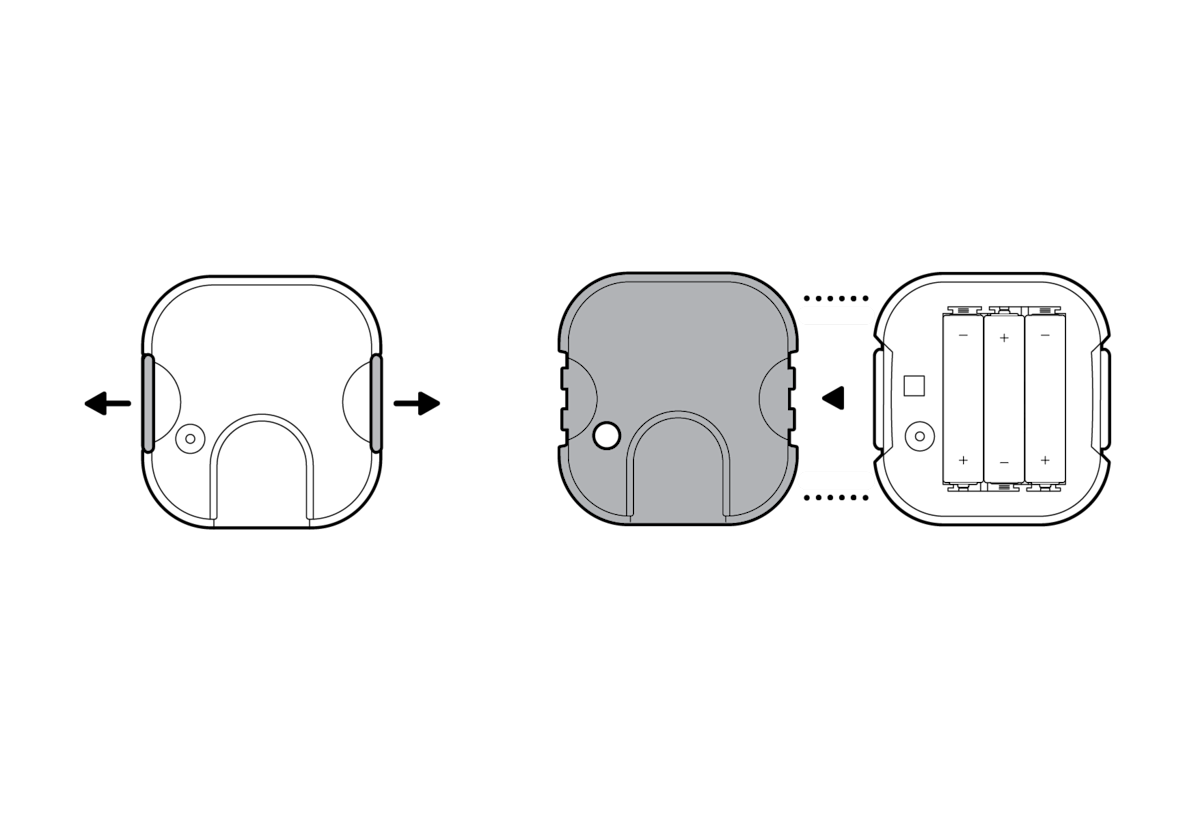
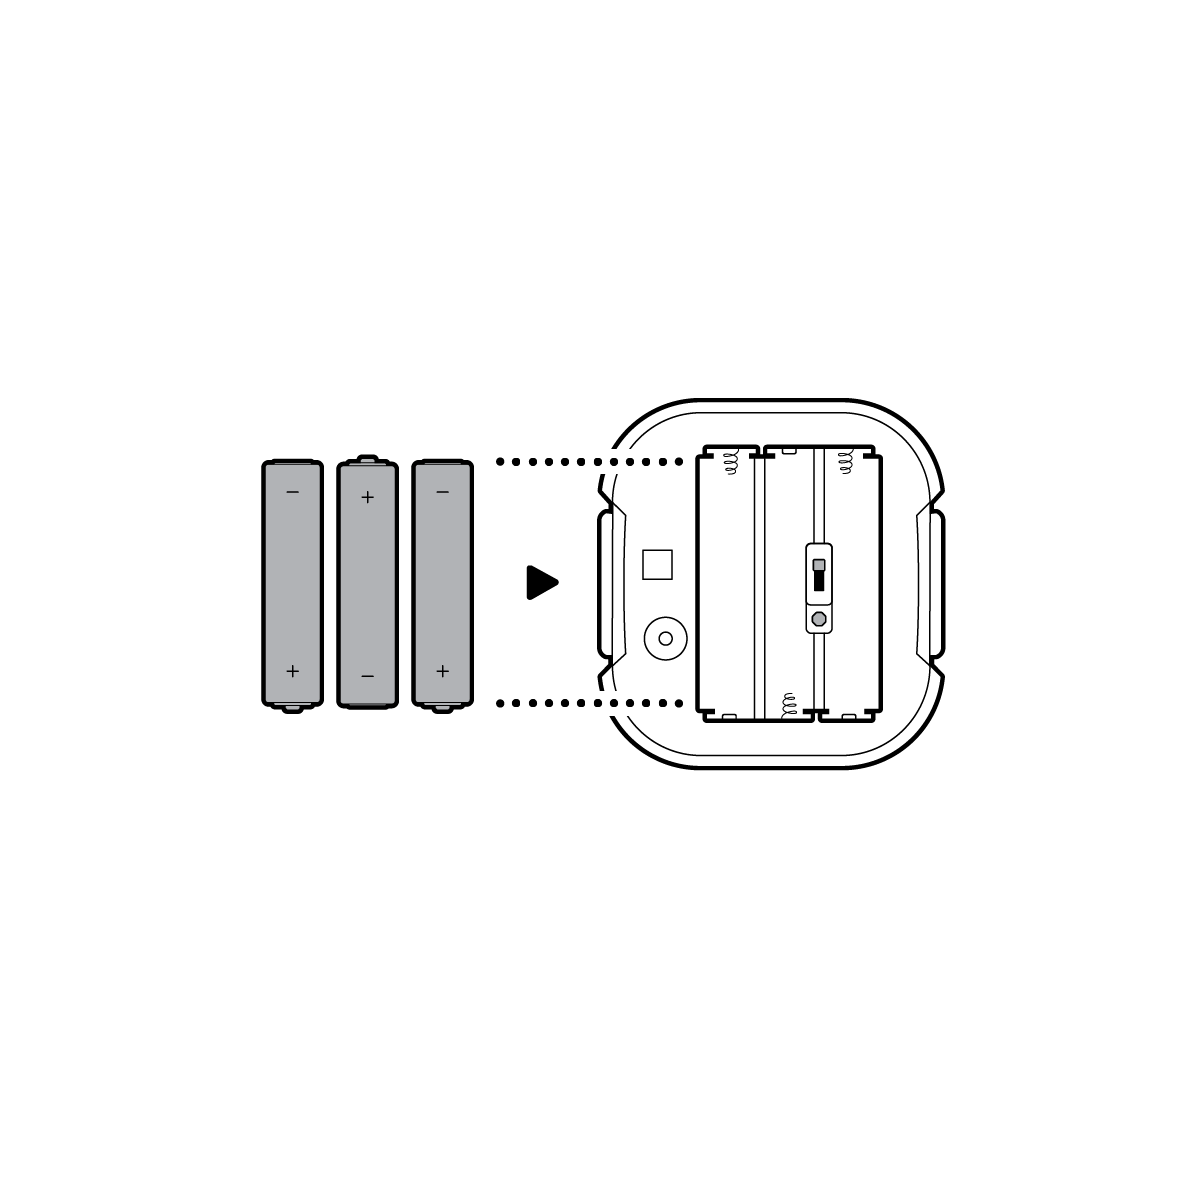
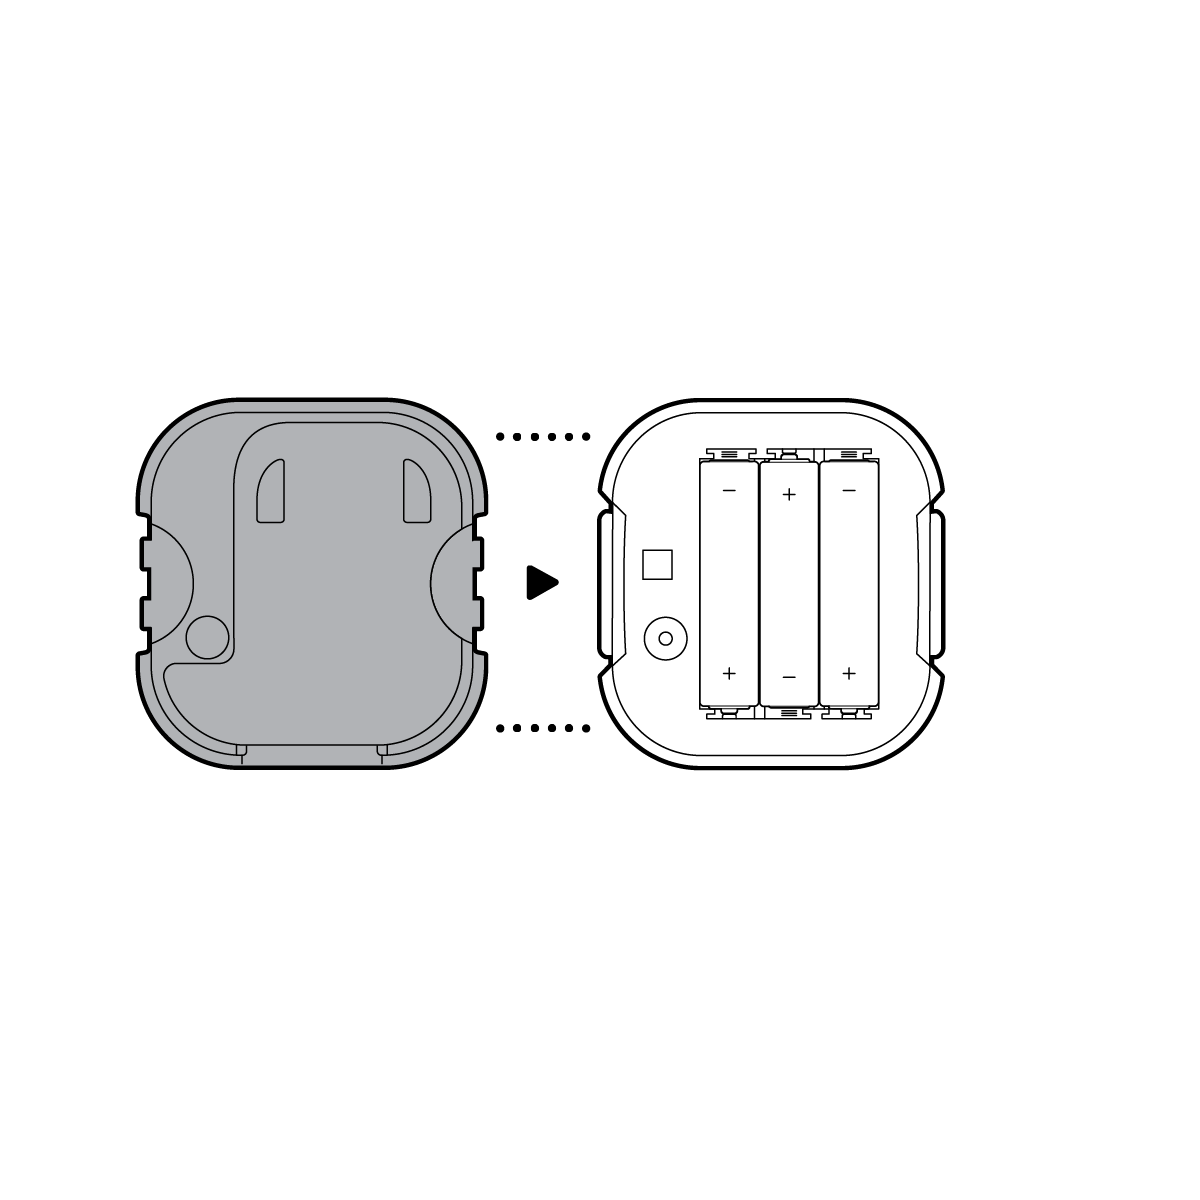
1. Pull the tabs on the side of your sensor to remove the back cover.

2. Flip the switch in the battery compartment away from the octagon marking.

3. Insert the three included AAA batteries.
4. Reattach the back cover.
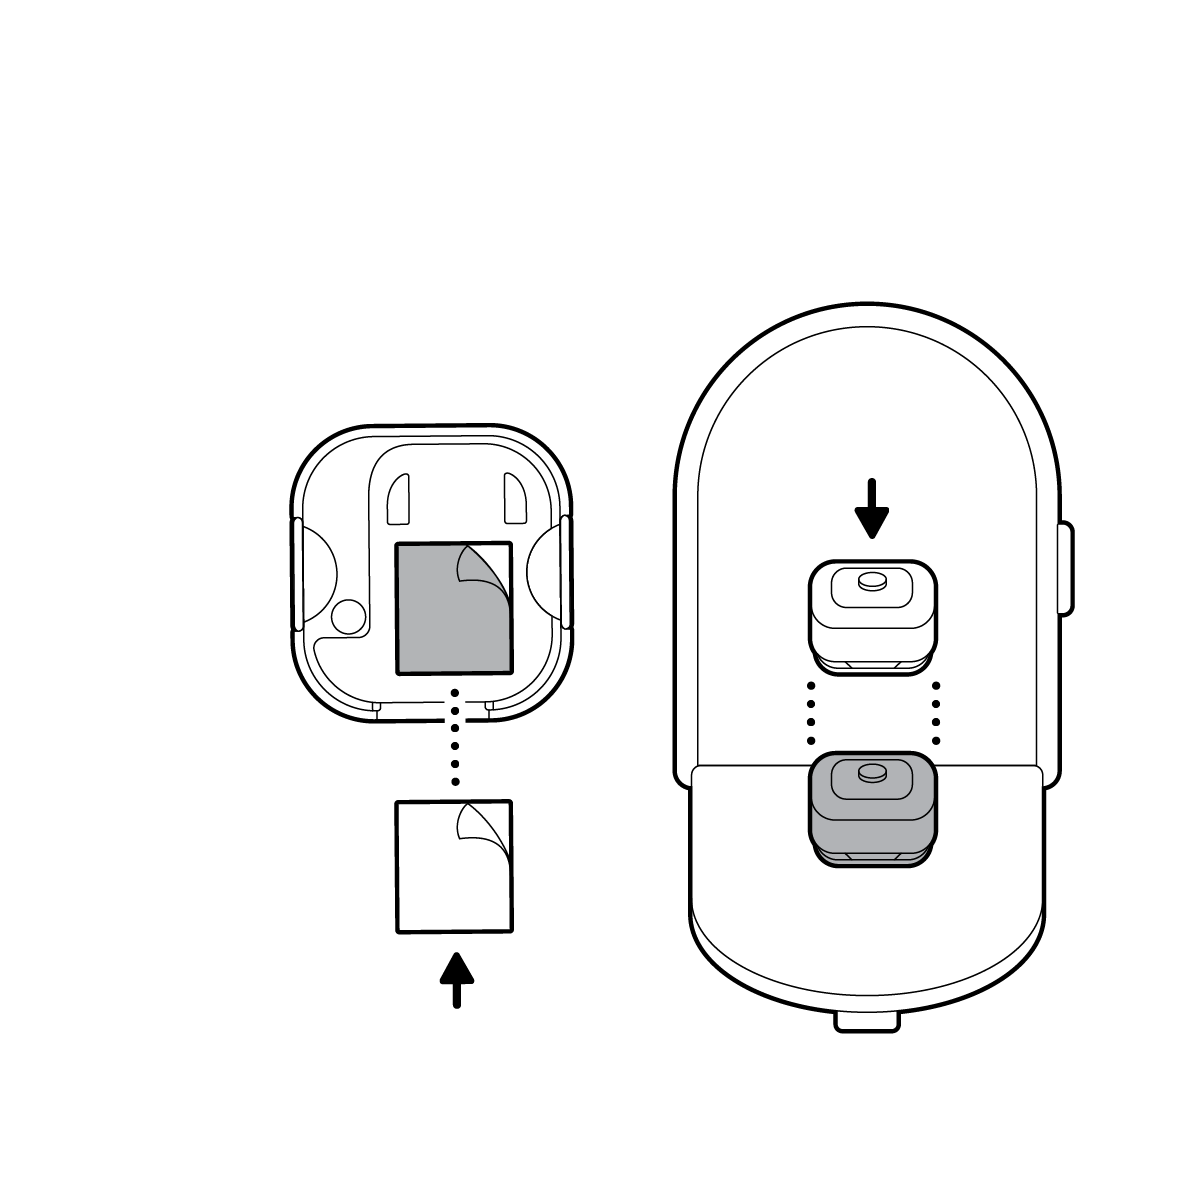
5. Mount your sensor on the inside of the mailbox lid with an included adhesive.
Metal mailbox installation
1. Pull the tabs on the side of your sensor to remove the back cover.
2. Keep the switch in the battery compartment flipped toward the octagon marking.
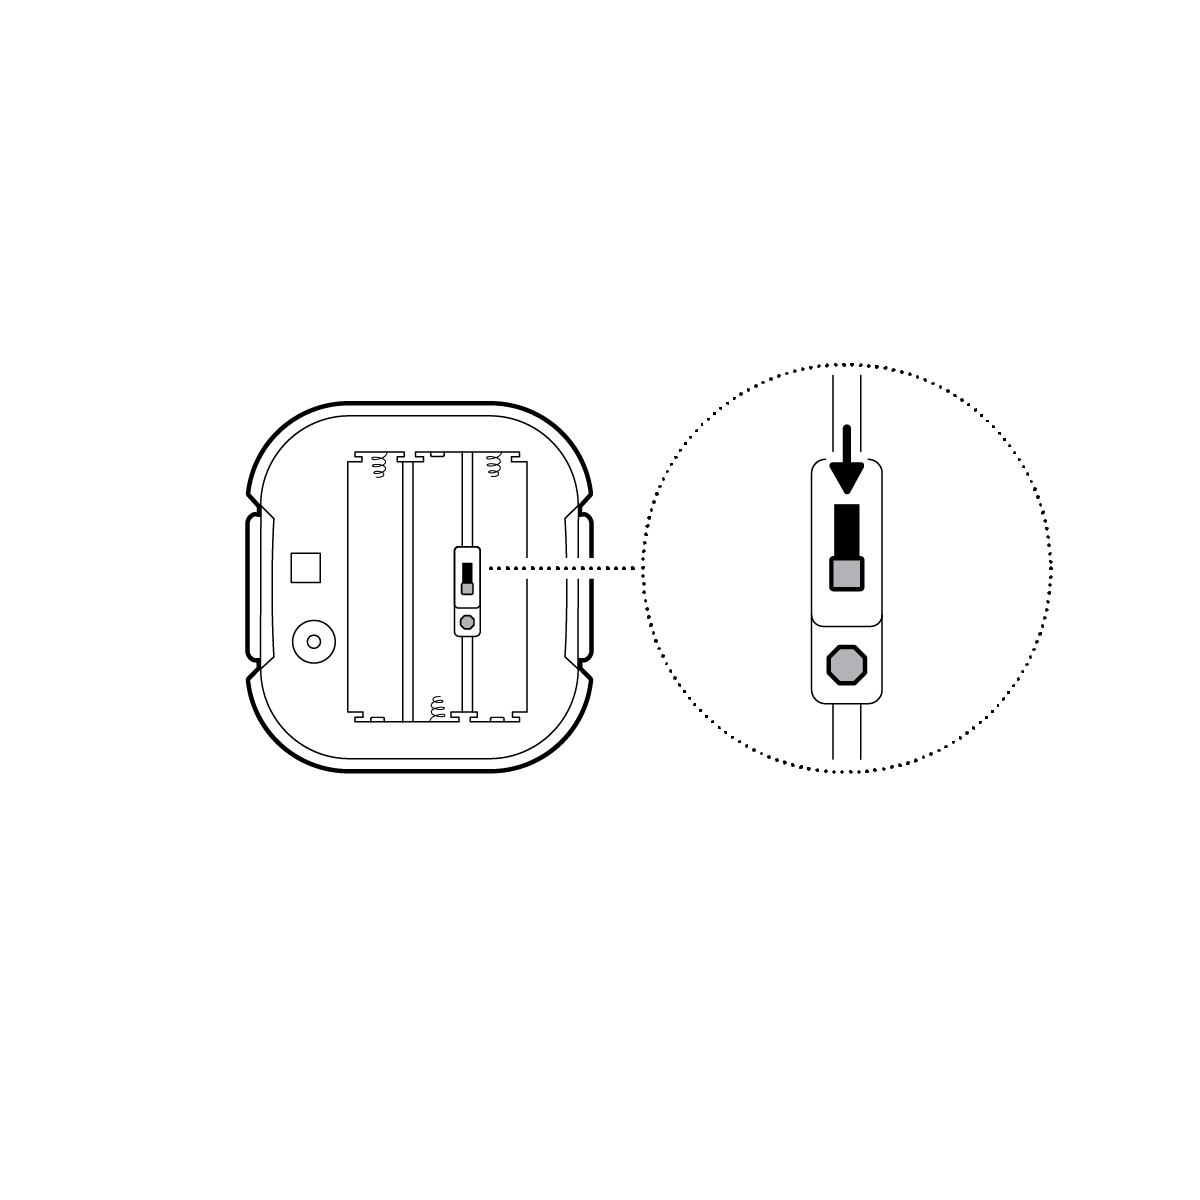
3. Insert the three included AAA batteries.

4. Reattach the back cover.
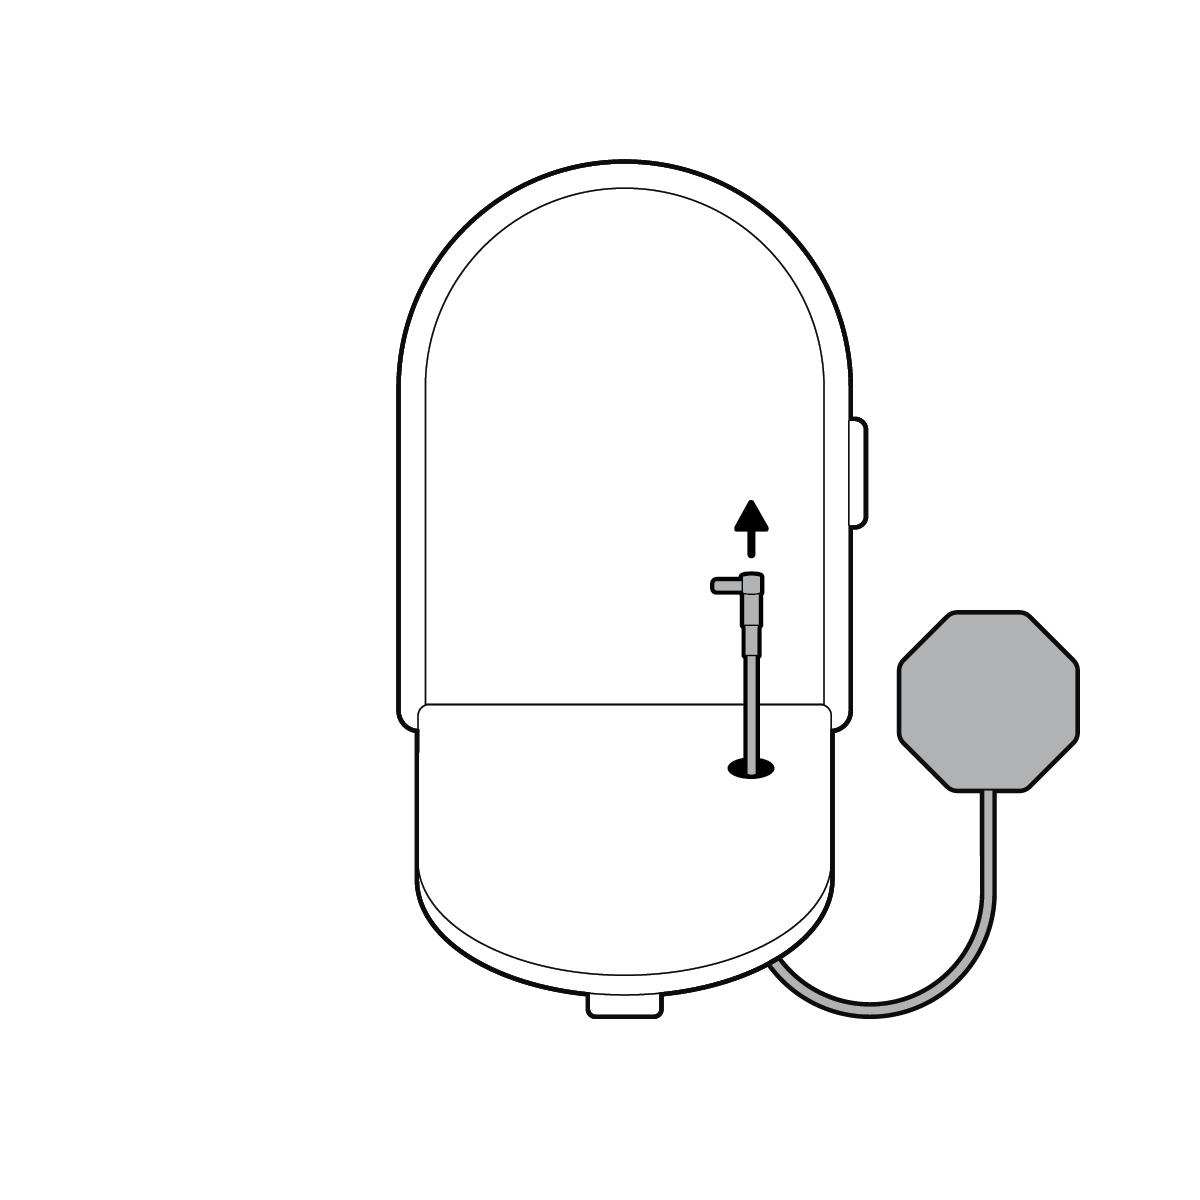
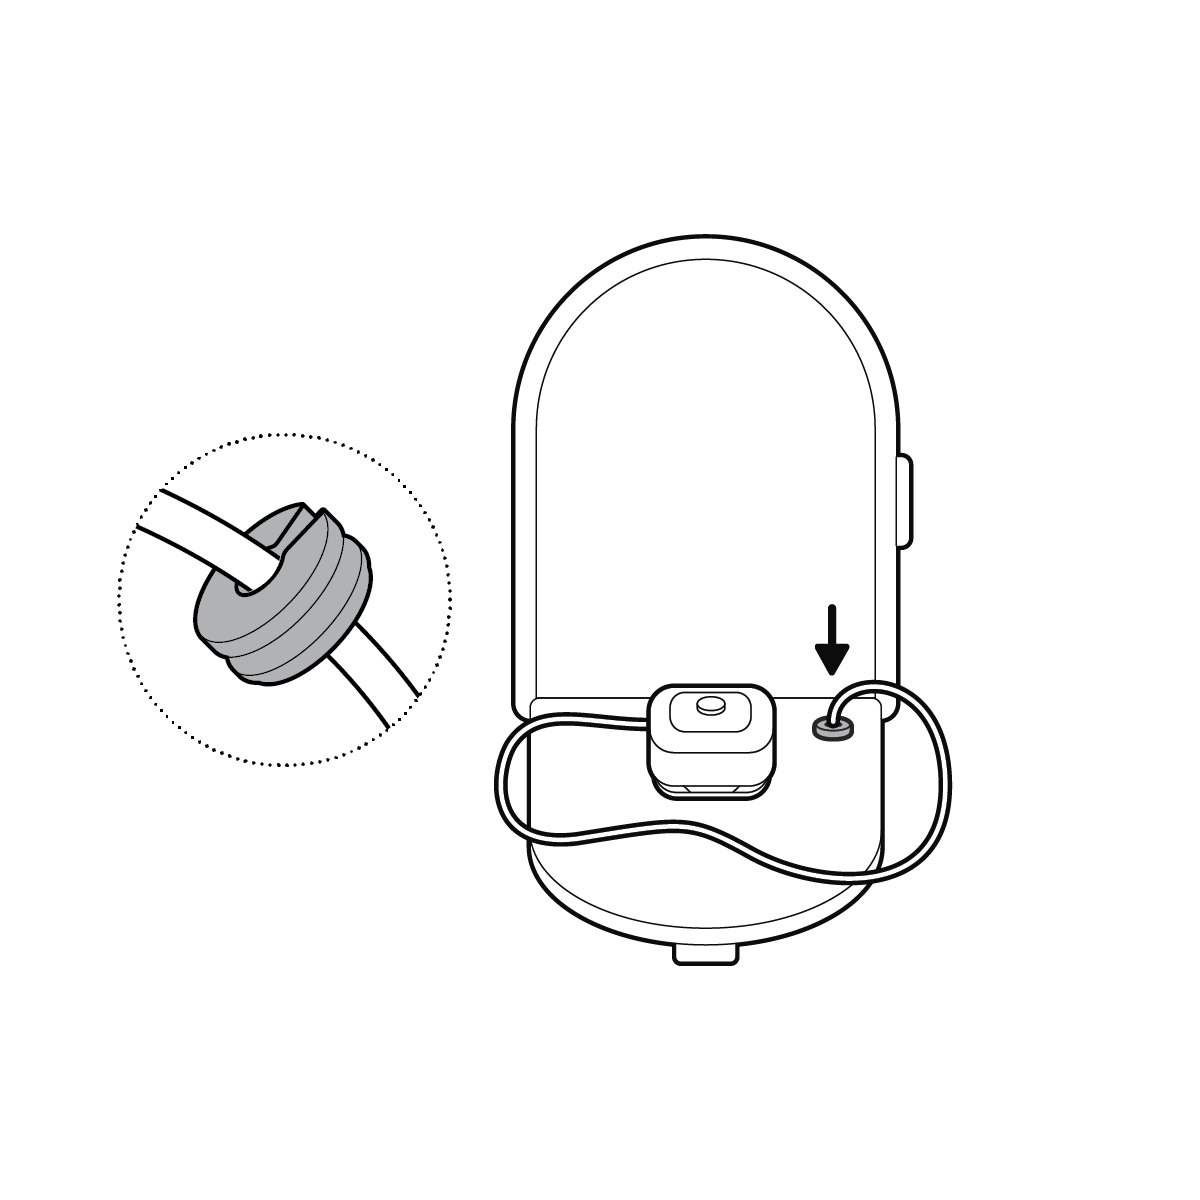
5. Drill a hole through your mailbox with a 5/16 in (8 mm) drill bit.

NOTE: The antenna requires a gap or hole in your mailbox to connect to your sensor once it is installed.
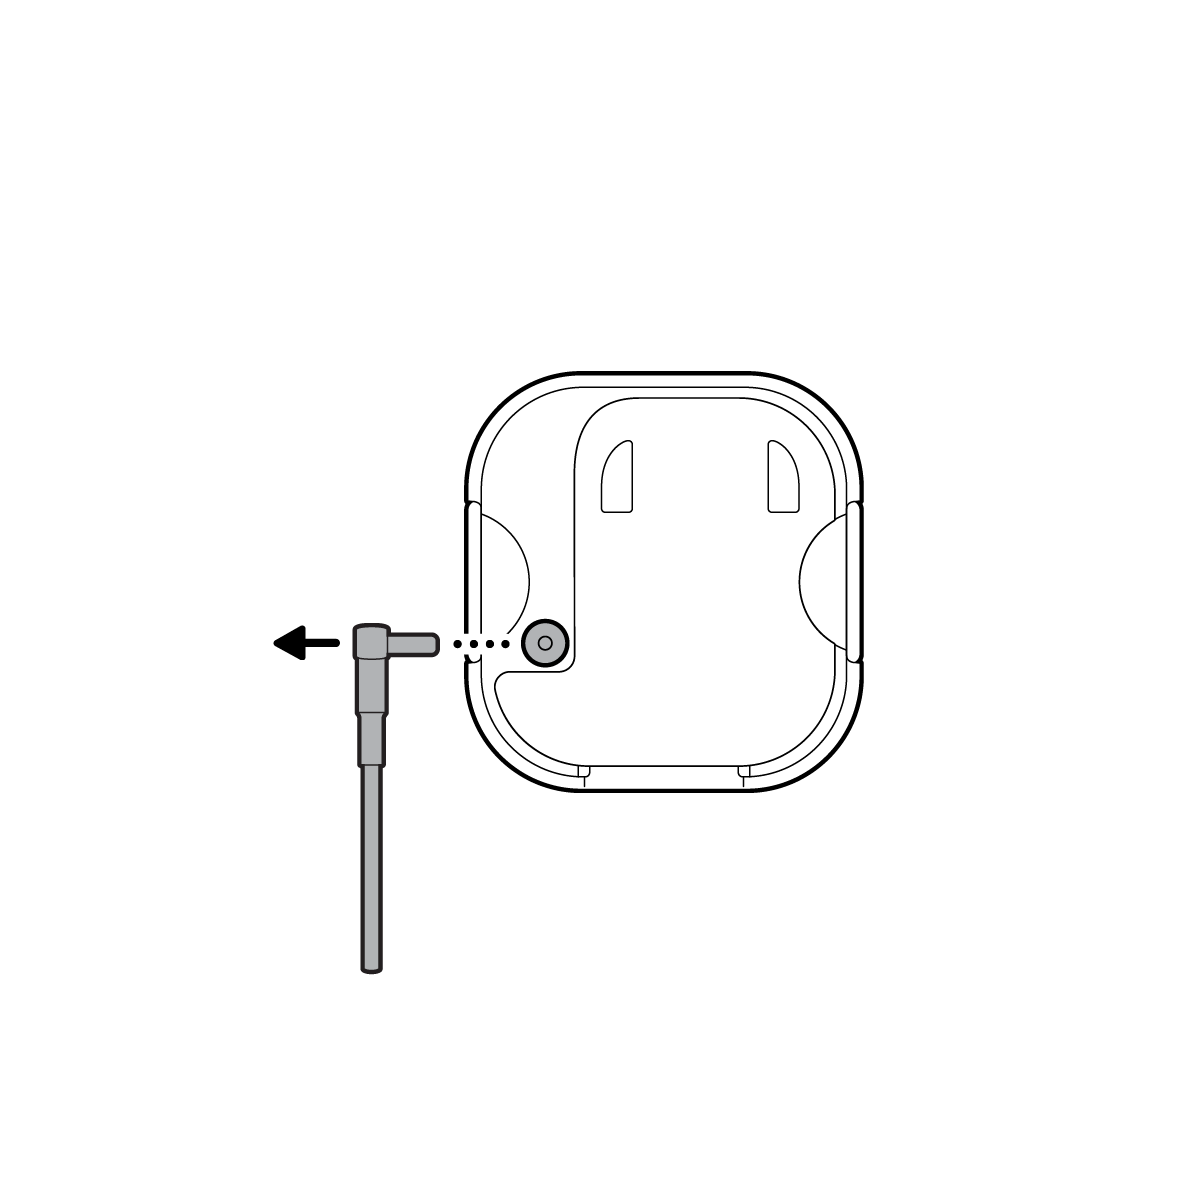
6. Insert the antenna cable through the gap or hole in your mailbox.
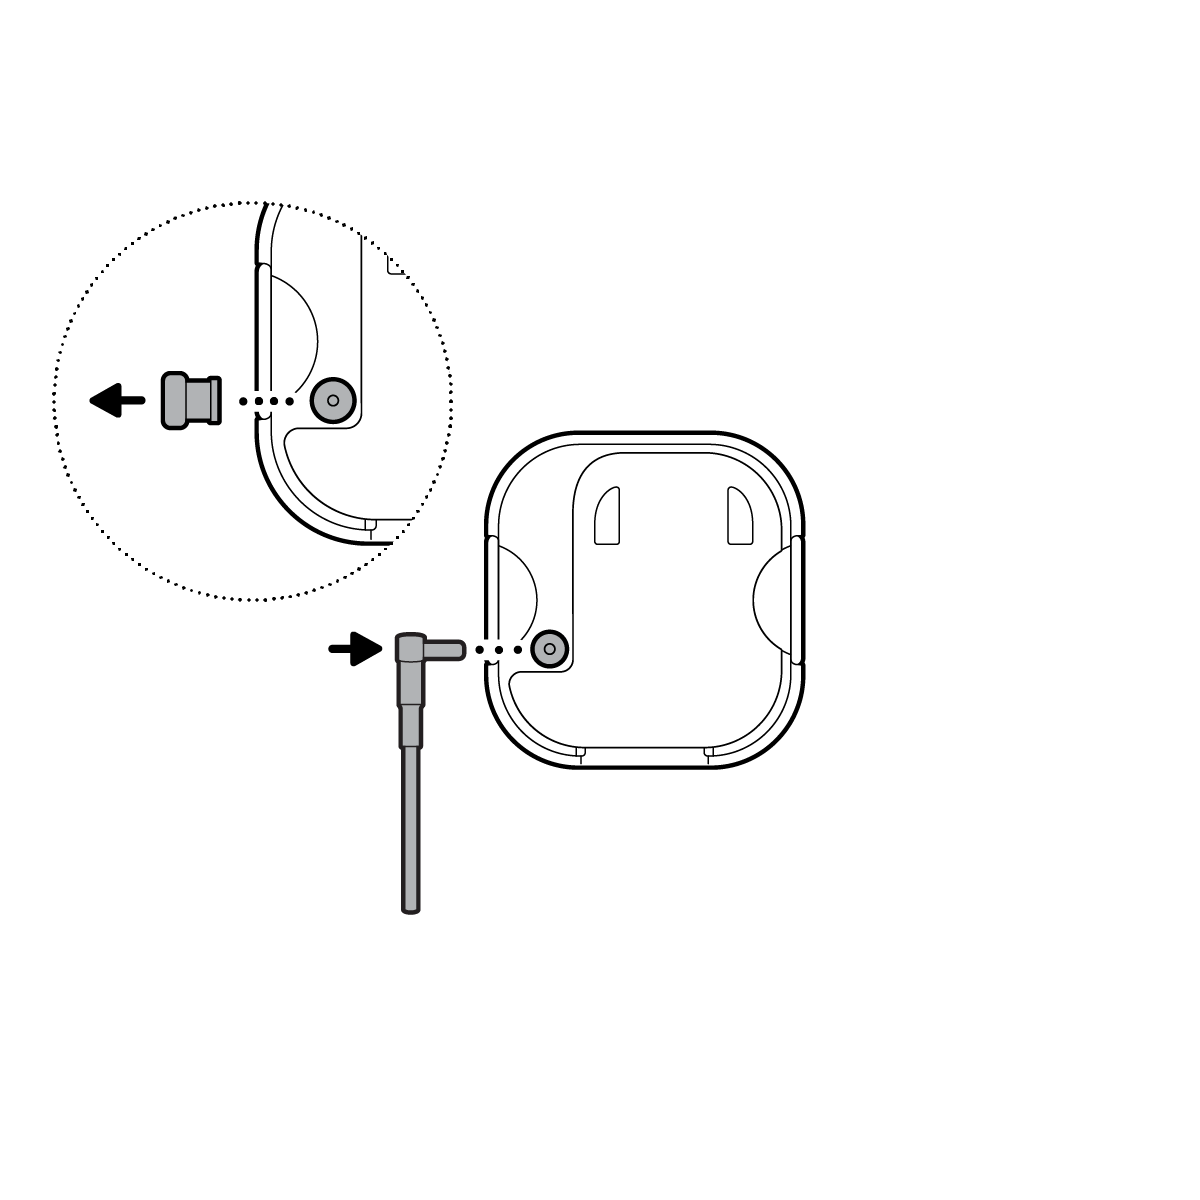
7. Plug the antenna into your sensor.
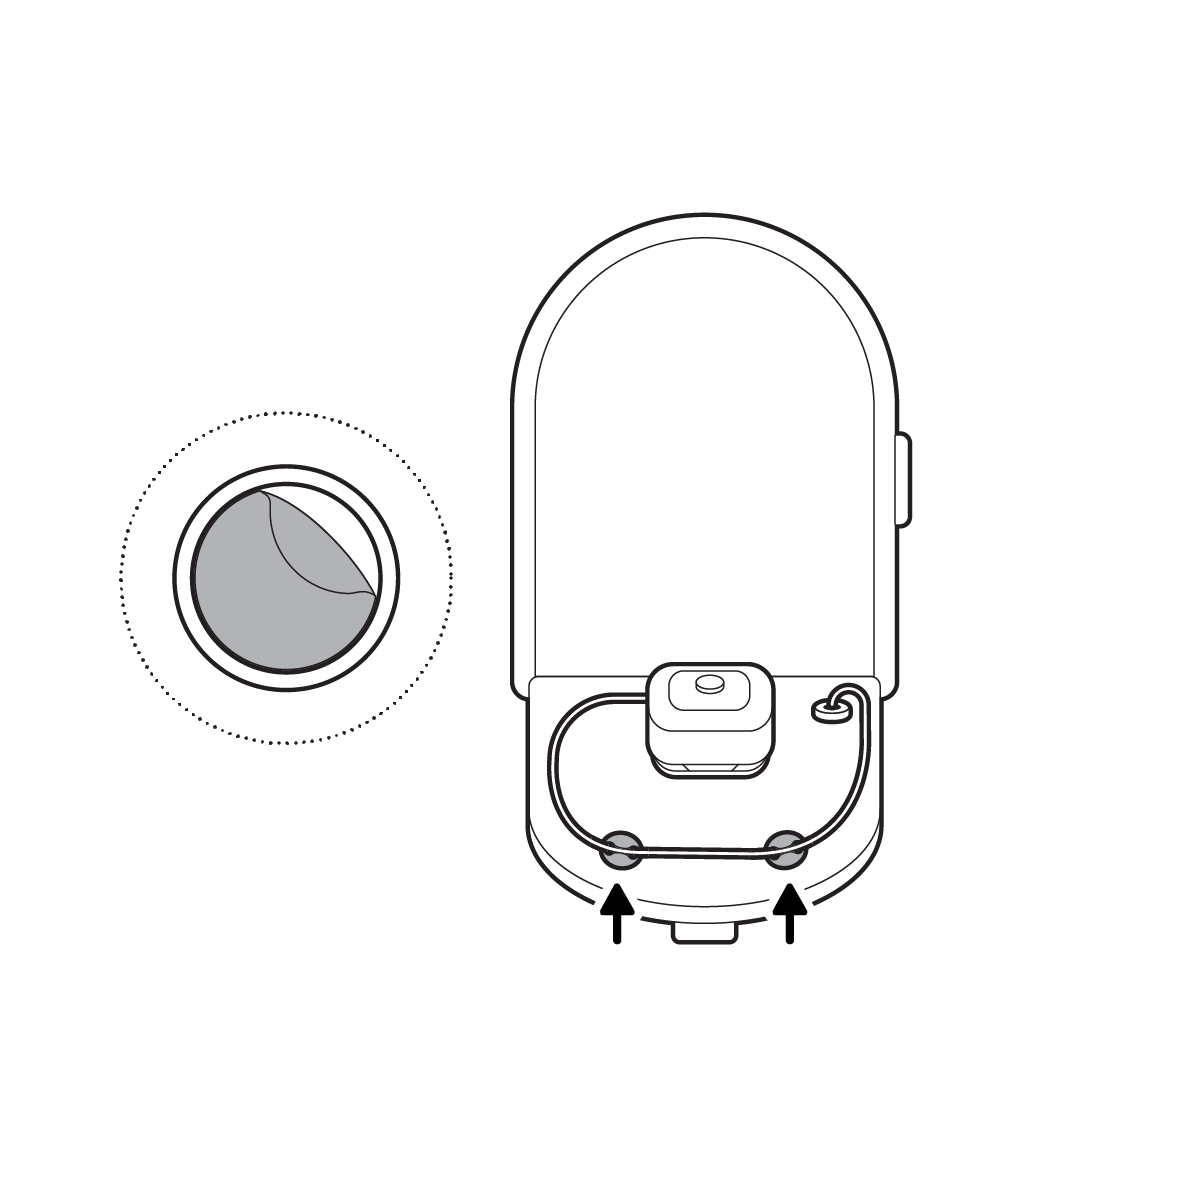
8. Mount your sensor on the inside of the mailbox lid with an included adhesive.
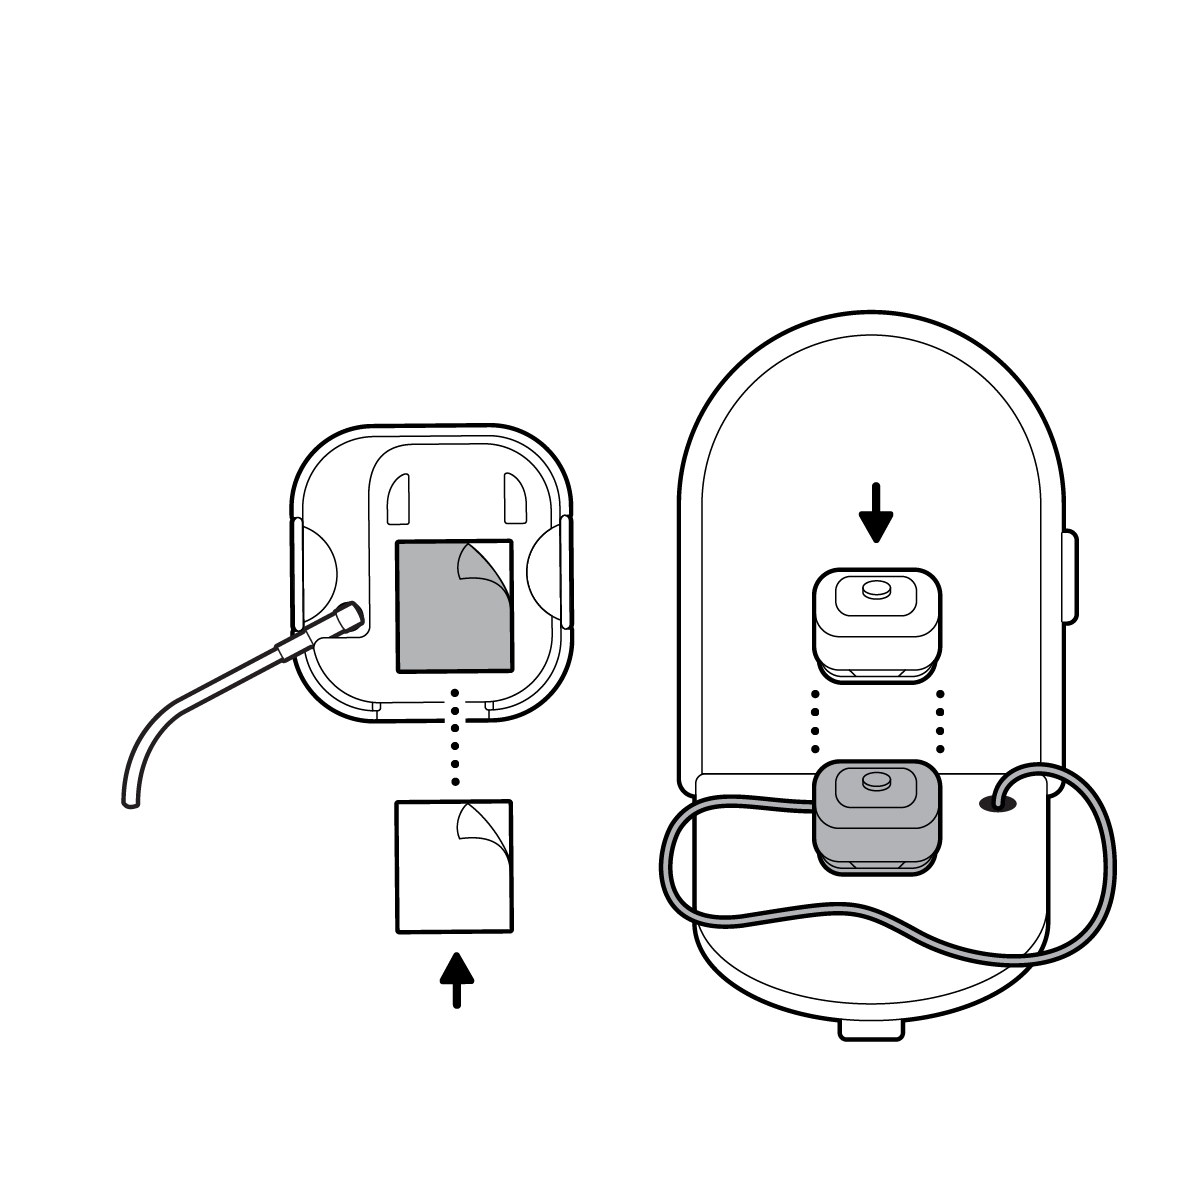
9. Mount the hexagonal end of the antenna to the outside of your mailbox with an included adhesive.
10. If you drilled a hole, wrap the included grommet around the cable and plug the hole.
11. Manage the cable with the included cable management system.
Replacing the batteries
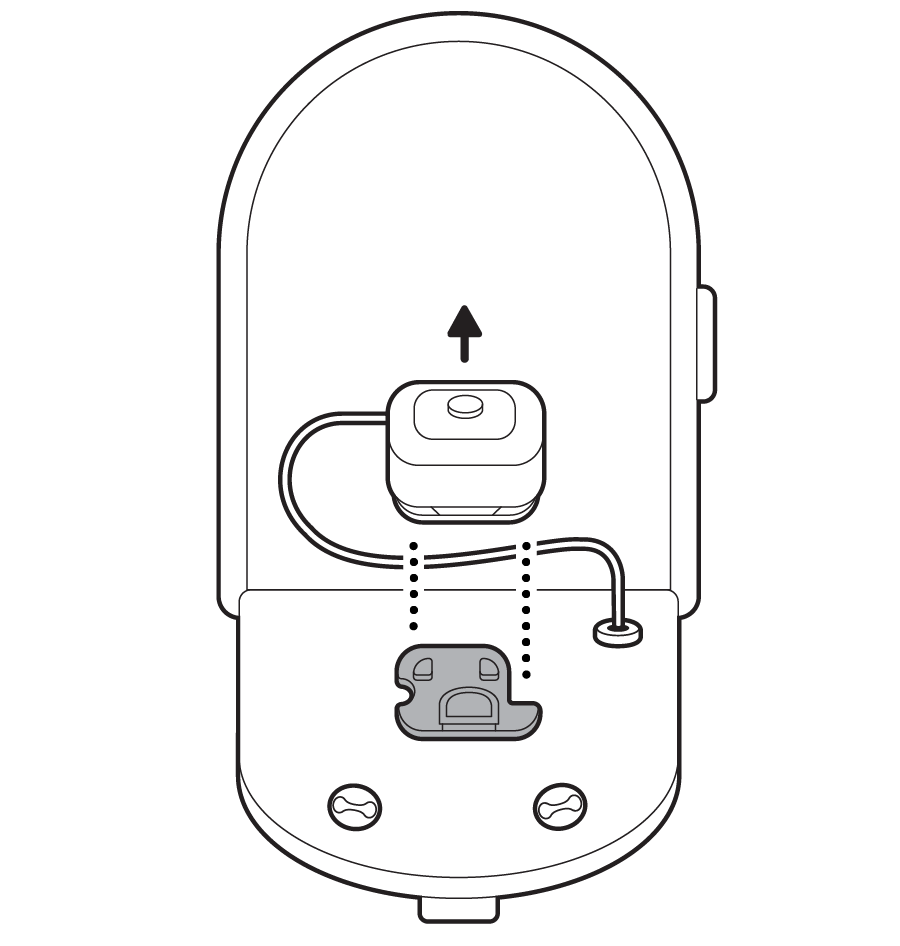
1. Slide your sensor off the mount to remove.
2. Unplug the antenna, if attached.
3. Pull the tabs on the side of your sensor to remove the back cover.