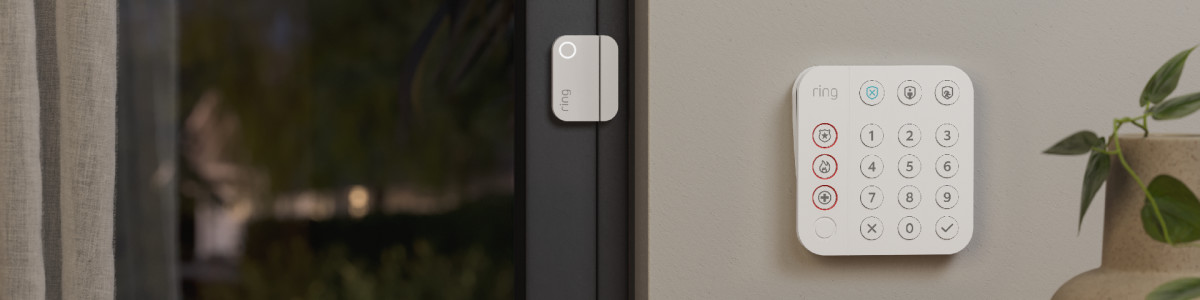
Tips for Installing Contact Sensor (2nd Gen)
Mount your Contact Sensor (2nd Geb) on a door or window, even those with uncommon frames, sizes, structures, moulding, or even basement windows.
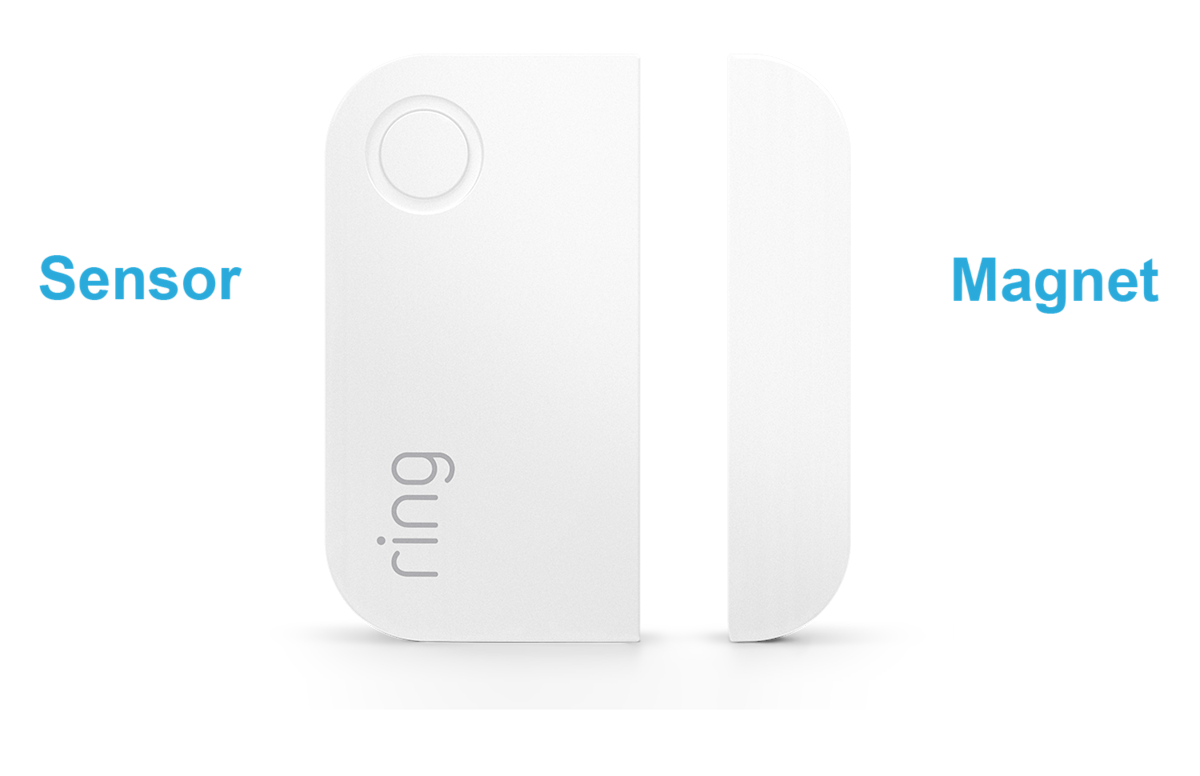
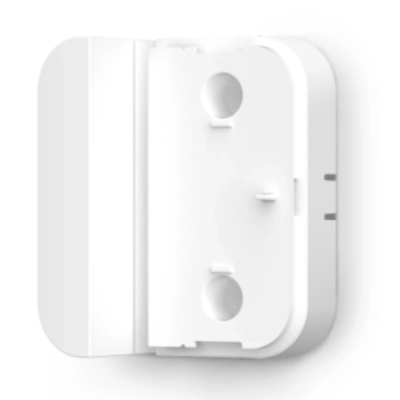
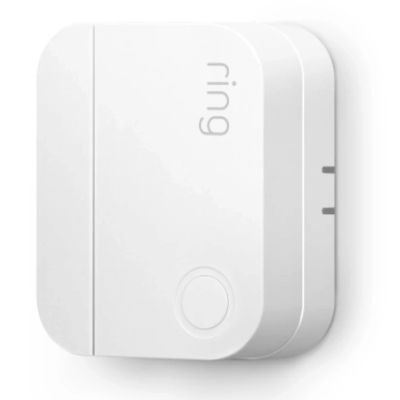
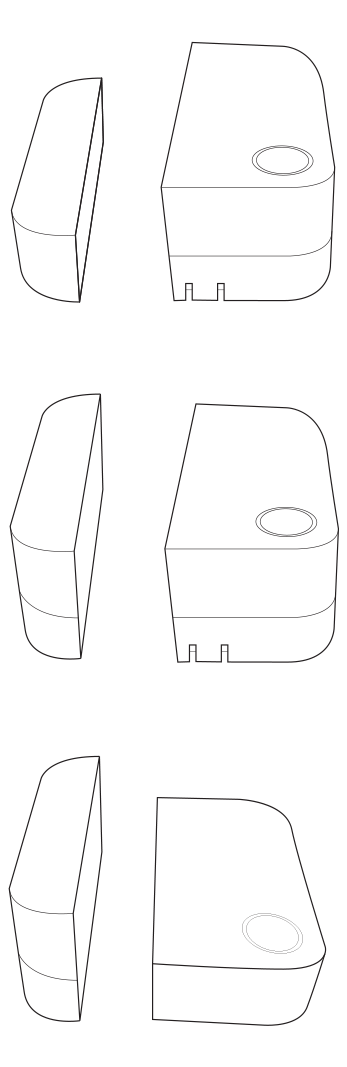
Get to know your Contact Sensor (2nd Gen)
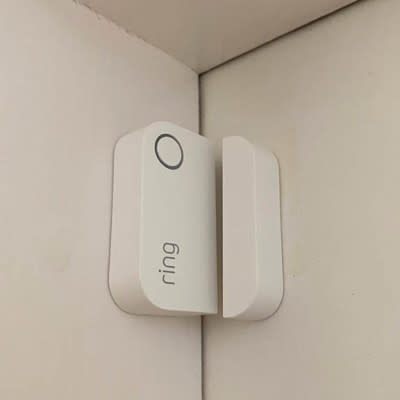
The Contact Sensor has two parts: the sensor and the magnet:
When you hold the Contact Sensor and magnet together then pull them apart, you should see the LED ring flash green just once, and hear a small chirp tone from the Base Station. (Chirp tones are enabled by default).
For your Ring Contact Sensor (2nd Gen) installation to work as designed, it's important to remember that:
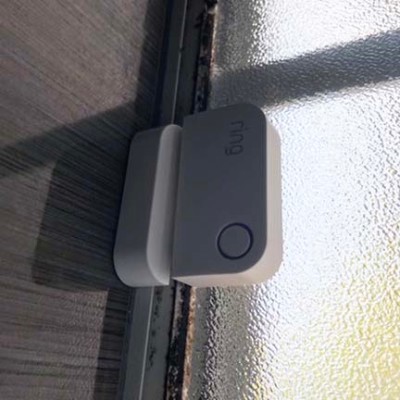
- You can mount your Contact Sensor around almost any part of your door or window.
- The space between the Contact Sensor and the magnet must be 1 inch or less.
- When you open the door or window, you see the LED flash green (and hear the chirp tone, if enabled).
- There needs to be ½ inch of space around the sensor so you can slide it open to replace the batteries.
- Avoid the side of the door with the hinges.
- Skip areas close to a mail slot to prevent someone from reaching in and tampering with the sensor.
- Avoid mounting on clear glass windows to prevent intruders from identifying your security measures.
- Steel doors and aluminum door frames may occasionally cause interference for the Contact Sensor. Test the sensor on your door or window to determine if there are any issues.
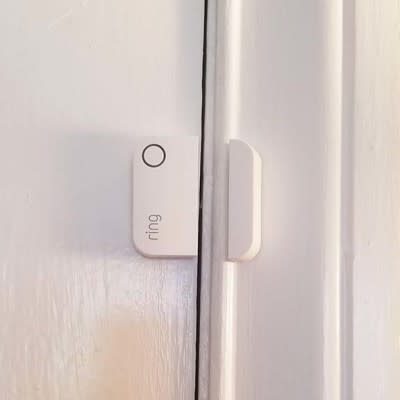
How to mount your Contact Sensor (2nd Gen)
Mount either the Contact Sensor on the door or window, and the magnet on the frame, or switch them around.

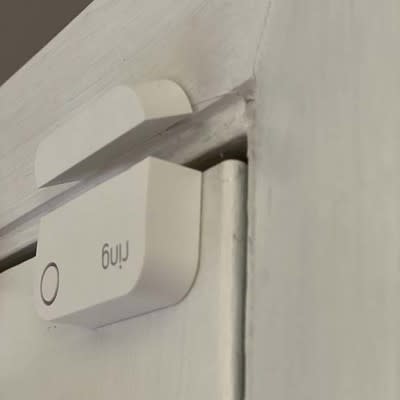
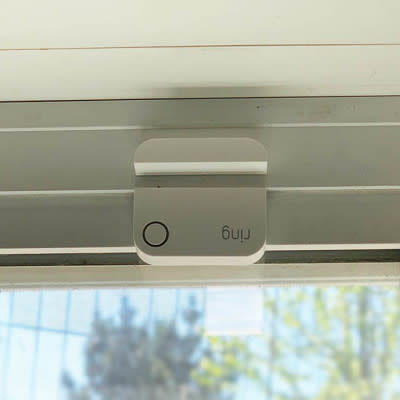
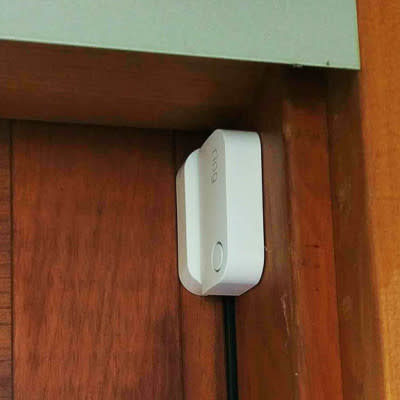
For curved or decorative moulding:
- Mount the Contact Sensor or magnet at an angle on curved or decorative moulding.

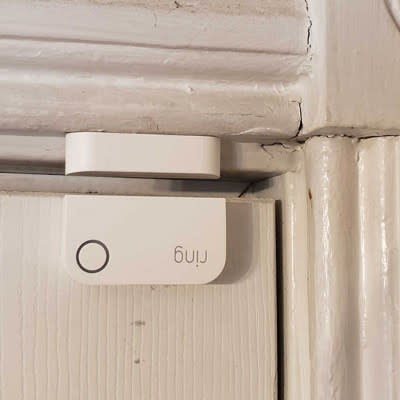
For a closed window or door that is not flush with the frame or moulding:
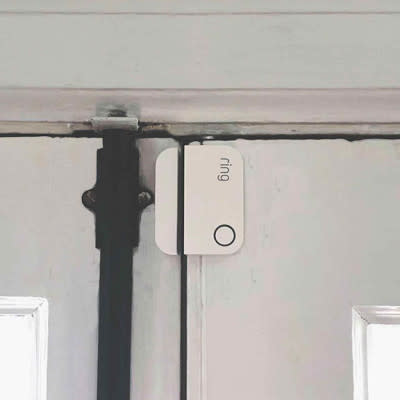
- Use an offset mount for the Contact Sensor and magnet if the closed window or door doesn’t match up with the frame or moulding.
- Make sure that the Contact Sensor and magnet are less than 1 inch apart, and you see the LED blink and hear the chime when you open the door or window.

Rotate the magnet or sensor for a more secure fit.
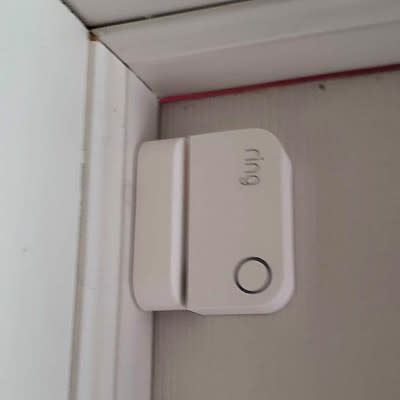
Rotate the Contact Sensor or the magnet so they meet at a right angle.
- In order to make these fit, your Contact Sensor may need to be mounted about 3/4" in from the edge of the door or frame. These images illustrate how to get creative:
Basement windows:
- Installing the Sensor on your window frame and the magnet on the window might work for you, as long as there's enough room for you to slide off the Sensor to change the batteries.
- If you have a basement window, be careful not to leave the window open during rain or snow. Water can damage the Contact Sensor.
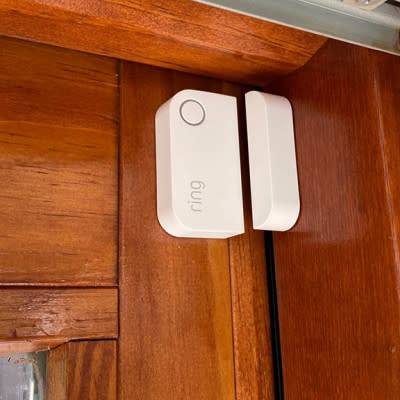
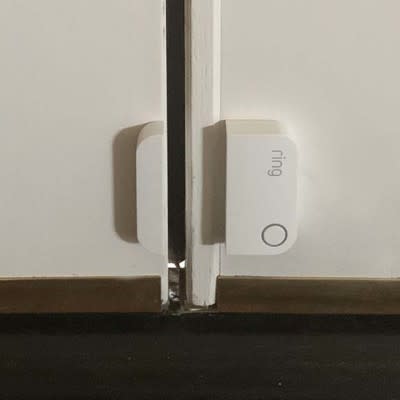
French doors:
- Place the Contact Sensor on one door, and the magnet on the other:
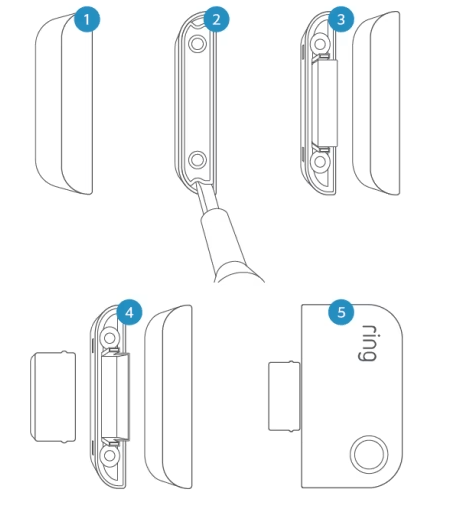
Removing the slim magnet from your Contact Sensor
If you are installing your Contact Sensor on a window or door with a narrow frame, you can remove the slim magnet from inside the magnet so that it fits into the available space.
To remove and install the slim magnet:
- Take the magnet component of your Contact Sensor.
- Lever the back off the magnet component with a small flat head screwdriver.
- Remove the slim magnet.
- Install the slim magnet next to the sensor, using the adhesive pad.
Using a Ring Alarm Contact Sensor Riser
If you are still having problems getting your Contact Sensor positioned correctly, a Ring Alarm Contact Sensor Riser (sold separately) could be the solution. Window and door finishes are sometimes uneven and prevent the sensor and magnet from being within the required 1-inch maximum detection gap.
The Riser adds 3/8th inch (10mm) in height to the Contact Sensor. It also comes with an additional Magnet that is 3/8th inch (10mm) taller than your original one. Use these accessories as needed to improve the positioning and function of your Contact Sensor.
How to install the Contact Sensor Riser
 | 1. Disarm your Ring Alarm system using the Ring app or Keypad. 2. Slide the Contact Sensor off of its mounting bracket. 3. Attach the mounting bracket to the Riser. Make sure it snaps in securely. 4. Slide the Sensor onto the Riser. Make sure it slides in completely. 5. Install the Sensor and Magnet on your window or door and make sure that they are within the required 1-inch maximum detection gap. 6. Open your door or window to confirm that the Contact Sensor detects when the door or window is opened and closed. |