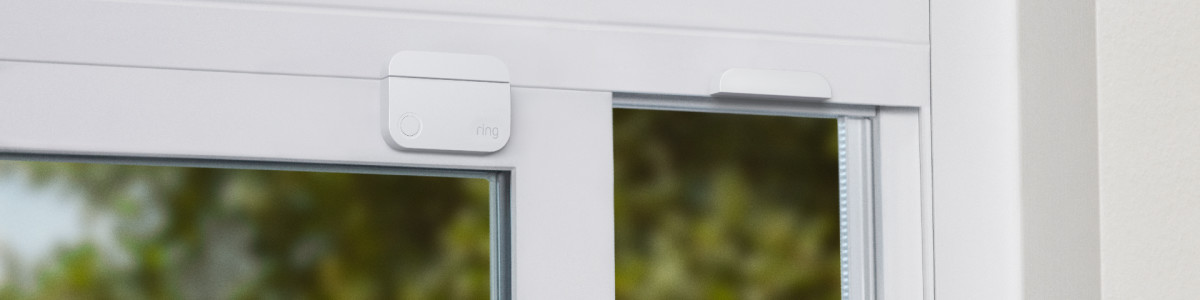
Risoluzione dei problemi relativi ai sensori di contatto Ring Alarm
Scopri come risolvere i seguenti problemi relativi al sensore di contatto Ring Alarm nel caso si verificassero:
- Connessione debole
- Sensore non reattivo
- Segnalazioni imprecise dello stato aperto/chiuso
 Sensore di contatto (1ª gen.) | 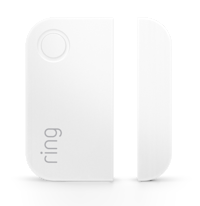 Sensore di contatto (2ª gen.) |
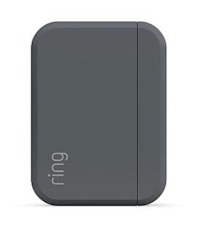 Sensore di contatto per esterni |
Descrizione delle sequenze delle spie del sensore di contatto
La spia sul dispositivo ne indicherà lo stato. Scopri di più sulle sequenze delle spie del sensore di contatto.
Ripristino della connessione del sensore di contatto
Se l'app Ring evidenzia un segnale Z-Wave debole, oppure il dispositivo è offline, non risponde o non si accende, procedi come segue:
- Smonta il sensore e spostalo a una distanza di circa 1,5 metri dalla stazione base. Se la connessione migliora, puoi spostare la stazione base in una posizione più centrale o aggiungere un.
- Rimuovi le batterie e reinseriscile dopo alcuni secondi.
- Per il sensore di contatto per esterni,per verificare che sia abbastanza vicino alla stazione base.
Se il sensore di contatto continua a presentare problemi, prova a riconnetterti nell'app Ring:
Apri l'app Ring per accedere alla dashboard principale.
In Dispositivi, tocca il riquadro Alarm.
Tocca Dispositivi connessi.
- Tocca il sensore di contatto che desideri riconnettere.
- Tocca il riquadroImpostazioni dispositivo.
- ToccaImpostazioni avanzate.
- ToccaRiprova connessione: segui le istruzioni nell'app Ring per riconnettere il sensore alla stazione base Ring Alarm.
Se i problemi persistono, ripristina le impostazioni di fabbrica del sensore di contatto.
Ripristino del sensore di contatto manomesso
Se il sensore di contatto non segnala l'apertura e viene chiuso correttamente, verifica che il magnete e il sensore siano allineati, quindi regolali secondo necessità.
Scopri di più sulla risoluzione dei problemi relativi ai sensori di contatto manomessi.
Scopri di più sul posizionamento corretto dei sensori di contatto.
Ripristino del sensore di contatto alle impostazioni di fabbrica
Se il sensore di contatto non funziona come previsto e gli altri passaggi non hanno risolto il problema, ripristina il dispositivo alle impostazioni di fabbrica. Poi riconnettilo all'app Ring.
Sensore di contatto (2ª gen.) e sensore di contatto per esterni:
- Fai scorrere il sensore di contatto per rimuoverlo dalla sua base.
- Utilizza una puntina o una graffetta per tenere premuto il pulsante di ripristino all'interno del foro sul retro. Quando la luce LED si spegne, rilascia il pulsante di ripristino.
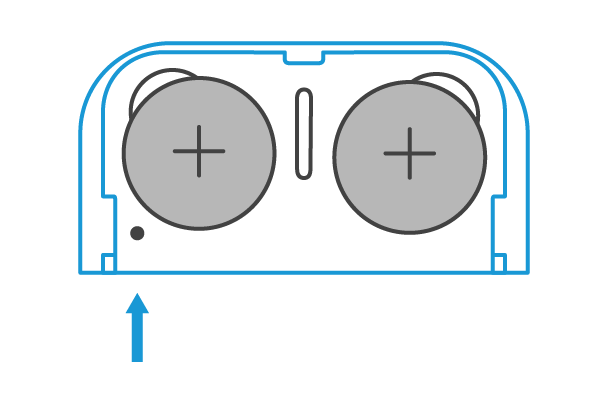
- Aggiungi nuovamente il dispositivo utilizzando l'app Ring.
Sensore di contatto (1ª gen.):
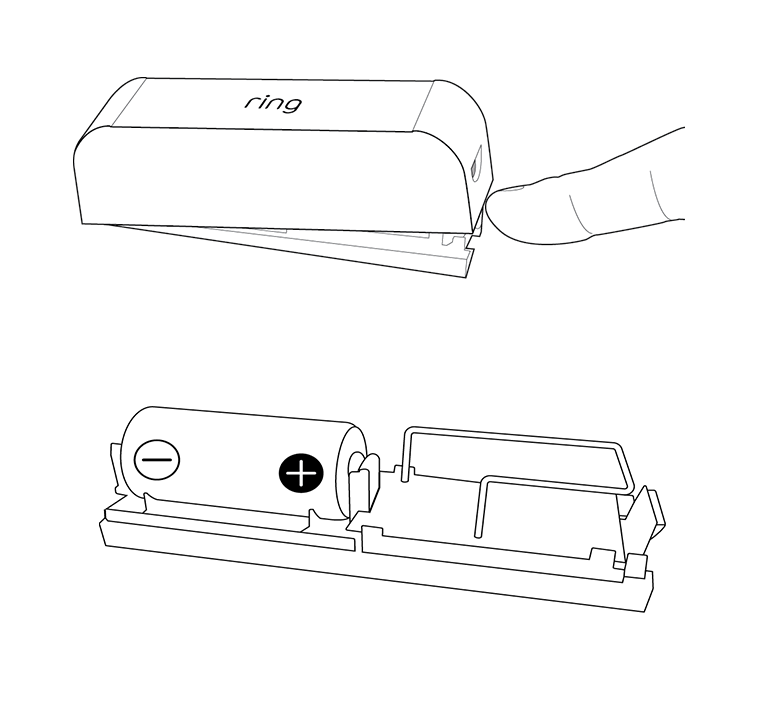
- Rimuovi il coperchio dal dispositivo.
- Rimuovi la batteria dal dispositivo.
- Tieni premuto l'interruttore anti-manomissione (situato vicino all'antenna).
- Inserisci la batteria tenendo premuto il pulsante antimanomissione. La spia LED lampeggerà. Tieni premuto il pulsante fino a quando la spia LED non smette di lampeggiare OPPURE finché non vedrai una spia a LED fissa.
- Rimetti il coperchio sul dispositivo.
- Aggiungi nuovamente il dispositivo utilizzando l'app Ring.
Dopo aver ripristinato il sensore di contatto alle impostazioni di fabbrica, dovrai configurarlo nuovamente nell'app Ring. Scopri come configurare e utilizzare il sensore di contatto Ring Alarm.