Placing Your Solar Smart Lights for Optimum Performance
One of the most important considerations when installing your Solar Smart Lights is placing them so that they get adequate sunlight to maintain their charge year-round. This article will help you place and maintain your Smart Solar Lights so they stay bright when you need them.
If you would like general information on Ring Smart Lighting, tap here.
Remember: Charge Your Battery
Due to shipping restrictions, lithium batteries can only be shipped at about 30% charge, so the first thing you should do before installing our Solar Smart Light is charge the battery with the included micro USB cable and ensure non-stop performance once installed.
You should also remember that you are not completely dependent on the sun to keep your light's battery charged. During winter months if the sun isn't in the sky for long enough to get a completely dependable 100% charge, you can always use the micro-USB cable to give your lights a quick charge.
Always install your lights with access to direct sunlight
The first step in maintaining a good solar charge throughout the year is ensuring your Smart Solar Light is properly installed in a well-lit area that receives direct sunlight for several hours per day. "Direct sunlight" is when the Sun hits your solar panels in a perpendicular fashion.
To ensure your solar panel receives direct sunlight, your device should be unobstructed by shade from trees or nearby structures, such as a home's shadow, overhangs, or trees. By ensuring your lights are mounted with a clear view of the Sun’s rays, you will maintain a steady charge rate during the day.
For people living in the US, this also means installing your light on the southern part of your home so your solar panels face true south - or towards the equator. Facing your panels south gives you the best chance of receiving direct sunlight. While you may still receive diffuse (as opposed to direct) sunlight rays when installing your light on the north side of your home, you are severely limiting your device’s charging capabilities. This is even more pronounced in winter months when sunlight is already lacking.
Installing your Solar Pathlight and Solar Steplight
Your Solar Pathlight and Solar Steplight both have fixed, integrated solar panels. This means there is no way to tilt or rotate the individual panels. This can also make it challenging to find the best location for your device to ensure it gets direct sunlight. Once you determine where you want to mount your lights, take a look around and check for the following:
- There is no heavy tree coverage directly above your solar panel.
- There are no railings or eaves that might block the sunlight from getting to your solar panel.
- Your solar panel should be facing south towards the equator.
Following those guidelines will help guarantee your light maintains adequate charging throughout the year.
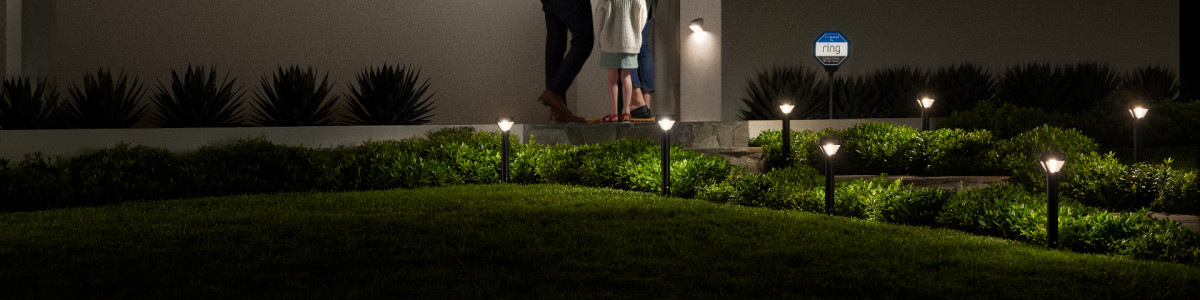
You may find it is a bit easier to find a good place for your Solar Pathlight, which tends to be mounted in open spaces, such as walkways, pathways, flower beds, and key entrances.
Your Solar Steplight requires mounting on a vertical surface. It is important you avoid mounting your Solar Steplight directly underneath heavy overhangs, like step or deck railings. Instead, try mounting your light on the railing itself, the top of the deck post, or even on the top of fences. Mounting a bit higher not only increases your likelihood of maintaining a good charge with adequate sunlight, but your light also gives off better coverage and ambiance in your yard.
Installing your Solar Floodlight
Your Solar Floodlight is very flexible when it comes to installation. With a detached solar panel, you are able to mount your Floodlight wherever you might need it (even if it is a shaded area like under an eave) and separately attach your solar panel in the optimum place to receive direct sunlight (albeit within 13ft).
Many people choose to install their solar panels on their roof where sunlight accessibility is easiest. When doing so, the same rule of thumb applies - mount your solar panel on the south side of your home. This will give you the best chance of receiving direct sunlight year round.
Your new Solar Floodlight will allow you to rotate your panel either up or down or side-to-side, but generally the best angle for maximum sunlight exposure is at about 45 degrees below vertical. Once you have your Floodlight and solar panel installed, always make sure your panel is plugged in properly to your light and your wire is secured.
Solar Panel Maintenance
As outdoor fixtures, it's likely your solar panels will get covered in dirt and debris from time to time. Additionally, if you live in a climate which gets snow or sea salt spray off the ocean, those can accumulate on the solar panel surface and decrease charging capability. We recommend wiping off your solar panel with a damp cloth at every season change and keeping an eye on your panels after heavy snowfall.
If I live in an area with low sunlight can I still install Ring Solar Smart Lighting?
Yes. Every season brings different challenges, but Ring Solar Smart Lights can still be just as valuable in winter months as long as you keep in mind certain considerations. Average hours of sunlight each day can vary greatly depending on where you live and what season you are in.
Remember, you can always charge your Smart Solar Light battery using the Micro-USB cable!