How to Physically Install your Wired Doorbell Plus
Install your Wired Doorbell Plus by watching this video or following the step-by-step instructions.
View or download the Wired Doorbell Plus (formerly Video Doorbell Pro) manual.How to set up your Wired Doorbell Plus in the Ring app
Remove your existing doorbell button
- Turn off power at thebreaker.
- Remove the button on yourexisting doorbelland disconnect the wires.
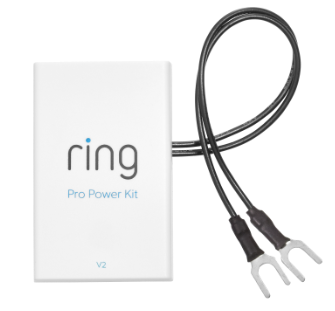
Install your Pro Power Kit
If you have an existing Pro Power Kit already installed, you must use the new one included with your new doorbell.
- Remove the cover to yourin-home doorbell chime kit.
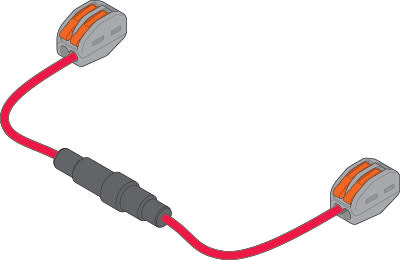
- If your chime kit isn’t compatible,
- Verify your transformer has an output of16-24V AC and 30VAand50/60 Hz.
- Alternatively, you canto power your doorbell with an outlet.
- Note:Do not use a halogen or garden-lighting transformer or a DC transformer/power supply.
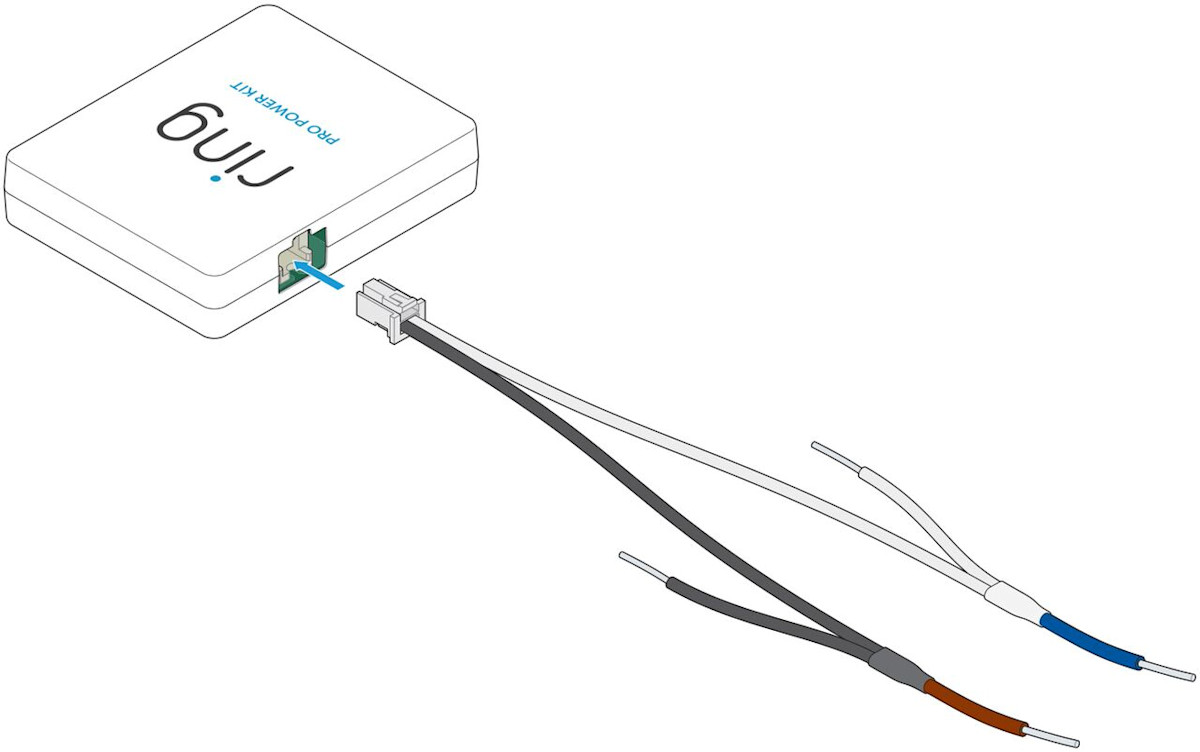
- Install your Pro Power Kit or Pro Power Cable (pictured below). Scroll down to the link that applies to you and follow the steps on that page.
Mount your Ring Wired Doorbell Plus
- If necessary, remove the security screw from the faceplate.
- Remove the faceplate: Grasp the edges of the faceplate and push gently against the front of the Doorbell to remove.
- If mounting on a masonry surface, place your Wired Doorbell Plus where you want to mount it andmark pilot holes. Then, drill holes where you've marked the holes andinsert the anchors.
- Connect the wires to the screwson the back of the device.
- It doesn't matter which order the wires are connected.
- Be sure the wires don't touch each other.
- Be careful of over-tightening these screws as well.
- Place the device against the wall. Make sure that it is level, then drive the screws in.
- Wired Doorbell Plus willneverrequire a diode to be installed.
- Turn the power back on at the breaker.
Set up the doorbell in the Ring app
- Double check each portion of your wiringand then turn the power back on. The device will require up to an hour to charge its internal power cell. After it has been charged, the device will automatically move into setup mode.
Attach the faceplate
- Place the faceplateon the doorbell and ensure it is secured to the device.
- Install the security screwat the bottom of the device.
Last updated 1 month ago


