
Setting up and Installing Your Smart Lights Transformer
Setting up your Smart Lights Transformer in the Ring app is simple. Simply scroll down for a step-by-step guide.
If you want general information on Ring Smart Lighting, tap here.
Safety Warnings
Working with electricity can be dangerous unless proper safety precautions are taken. If you are not comfortable or are inexperienced with the processes and tools described here, we recommend you hire a licensed electrician.
When installing your Transformer or other Smart Lights:
- Be aware of the risk of electric shock. Do not mount power supply or luminaires within 10 feet (3 meters) of a pool, spa, or fountain.
- Use only on a branch circuit protected by a Class A type Ground Fault Circuit Interrupter (GFCI).
- When used outdoors, install only to a covered Class A GFCI protected receptacle that is waterproof with the power unit connected to the receptacle. If one is not provided, contact a qualified electrician for proper installation. Ensure that the power unit and cord do not interfere with completely closing the receptacle cover.
- Transformer must be installed at greater than one foot above ground level.
- Maximum wattage load is 200 watts. Verify that the combined total wattage of all fixtures is below 200W (for best results, do not exceed 140W)
- For use with landscape lighting systems.
- Use with 12V or 15V landscape lights, including LED and halogen lights.
- Use only with common gauge sizes of CSA or UL approved low voltage cable (12-16 AWG).
- Do not use with an extension cord.
- Do not connect two or more power supplies in parallel.
Before you begin:
- If there is an update available for your Ring App, please update it before you begin. Remind any shared users to update their app too. Updating the app ensures that everyone on your account will be able to see this new device.
- Be sure to install andbefore installing and setting up your Smart Lights. You will need to have a Ring Bridge installed and set up in order to connect your Smart Lights to the Ring App and the rest of your Ring devices.
Step One - Complete setup in the Ring app Plug the Transformer in inside your home to add the Transformer to the Ring app. * Open the Ring app to the main dashboard. * Tap "Set Up a Device" at the bottom of the screen. * Select "Device location." * Tap "Smartlight." * Tap "Transformer." * Tap "Add Device." * Tap "Ready." Once Setup is complete, unplug the Transformer and take it outside. |  |
Step Two - Choose a location You'll have to plug in your Transformer, so the best place for it is near an outlet (make sure it's a covered, weatherproof Class A GFCI protected outlet). | 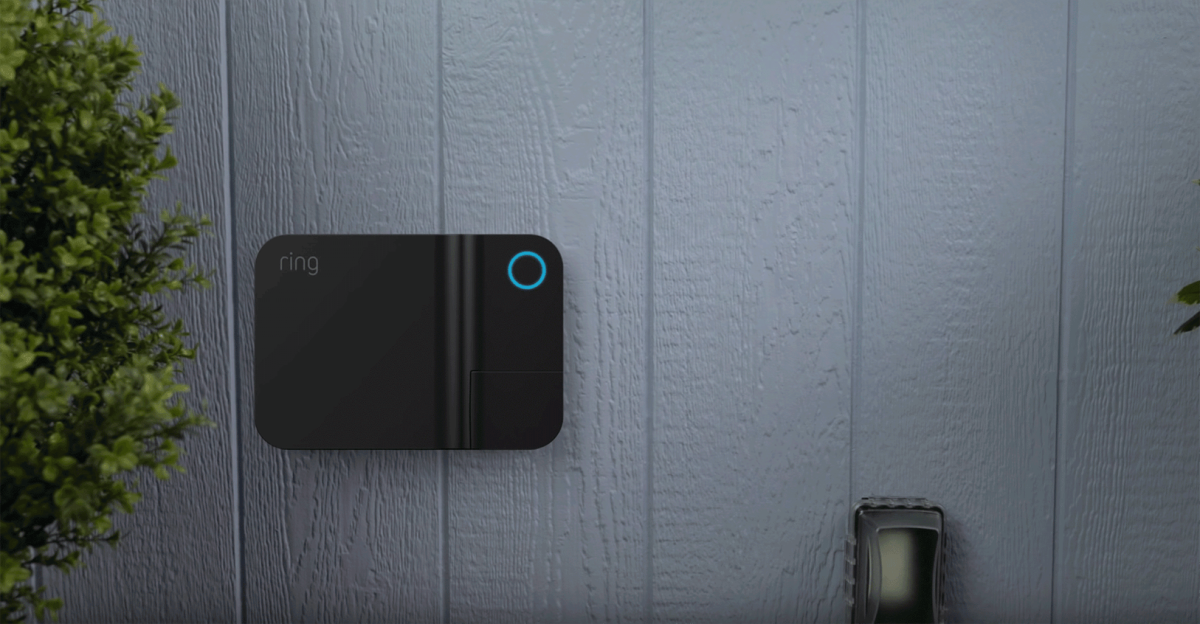 |
Step Three - Mount your Transformer To mount the Transformer: * Use the included mounting template to mark the screw holes. * To avoid damage to your Transformer, make sure the bottom screw is at least one foot above the ground. * Drive the top screws, leaving 1/8 inch of space between the mounting surface and screw heads. * If installing on a masonry surface, drill pilot holes for the included anchors. * Align the Transformer with the top screws. Slide it down over the screws to lock it into place. * Drive the bottom screw to secure your Transformer against the mounting surface. |  |
Step Four - Choose a cable
Your Transformer doesn't come with a low voltage cable, so you'll have to buy some online or at a home improvement store.
Select a cable using this chart:
0-50 feet of wire | 51-100 feet of wire | 101-150 feet of wire | |
0-50 Watts - total light wattage | 16 AWG | 16 AWG | 15 AWG |
51-100 Watts - total light wattage | 16 AWG | 14 AWG | 12 AWG |
100-200 Watts - total light wattage | 14 AWG | 12 AWG | 12 AWG with 15V Tap 1 |
1 - Only use 15V Tap when the wire length is over 100 feet and total wattage is over 100 Watts. 12V Tap is recommended for all other cases.
Ensure the total fixture wattage does not exceed the maximum wattage load of the Transformer. To get the total wattage, add up the voltage of each fixture. For example, 10 fixture at 5W each is 50W total wattage.
Note: Make sure your cable is long enough to reach all light fixtures. Consult cable manufacturer if additional wire length or connectors are needed.
Step Five - Place light fixtures Decide where you would like to place your lights (not included), and arrange them in the desired locations. | |
Step Six - Connect cable to Transformer To connect the cable to the Transformer, do the following: * Open the Transformer access door to expose the terminals. * The rubber grommet can be removed to identify the terminals. Just make sure you don't lose it. * Split and strip the cable. * Flip open the terminals and feed one end of the cable through the rubber grommet into the Common terminal (left). * Feed the other side of the cable through the rubber grommet into either the 12V (center) or 15V (right terminal based on the cable wattage you chose. * Close the terminals and the access door. Note: The Transformer should still be unplugged until Step Nine. | |
Step Seven - Run cable to fixtures Starting at the Transformer, run the cable to each light fixture, leaving about 12 inches of cable after the last fixture. Note: Leave a little extra cable at each fixture in case you have to adjust their location. | |
Step Eight - Connect the wires Secure the light fixtures to the cable according to the fixture manufacturer's instructions. | |
Step Nine - Plug the Transformer into the power outlet Your Transformer must be connected to a covered, weatherproof GFCI protected receptacle. If you don't have a covered, weatherproof GFCI protected receptacle, you'll need to hire a licensed electrician to install one. Once plugged in, the button on the front of your Transformer will pulse red. Press the button. When it turns solid red, your Transformer is powered on. | |
Step Ten - Bury wiring cable Dig a shallow trench (up to six inches deep) along the wiring route. Bury the wiring cable inside the trench. |