
Installing Spotlight Cam (1st Gen), Mount
1. Select your installation Location.
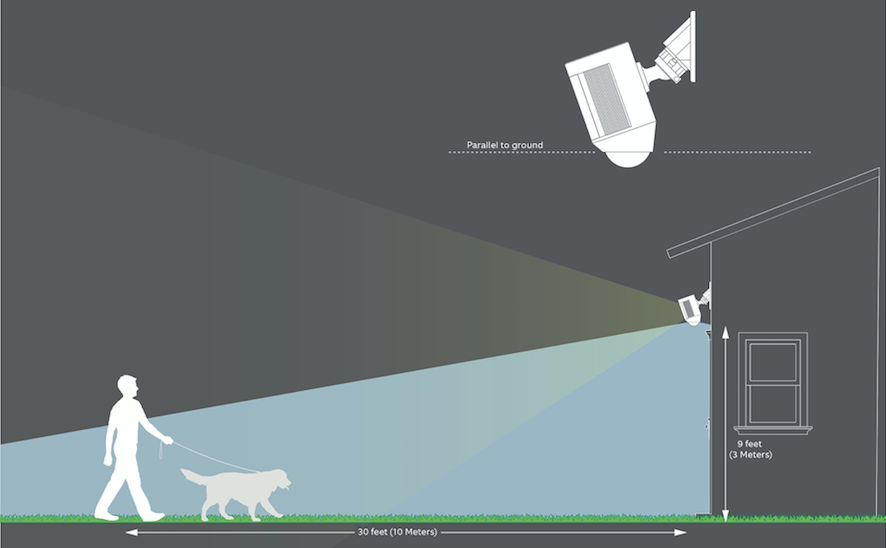
Select a location to install your Spotlight Cam. It's important when selecting a location to remember that Spotlight Cam is designed to be placed at an optimum height of nine feet with the motion detector parallel to the ground. This will put the motion sensor in a perfect position to detect human-sized objects at up to 30 feet.
Also note that you'll need to decide whether you're going to be mounting your Spotlight Cam on the wall or on the ceiling.
- When mounting the Spotlight Cam to a vertical wall, you'll want the circular protrusion where you mount the Spotlight Cam facing downwards.
- When mounting to a horizontal surface, face the circular protrusion in the direction you want the camera to see.
2. Insert and secure the Wiring Harness.
- Hold the plate that covers the weatherproof box and your Spotlight Cam in the orientation you plan to install them.
- Feed the wires through, then insert Spotlight Cam into the box cover.
- Using the nut attached to the base of the camera's arm, secure the wiring harness from the box cover.
- Once the nut is tightened, turn your Spotlight Cam to the left to disengage it from the mount, and remove it, for now.

3. Shut power off at the Breaker.
If you don't know where your breaker is or how to turn off power to your electrical box, consult a licensed electrician.
4. Remove your Existing Light or Camera (optional).
With power off at the breaker, remove your existing floodlight or camera from the electrical box and disconnect the wires.
If there is a bracket attached to your electrical box, remove that as well. Inspect the box to make sure water can't get in.
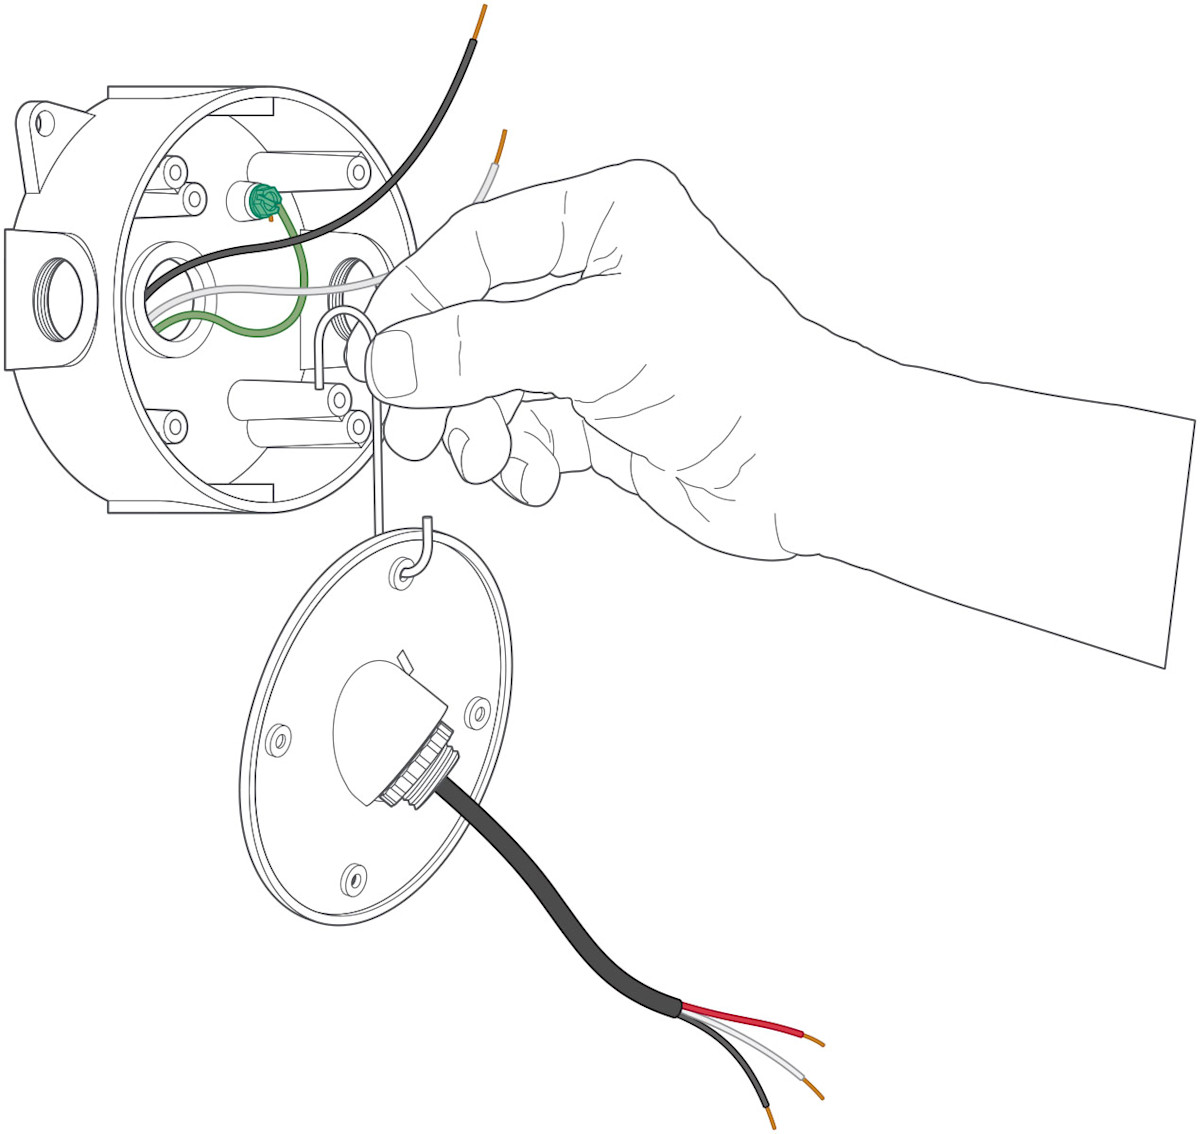
5. Hang the Box Cover.
Use the included hanging hook to hold the weatherproof box cover in place as you wire it in.
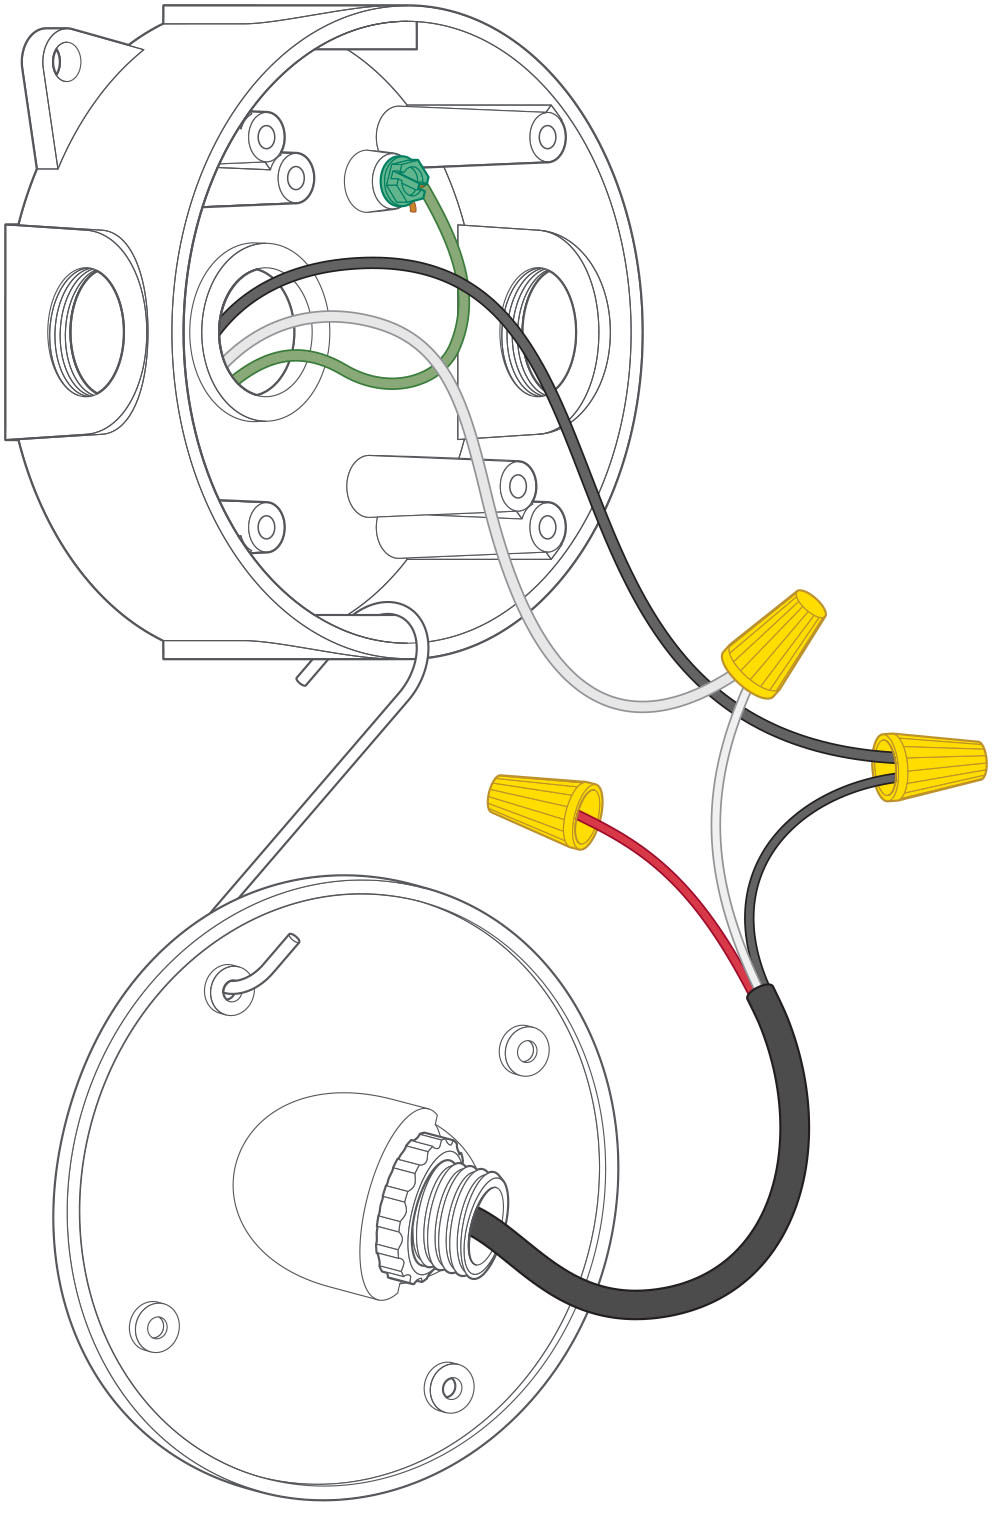
6. Connect the Power Wires.
Connect the black and white wires on the wiring harness to the black (hot) and white (neutral) wires coming out of your electrical box.
Use the included wire nuts to secure and protect the connections.
The remaining red (control) wire is optional and should be connected only if you wish to control other lights with your Spotlight Cam. If not in use, the red wire must be capped securely with a wire nut.
7. Screw in the Box Cover.
Use the included screws to secure the box cover to the electrical box. Be sure to add a metal washer, then a rubber washer to each screw before inserting.
8. Mount your Spotlight Cam.
Insert your Spotlight Cam into the box cover. Once it's fully seated, turn to the right to lock it.
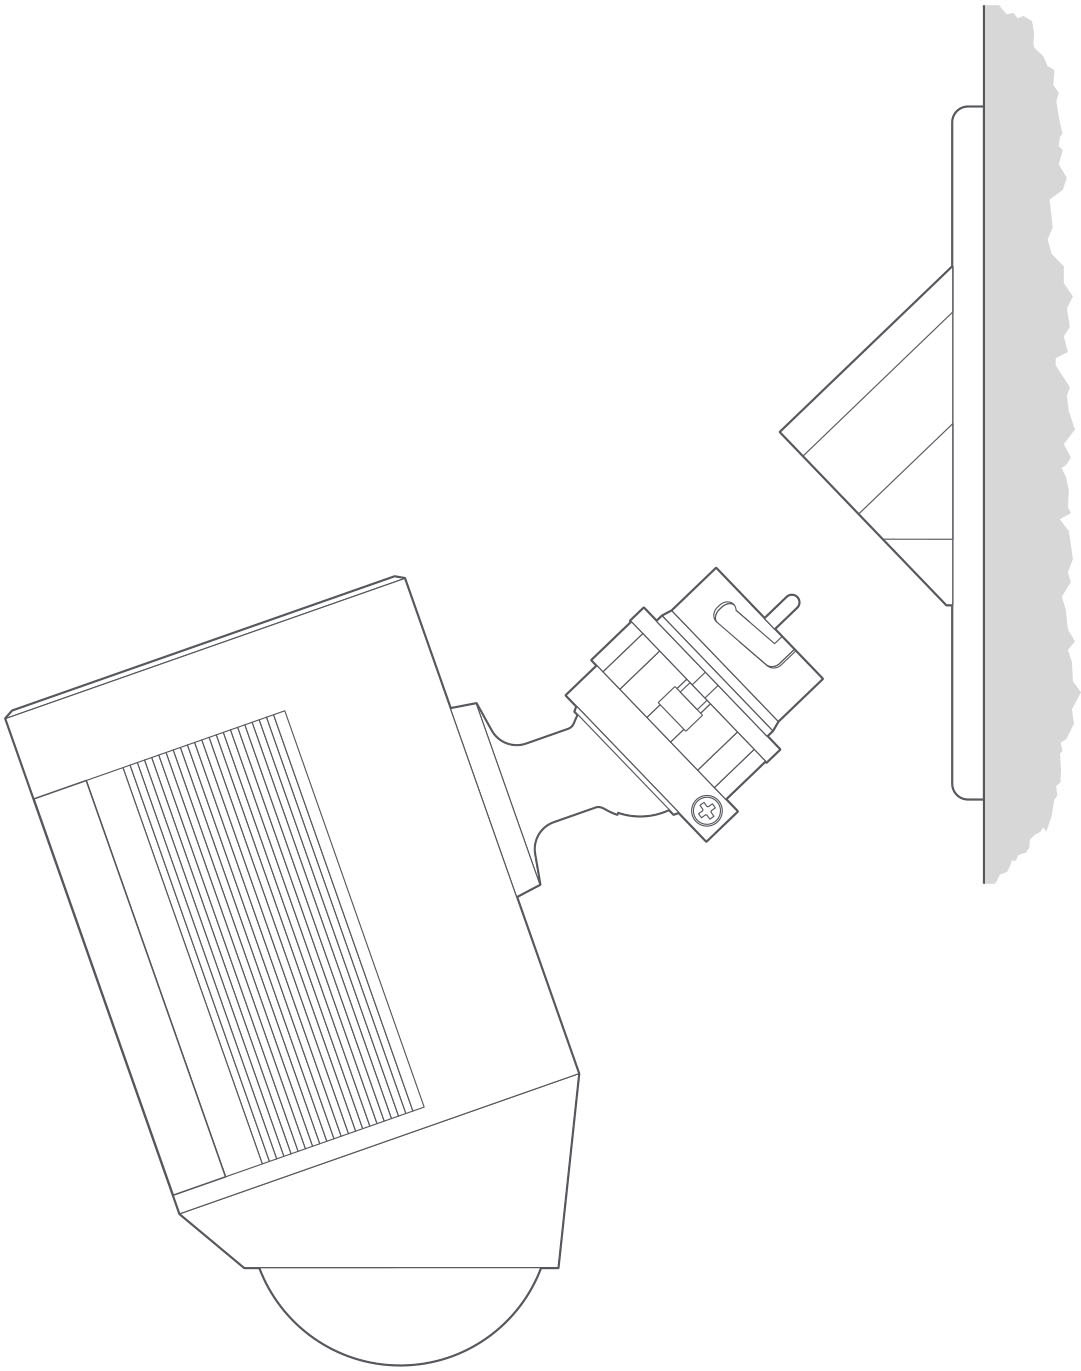
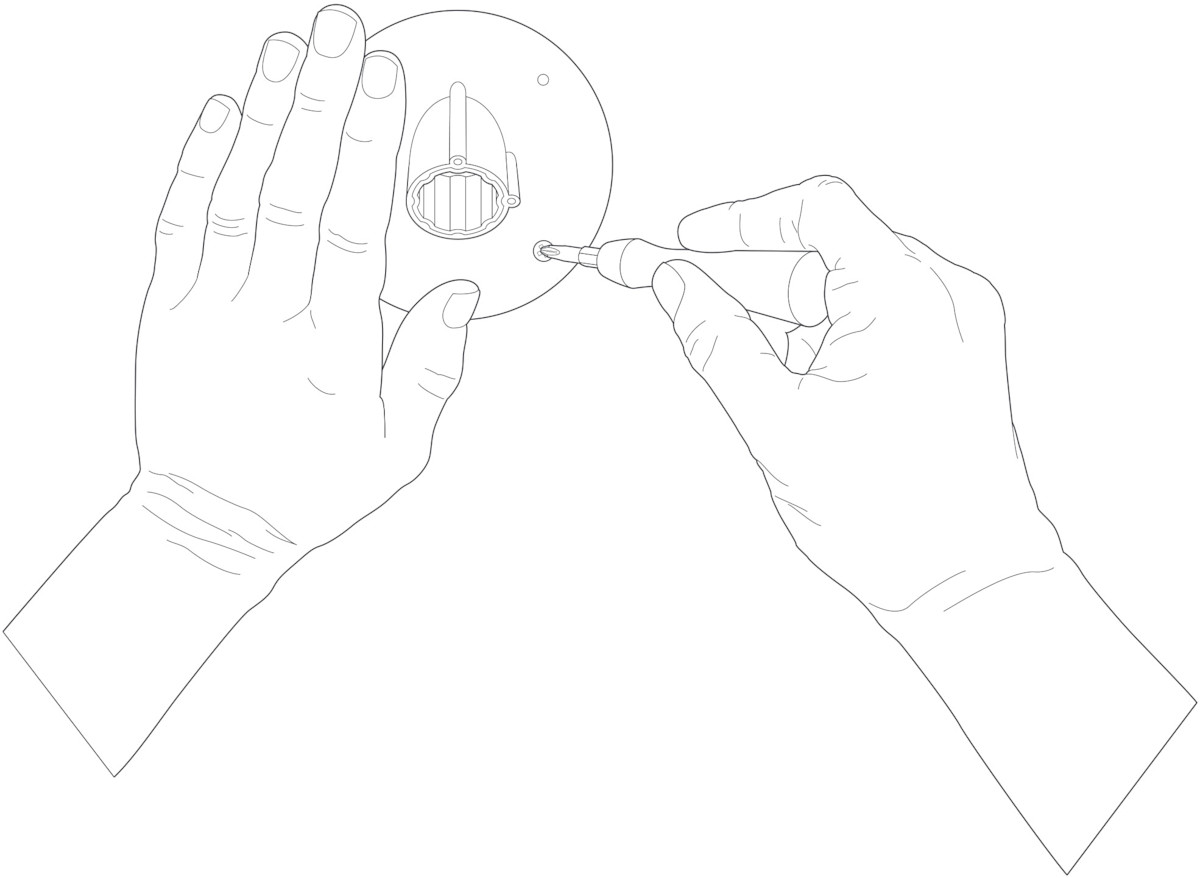
9. Add the Security Screw.
Tighten the security screw on the side to lock your Spotlight Cam to the box cover.

10. Turn power on at the Breaker.
Once your Spotlight Cam is installed, it's time to turn the power back on at the breaker. If the lights on your Spotlight Cam turn on, you're ready to go! If not, turn off power at the breaker and check your connections.
11. Set up your Spotlight Cam in the Ring app.
After physically installing your Spotlight Cam, the next step is to set it up in the Ring app.