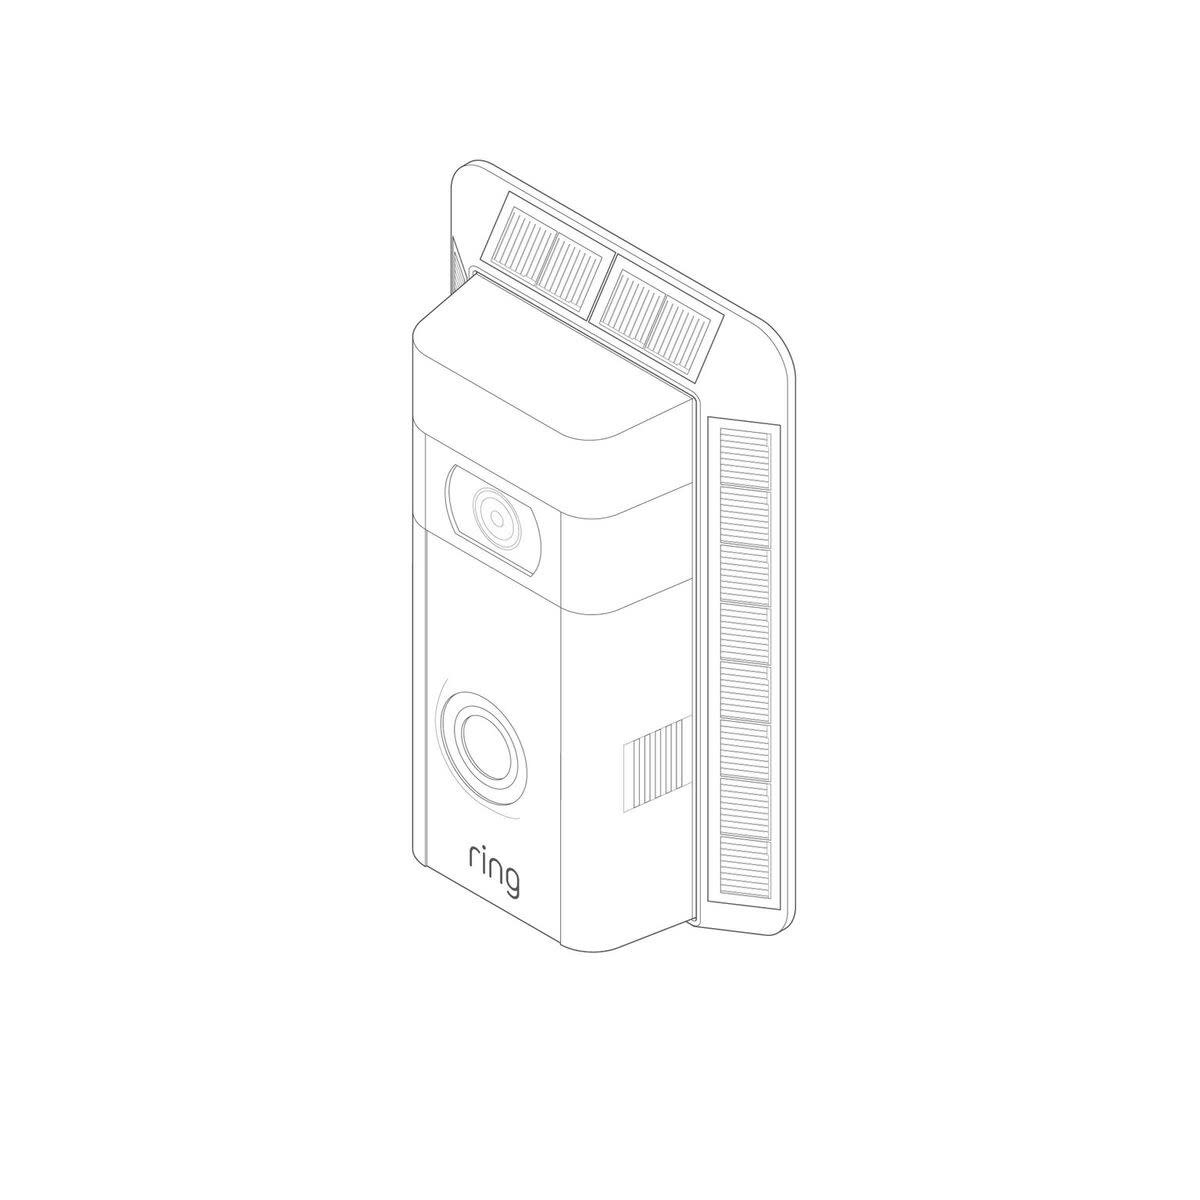
Installing Video Doorbell 2 Solar Charger
Install the Solar Charger for your Ring Video Doorbell 2 with this step-by-step guide.
1. Uninstall your Ring Video Doorbell 2.
If your Ring Video Doorbell 2 has already been installed, you'll need to uninstall it before putting up your Solar Charger. To uninstall the Ring Video Doorbell 2:
- Remove the security screw.
- Pop off the faceplate.
- Remove the mounting screws.
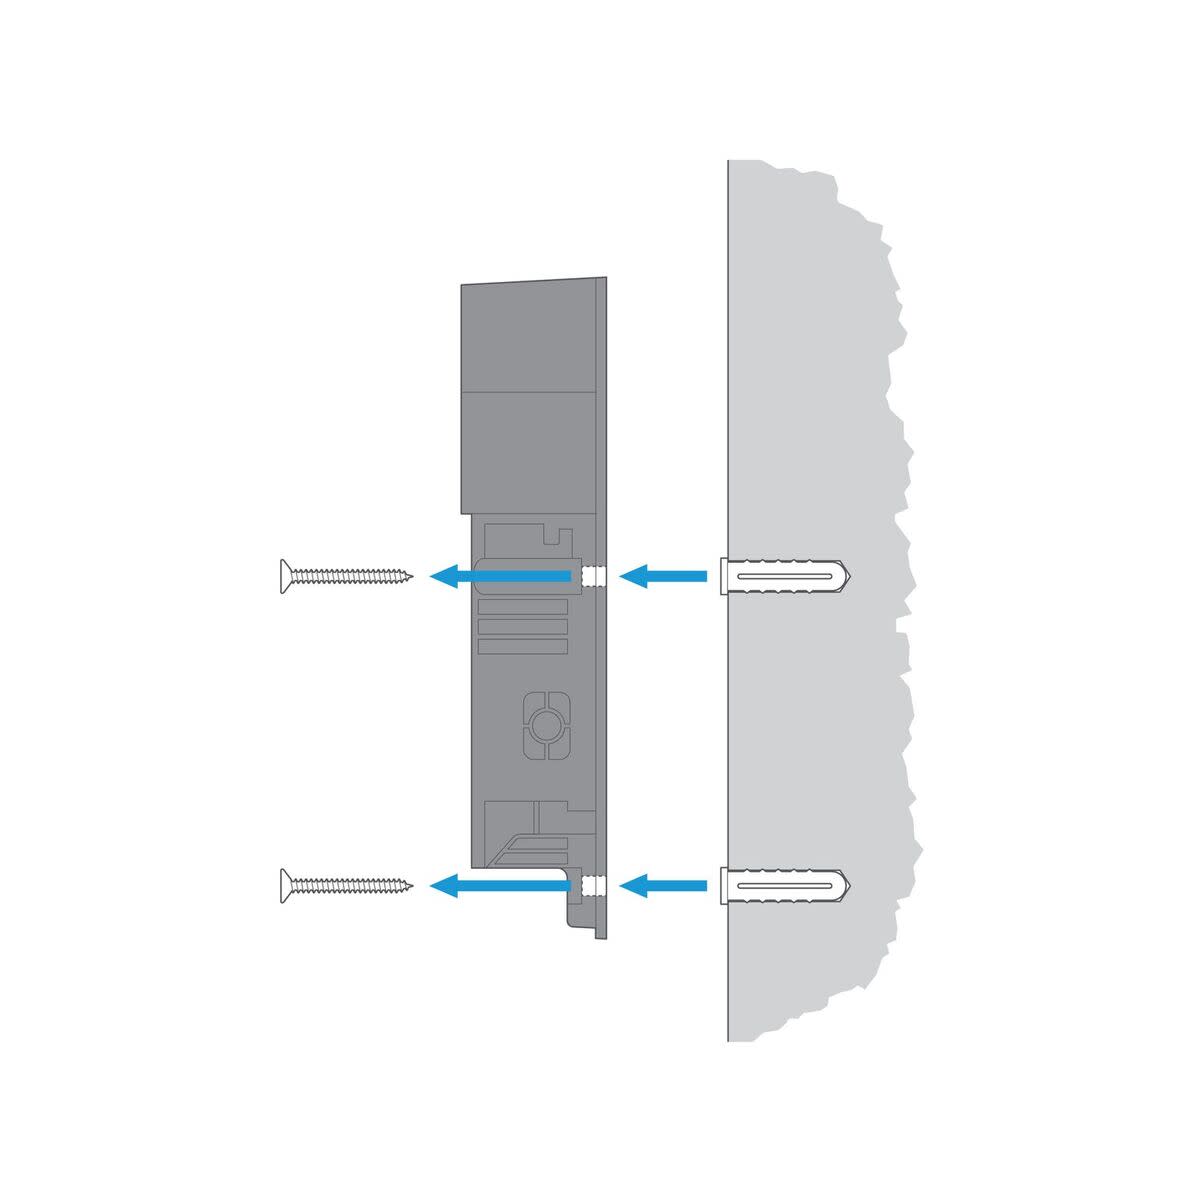
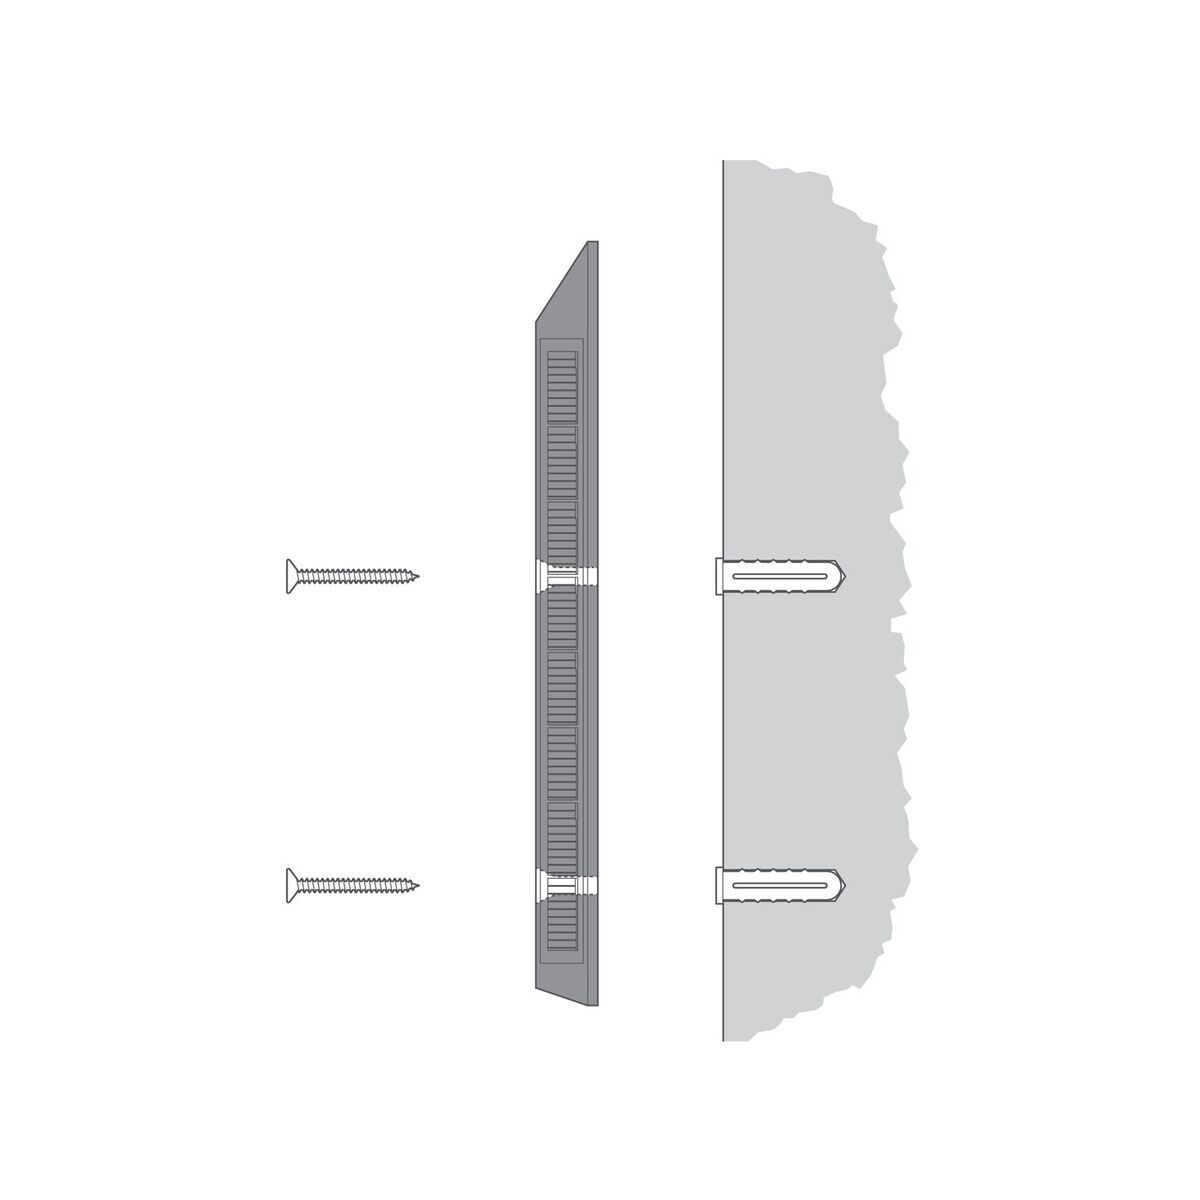
2. Mount the Solar Charger.
Using the provided screws, mount your new Solar Charger to the wall. If you are mounting the Solar Charger to a brick or stucco wall, you will need to use the provided wall anchors.
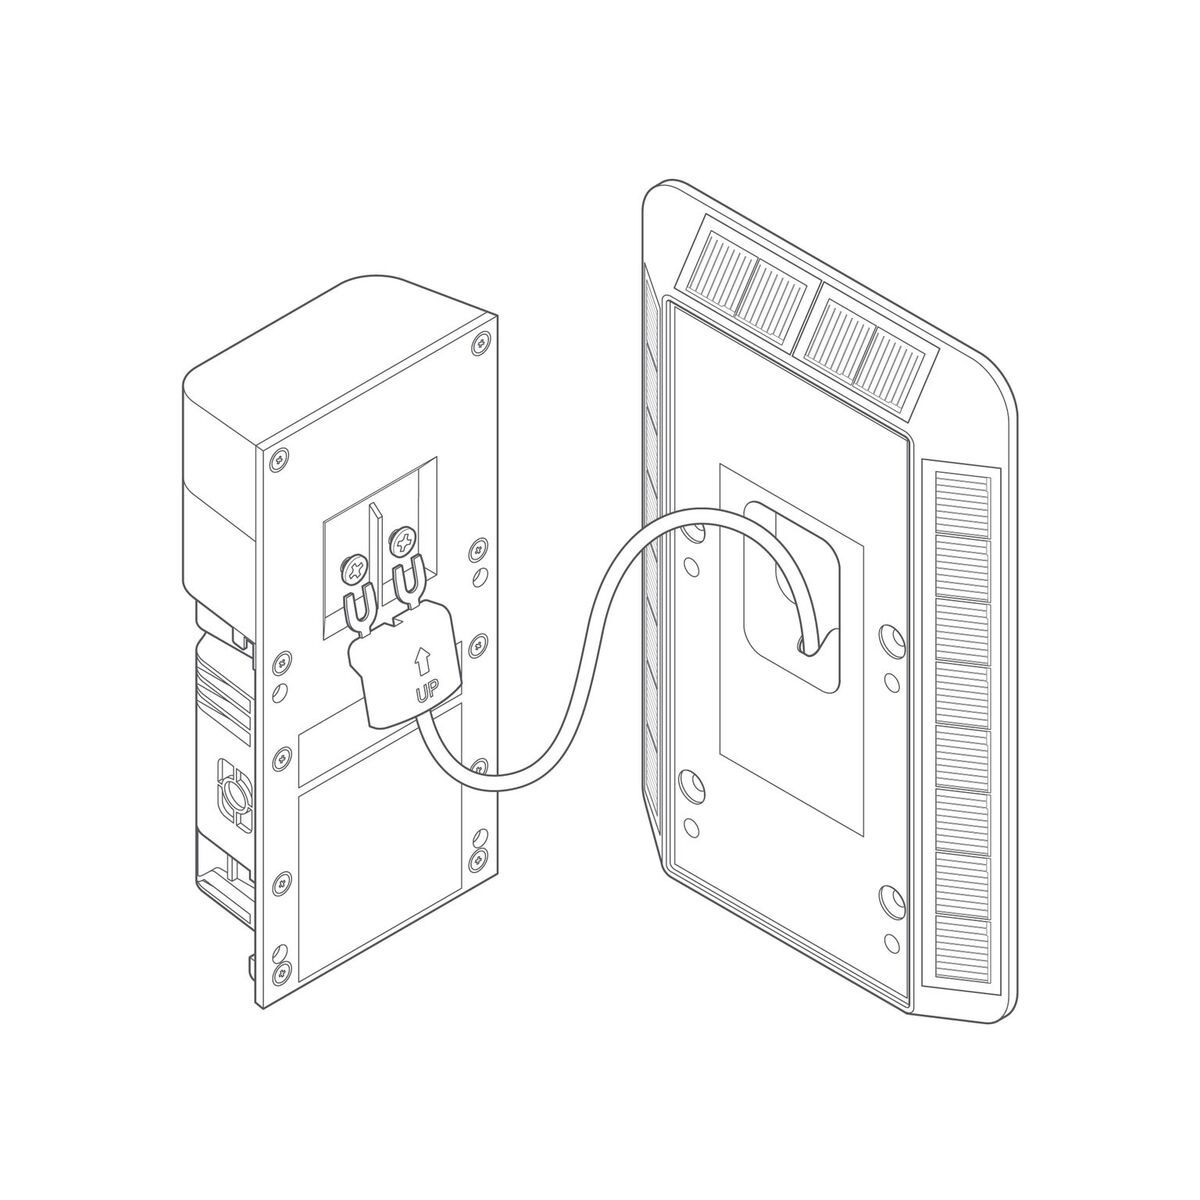
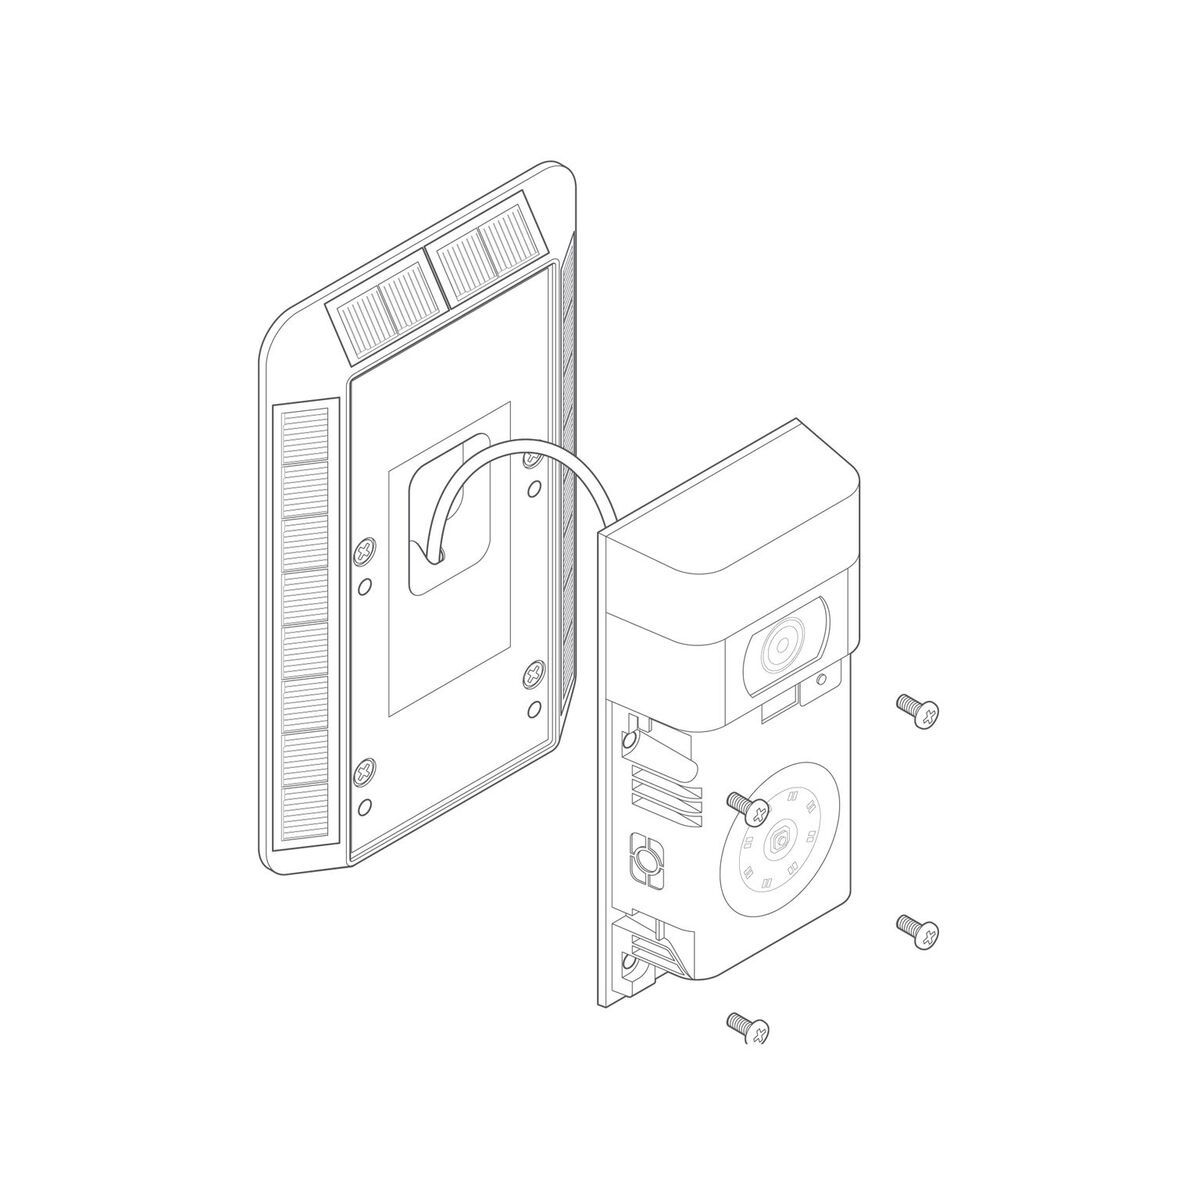
3. Connect your Ring Video Doorbell 2.
Next, you will need to connect your Ring Video Doorbell 2 to the Solar Charger.
- Loosen the two screw terminals on the back of your Ring Video Doorbell 2.
- Insert the wire connector from the Solar Charger under the screws on the terminal.
- Re-tighten the screws on the terminals.
Be sure that the side of the terminal that reads "Up" is facing you when you connect the Solar Charger to the screw terminals.
4. Put your Ring Video Doorbell 2 on the Solar Charger.
Next, you'll need to fit your Ring Video Doorbell 2 into the recessed portion of the Solar Charger.
Note: Be sure to feed the retractable wire back into the charger.
Once your Ring Video Doorbell 2 has been fitted into the Solar Charger, secure it using the provided bolts.
5. Finish your installation.
Finish your installation by re-attaching the faceplate to your Ring Video Doorbell 2 and installing the security screw.
Get more information on the Ring Video Doorbell 2 Solar Charger.