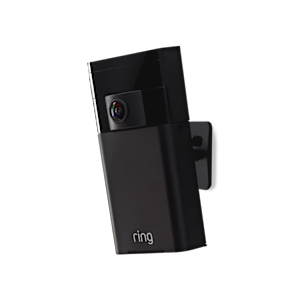
Stick Up Cam (1st Gen)
Learn about Stick Up Cam (1st Gen), Ring's first-ever security camera.
Key Features
Top Articles
Tech Specs
")
Size | 2.36 in x 2.36 in x 3.82 in 60 mm x 60 mm x 97 mm (without stand) Stand adds 0.8 in. to height |
Video | 1080p HD, Color Night Vision |
Motion Detection | Advanced Motion Detection with Customizable Motion Zones |
Field of View | 80° horizontal, 45° vertical |
Siren | Remote-activated siren |
Audio | Two-way audio with noise cancellation |
Power | Internal battery; optional hardwire to Solar Panel; optional USB power (20 ft. cord) |
Wifi Connectivity | 802.11 b/g/n wifi connection @ 2.4GHz |
Operating Conditions | -5°F to 122°F (-20.5°C to 50°C) |
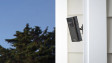
Features Included | • Advanced Motion Detection and Alerts • 2.4GHz wifi connectivity • Color Night Vision • Indoor & Outdoor ready • Mounting base/stand with adjustable angles • Two-way audio with noise cancellation • Works With Alexa |
Box Includes | Stick Up Cam; security mount Quick Release Mount Screwdriver handle and bit Drill bit Micro USB charging cable Installation screws and anchors Quick setup and installation guide |