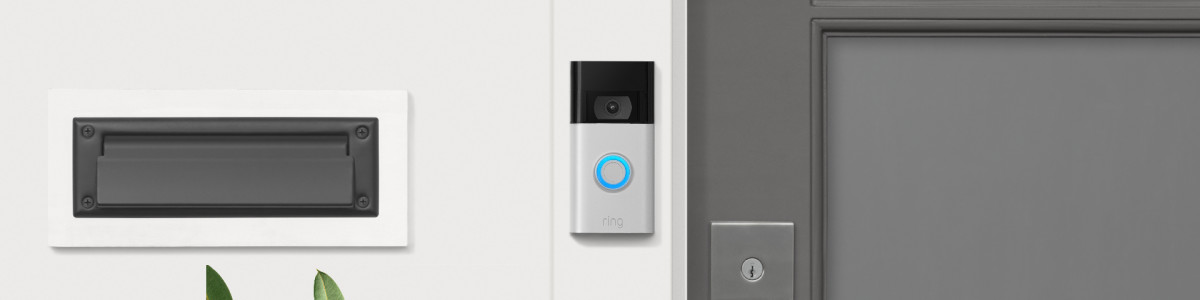
Installing Your Ring Video Doorbell 2 to an Existing Doorbell
See visitors as soon as they walk up to your door by installing the Ring Video Doorbell 2 to an existing doorbell with this step-by-step guide. Set up your Ring Video Doorbell 2 in the Ring app before mounting it to your door.
Before you install your Ring Video Doorbell 2 to an existing doorbell:
- Fully charge the battery by plugging it into a power source using the provided orange cable.
- The small light on top will glow green when fully charged.
- Insert the battery into the bottom of your Ring Video Doorbell 2 until it clicks into place.
Removing your existing doorbell
To remove your existing doorbell:
- Shut off power to your existing doorbell at the breaker.
- Remove the doorbell from the wall and safely disconnect the wires.
Installing your Ring Video Doorbell 2
*DC power transformers and most intercoms are not supported.
Install your Ring Video Doorbell 2 directly to a transformer without an existing hardwired doorbell.
To install your Ring Video Doorbell 2 to an existing doorbell:
Level your Ring doorbell
- Click the level tool (included in the box) into the small hole on the front of the Ring doorbell below the camera.
- Place the Ring doorbell next to your door at about 48-inches from the ground.
- Level the device using the level tool.
- Mark the positions for mounting holes with a pencil.
If you are replacing an previous Ring Video Doorbell, you can use the provided adaptor plate to level your new doorbell.
Drill holes (optional)
If you would like to reinforce the mounting of your Ring Video Doorbell 2, use a drill to create holes where you marked the position of the mounting holes.
You may want to drill holes if:
- You are mounting the Ring Video Doorbell 2 on brick, concrete, or stucco. Put the included plastic anchors into the holes. You may need to use a hammer to get the anchors in.
- You are using the included optional adaptor mounting plate on wood or vinyl, just use the included screws.
Install the diode
If you're wiring your Ring doorbell 2 to digital doorbell — you'll know it's digital if it plays a melody — install the included diode. Do not use the diode if you are installing your Ring doorbell to an existing mechanical doorbell as it may cause damage to it.
Connect the wires
- Connect the wires coming out of your wall to the screws on the unit.
- Either wire can connect to either screw. The order doesn't matter.
If you have trouble connecting the wires coming out of the wall to the back of your Ring Doorbell 2, use the provided wire extensions and wire nuts.
Mount your Ring Video Doorbell 2
- Place your Ring Video Doorbell 2 over the holes.
- Remove the level from the front of the device.
- Feed all the wires (and the wire nuts if you used them) into the wall.
- Secure the Ring doorbell to the wall using all four of the included screws.
- Attach one of the provided faceplates to your Ring doorbell by sliding it over the top and clicking it into place.
- Tighten the security screw to the bottom of your Ring doorbell using the provided star-shaped screwdriver to secure the faceplate.