Setting up and using your Ring Alarm Contact Sensor
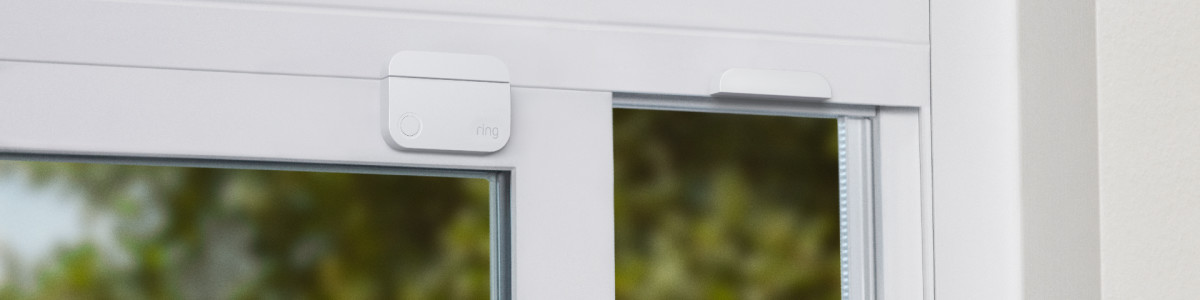
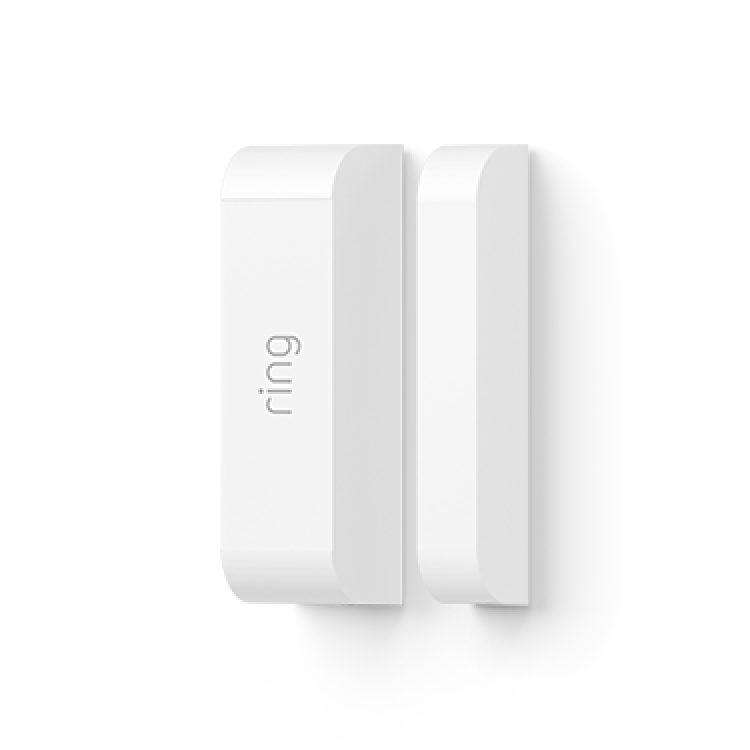
Your Ring Alarm Contact Sensor is designed to monitor your doors and windows. It is made up of two parts - the sensor and the magnet - and when installed on a door or window, it can tell if the door or window is open or closed.
By default, your Ring Alarm Contact Sensors are armed when using both Away and Home Mode.
Contact Sensor features
- Armed modes:When armed, the Contact Sensor will trigger your Ring Alarm if a door or window is opened. You canto control which Contact Sensors will be armed in Home mode.1
- Entry and exit delay:If your Contact Sensor placement is set to Main Door, you canto have enough time to leave after arming, or enter and disarm.
- Bypass sensors:If a Contact Sensor is open or offline at the time of arming, or if you want to leave a window open, you canto leave it unarmed.
- Alexa routines: Use your Contact Sensors to
- Alerts and history:Get alerts when a Contact Sensor is opened, and review Content Sensor activity history in the app.
Contact Sensor specifications
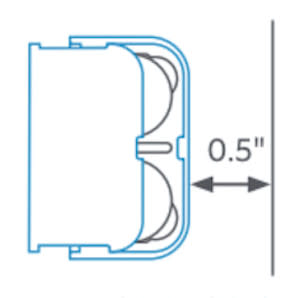
 | Contact Sensor (1st Generation) * Sensor and magnet should be no more than ½” apart when the sensor is closed * Uses 1 CR123a 3V battery |
 | Contact Sensor (2nd Generation) * Contact Sensor and magnet can be up to 2.5 cm apart when the Contact Sensor is closed for easier mounting * Easy-touch button on the front to help with easy troubleshooting * Mounting tape included right on the back of the Contact Sensor * Use a to improve the positioning and function when installing on uneven window and door finishes * Uses 2 CR 2032 coin cell batteries |
Contact Sensor placement settings
- Main Door: For use on doors you enter and exit from most often. When Arming Ring Alarm in Away mode, you’ll have athat allows you to exit from that door. When armed, opening the door with this contact sensor will trigger the Entry Delay so you can disarm before the alarm sounds.
- Secondary Door:For use on doors you don’t use to enter and exit when armed. When armed, Ring Alarm will sound immediately when opened.
- Window:For use on windows only. When armed, Ring Alarm will sound immediately when opened.
This video will show you how placement settings work.
Where should I install Contact Sensors?
There are many entry points where Contact Sensors can be used to secure your home, including:
- Front door
- Back / side door
- French doors and sliding glass doors
- Door leading to an attached garage or storage area
- Windows, especially those that can be easily accessed
Is there anywhere I should avoid using a Contact Sensor?
- Don’t use it outdoors or in environments with extreme temperatures or humidity
- Don’t use near corrosive chemicals
- Not designed for use on garage doors
- Avoid detached garages, warehouses or sheds. Sensors should always be used in the same building as the Base Station
- Metal doors can sometimes create interference
Contact Sensor setup
How to set up and install a Contact Sensor:
- Make sure your Ring Alarm is disarmed.
- In the Ring app, tapMenu, then tapSet Up a Device,then tapSecurity Devices, then tapSensors, and tapContact Sensor.
- Follow the in-app instructions to complete setup.
- Install your Contact Sensor:
- For Contact Sensor (1st Generation): Attach the included mounting bracket onto the back of the sensor.
- For Contact Sensor (2nd Generation): You'll attach the sensor directly using the instructions below.
- Ensure the mounting surface is clean and dry before peeling the backing off the adhesive strip.
- Install the sensor and magnet on a door or window and frame. -- For Contact Sensor (1st Generation): Make sure there is no more than 1.25 cm between the sensor and magnet when the door or window is closed.Note:If you’re using the Contact Sensor on a door you use often, chooseMain Dooras the placement option. Main doors haveto prevent you from accidentally triggering the alarm.
How to replace your Contact Sensor battery?
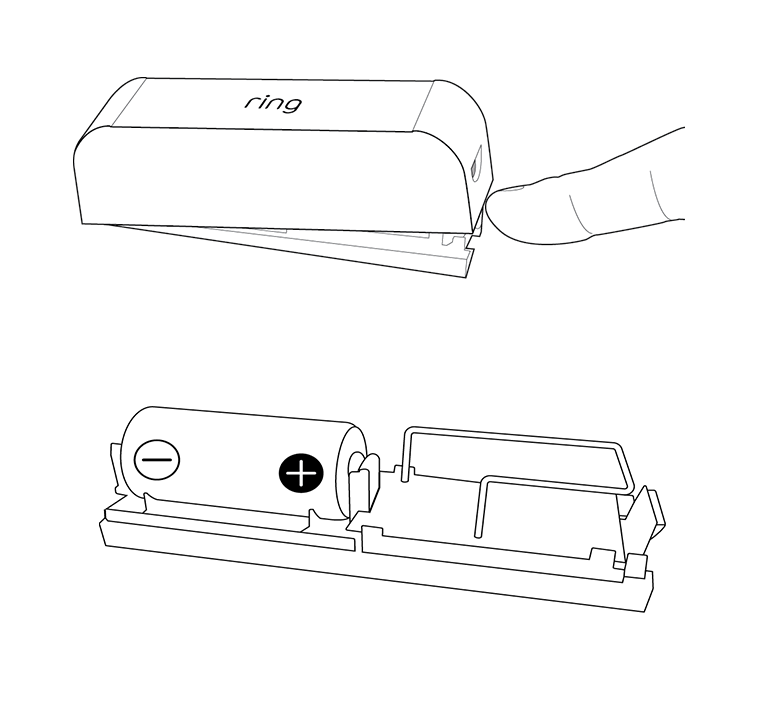 | Contact Sensor (1st Generation) 1. Remove the cover from the device, and remove the battery. 2. Insert the new battery. 3. Replace the cover. |
 | Contact Sensor (2nd Generation) Note: If you get a low battery warning, make sure to replace both batteries. 1. Slide the Contact Sensor off of the back cover which is mounted on the wall. 2. Remove the batteries and insert the new batteries. 3. Replace the Sensor onto the cover. |
Note: Make sure that you always insert replacement batteries correctly, matching the + (positive) and - (negative) polarity on the battery with the markings on the device.