Using a Wedge Kit or Corner Kit with your doorbell
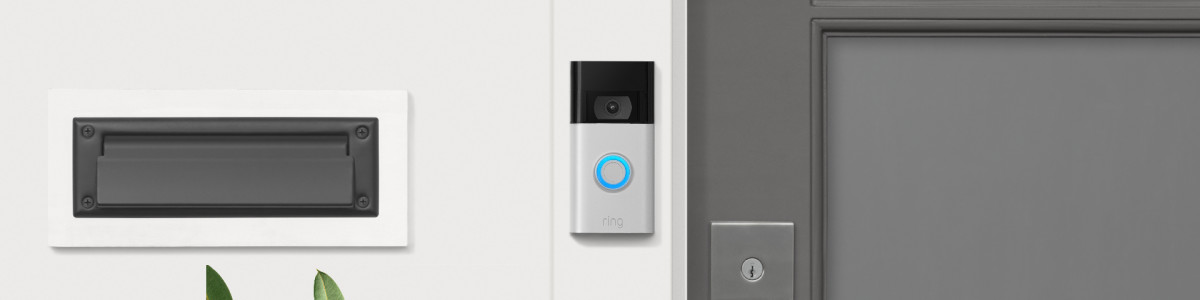
You can improve the motion detection and field of view of your doorbell by adjusting the angle using a Wedge or Corner Kit. Use a Wedge Kit to adjust the vertical angle or a Corner Kit to adjust the horizontal angle of your device. Find out which doorbell model you have so you can order the compatible Wedge or Corner Kit. The Wedge and Corner Kit are paintable to match your home.
Wedge Kit installation manuals
View the manual for the Video Doorbell Wired Wedge Kit.
View the manual for Wired Doorbell Pro Wedge Kit.
View the manual for Wedge Kit for doorbells with a removable battery.
View the manual for Wedge Kit for doorbells with a built-in battery.
Corner Kit installation manuals
View the manual for Video Doorbell Wired Corner Kit.
View the manual for Wired Doorbell Pro Corner Kit.
View the manual for Corner Kit for doorbells with a removable battery.
View the manual for Corner Kit for doorbells with a built-in battery.
Using the Wedge Kit
If your home has angled siding, stairs, or changes in elevation, you can use a Wedge Kit to adjust the vertical angle of the doorbell.
- The Wedge Kits for most doorbell modelsinclude three 5-degree angled mounts that can be stacked to adjust the view of your doorbell up to 15 degrees upward or downward.
- The Wedge Kits for Wired Doorbell Pro and Doorbell Wiredcome with two stackable, 10-degree angle mounts.
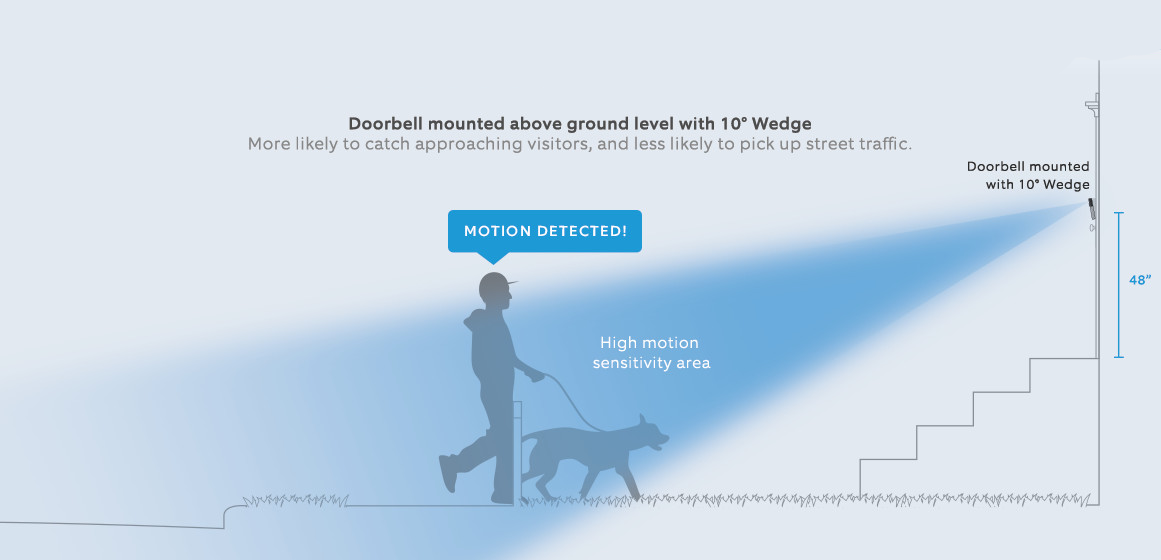
Using the Wedge Kit with stairs
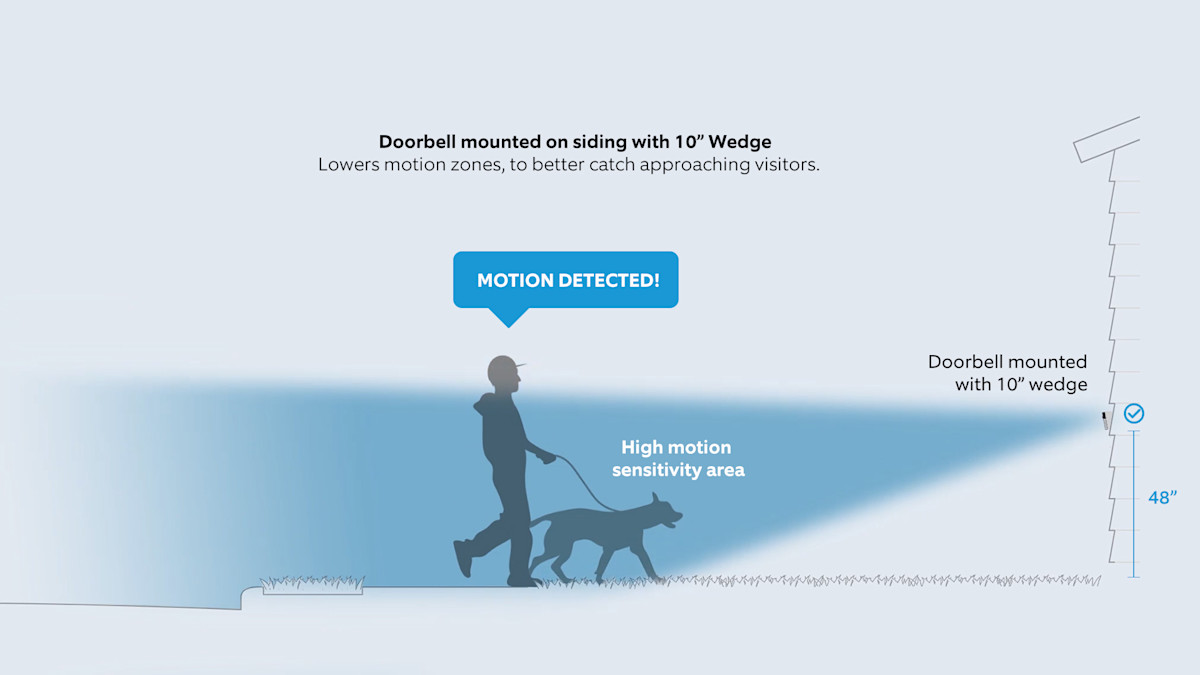
Using the Wedge Kit on siding
Using the Corner Kit
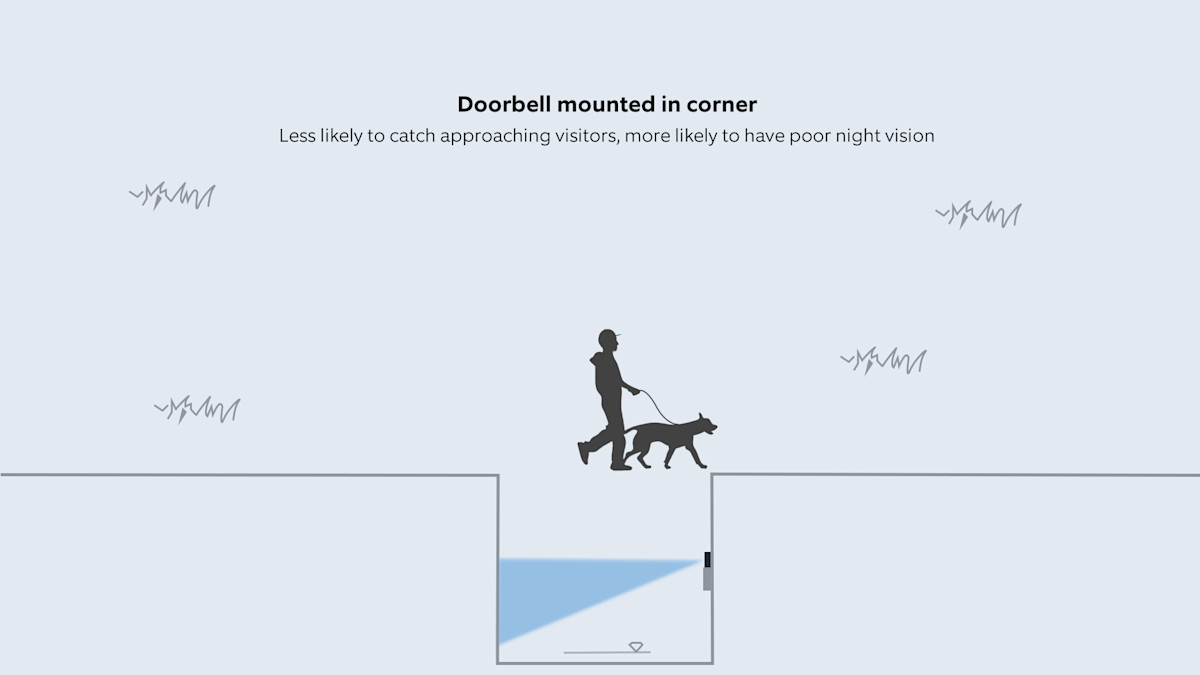
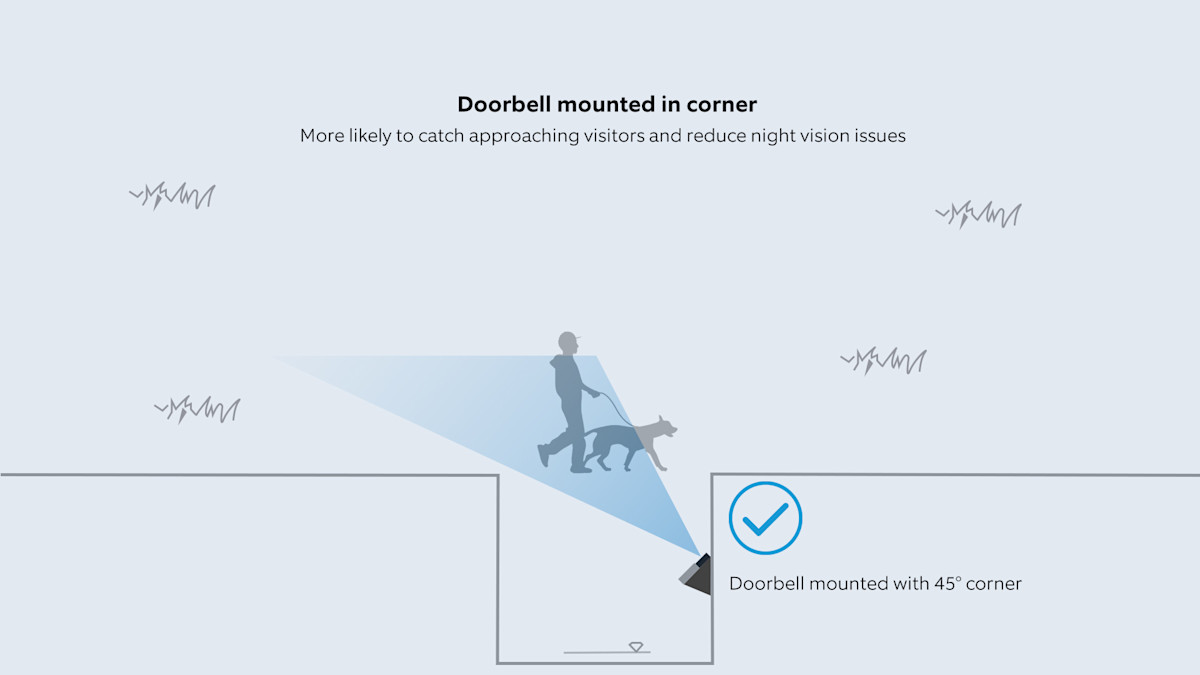
If you are installing your doorbell on a corner or adjacent wall, you can use a Corner Kit to properly position the device and improve the view, detect motion from visitors, and improve night vision. Infrared lights used for night vision can reflect off a nearby wall, causing exposure issues. Use a Corner Kit to angle the device away from the nearby wall for the best video quality.
- Corner Kits for most doorbell modelscome with three angled, 15-degree mounts that can be stacked to adjust your doorbell’s view left or right up to 45 degrees.
- Corner Kits for Wired Doorbell Pro and Video Doorbell Wiredcome with one 25-degree angled mount that cannot be stacked.
Doorbell mounted in a corner with limited visibility
Using a Corner Kit with a doorbell mounted in a corner
Combining Wedge and Corner Kits
- You can combine Wedge and Corner Kits to adjust the position of all Ring doorbells.
- We recommend using one of each and stacking the Wedge Kit on top of the Corner Kit for optimal performance.
Using Solar Chargers with Wedge and Corner Kits
- Wedge or Corner Kits can be used with Solar Chargers.
- We recommended using only one Wedge or Corner Kit mount with a Solar Charger to avoid shadows and maintain optimal sunlight.
Installing your Wedge or Corner Kit
The Wedge or Corner Kit must be installed before installing your doorbell. Use the installation guide for your doorbell to learn how to properly install your device.
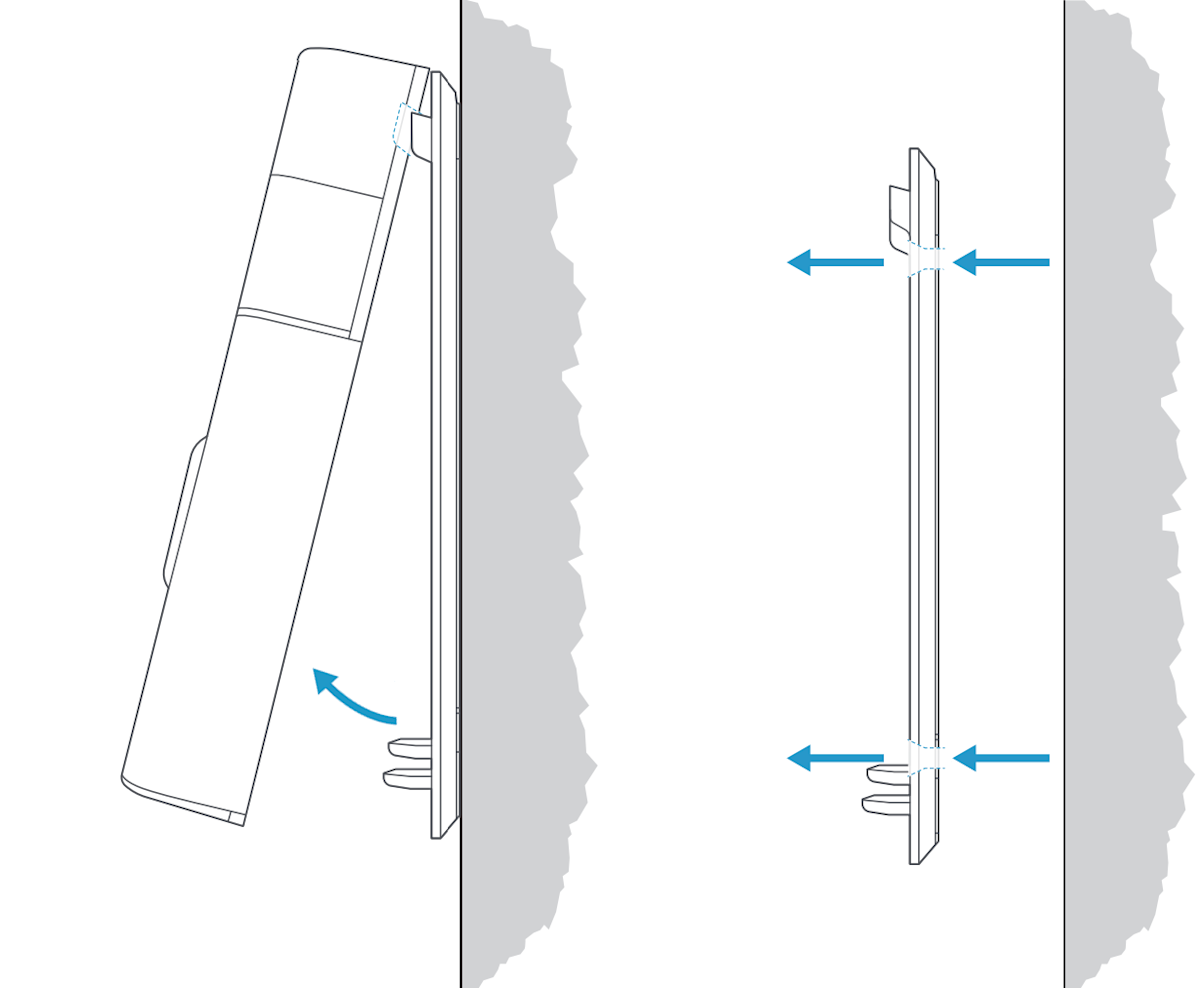
Step 1: Remove any doorbells, mounts, and brackets from the wall.
Doorbell with a built-in battery | Doorbell with a removable battery |
|---|---|
 |  |
Step 2: Positioning the Wedge or Corner Kit
Use our guide for positioning your Ring device to find the best location for your doorbell.
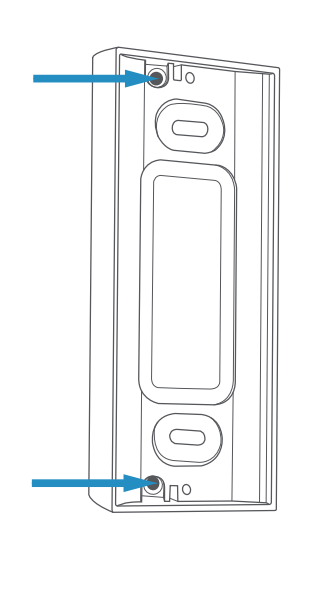
Step 3: Marking the screw holes
Use the openings on the mount to create marks for new holes.
- Use the two slot-shaped holes on your Wedge or Corner mount to mark where the new screw holes will be located.
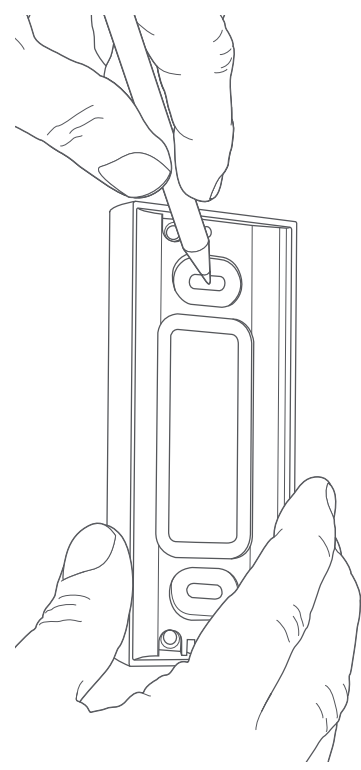
- If you are replacing an existing Doorbell Wired or Wired Doorbell Pro, use the circular screw holes that are offset on the Wedge or Corner kit to align with the existing screw holes.
Step 4: Preparing the mounting surface
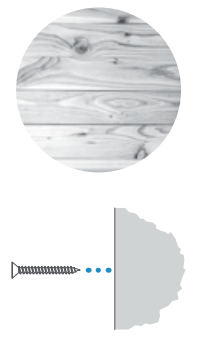
Installing on a wood surface
Drills and wall anchors are not needed.
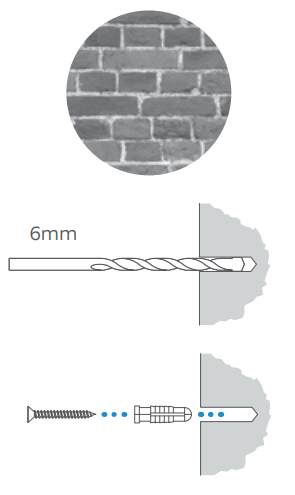
Installing on a masonry surface
- Using the marked screw hole locations, drill pilot holes using a 1/4” or 6mm drill bit.
- Insert the included wall anchors.
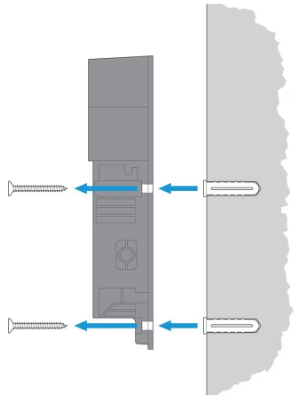
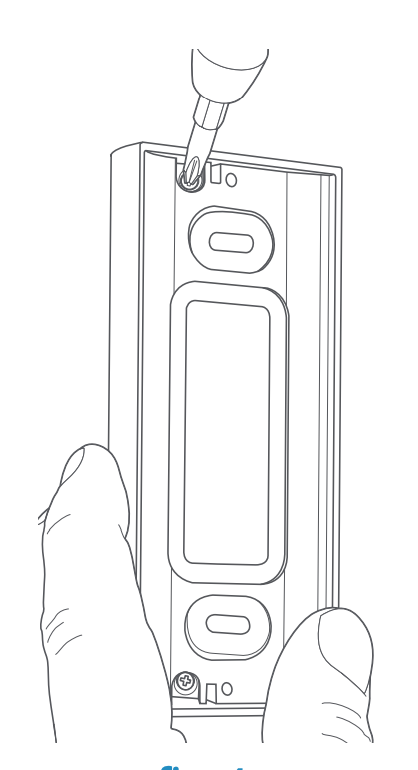
Step 5: Securing the Wedge or Corner mount onto the wall
Warning: Use only the included mounting screws when securing the Wedge or Corner Kit to the wall. Using the wrong screws could damage the device.
- Feed any doorbell wires, Plug-In Adapters, or Solar Charger cables through the large middle hole of the Wedge or Corner Kit.
- Insert the included screws into the holes on the mount.
- For Wired Doorbell Pro, use the screws from bag A.
- For all other doorbells, use the medium or long screws from bag C.
- Use a screwdriver to twist the screws and secure your Wedge or Corner Kit mount to the wall.
- For all doorbells, except Wired Doorbell Pro and Video Doorbell Wired, insert the screws into the oblong holes.
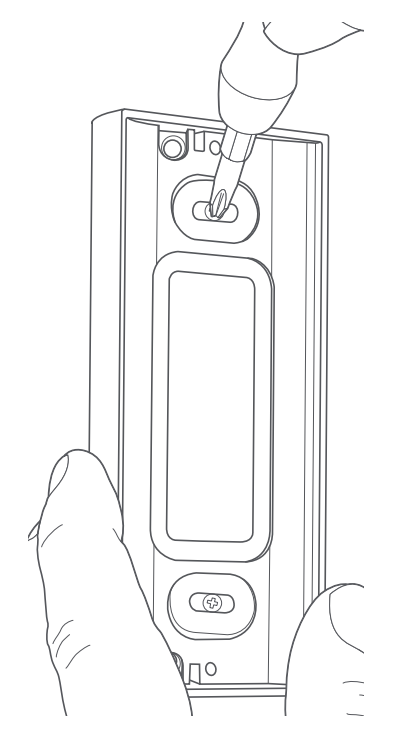
- If you are reinstalling an existing Doorbell Wired or Wired Doorbell Pro,insert the screws into the circular holes.
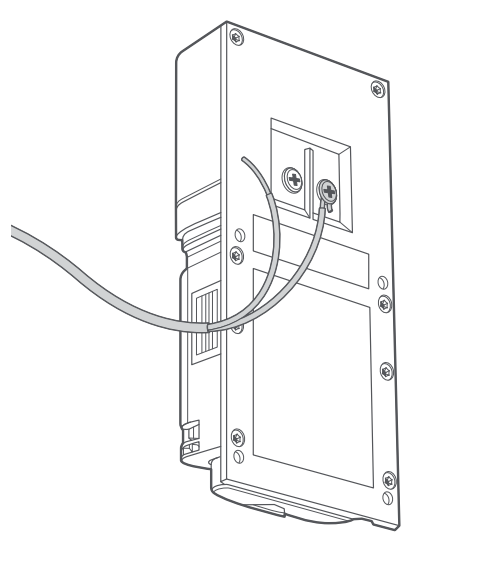
Step 6: Connecting an optional power source to your doorbell
Connect any doorbell wires, Plug-In Adapters, or Solar Chargers to the terminal screws on the back of the doorbell.
Step 7: Securing your Ring doorbell to the Wedge or Corner Kit
Use the short screws from bag C to secure your doorbell to the Wedge or Corner Kit. If your screw bags are not labeled, only use included mounting screws that are 31 mm or shorter to secure your Ring doorbell to the Wedge or Corner mount.
Mounting a battery doorbell | Mounting a wired doorbell |
|---|---|
 |  |