Installing your Ring Indoor Cam (2nd Gen)
Use this step-by-step process to install your Ring Indoor Cam (2nd Gen).
Quick Start
1. Download and open the Ring app.
2. Select Set Up a Device.
3. Scan QR code on your device with the Ring app.
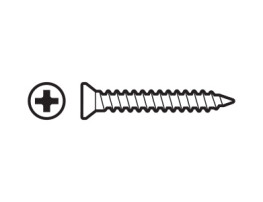
Hardware included
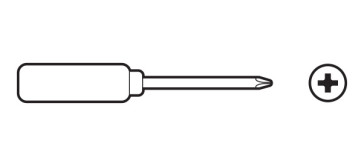
Tools needed
For wall or ceiling installation:
Choose a location.

Warning: Ring Indoor Cam (2nd Gen) and its accessories are for indoor use only. Don’t expose your device to steam, extreme heat or cold. For example, do not install your device near any heat sources such as space heaters, heater vents, radiators, stoves, or other things that produce heat. Use your device in a location where temperatures remain within the device’s operating temperature range. Your device may get warm during normal use. To reduce the effect of the warming, place your device on a heat resistant surface.
Plug in the power cable.
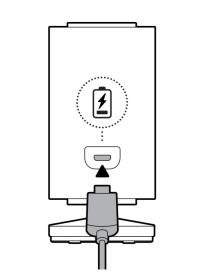
Warning: Use only accessories supplied with your device, or specifically marketed for use with your device. Use of third-party accessories may impact your device’s performance. In limited circumstances, use of third-party accessories may cause damage to your device or the third-party accessory. Read all safety instructions for any accessories before using with your device.
When this device is plugged into an electrical socket-outlet, unplugging this device will disconnect it from the AC mains supply. Only plug this device into an easily accessible socket-outlet. Devices with a power cord must be located near the socket-outlet.
Your device does not have an on/off button. If you wish to stop power from flowing into your device, unplug the power cord. Do not plug multiple electric devices into the same wall socket. Overloading a socket can cause it to overheat and may result in a fire.
If the adapter or cable appears damaged, discontinue use immediately.
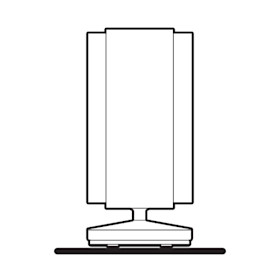
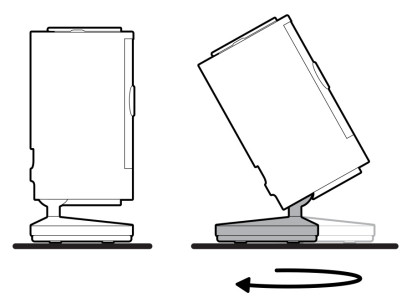
Flat installation:
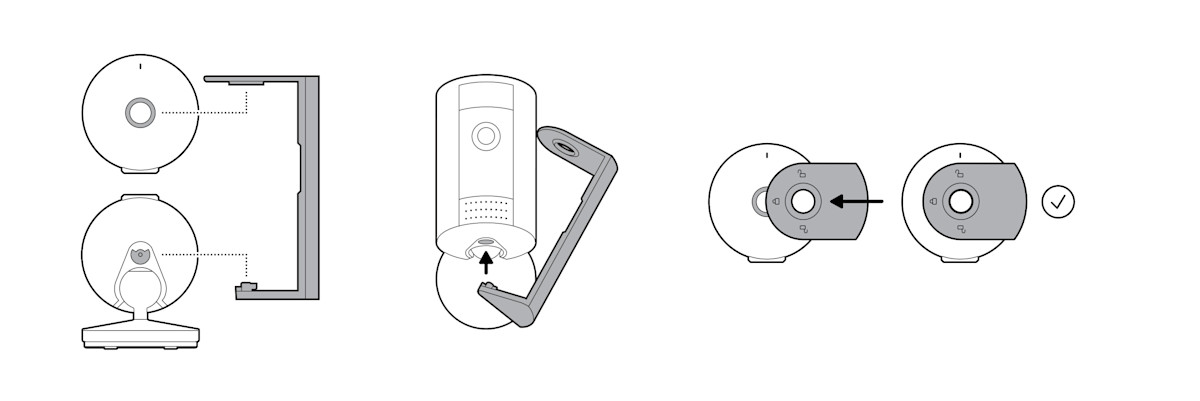
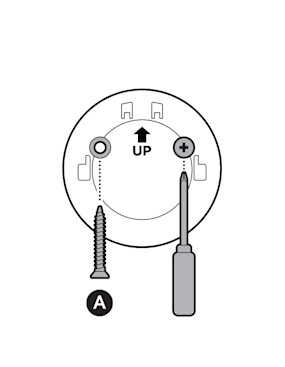
Wall or ceiling installation:
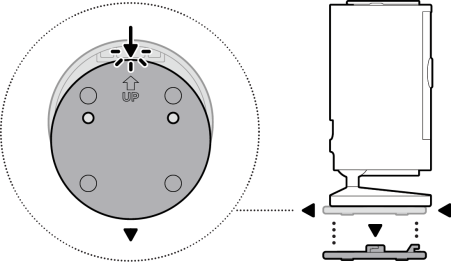
Slide down to unhook and remove the mounting plate.
Install the mounting plate.
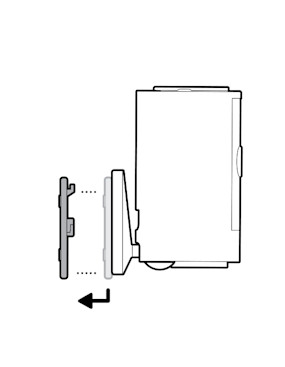
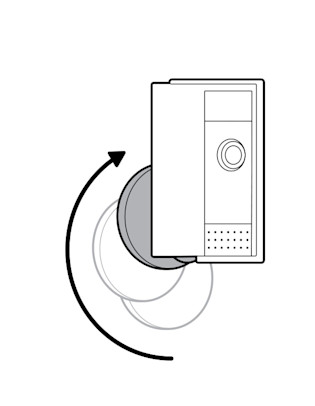
Slide Indoor Cam (2nd Gen) onto mounting plate.

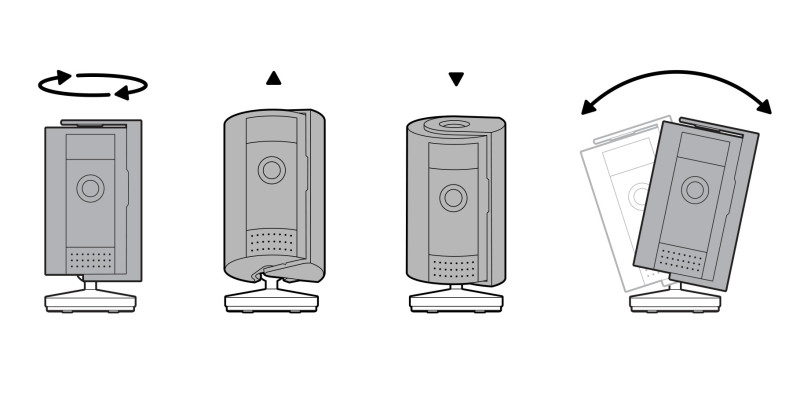
Adjust the camera angle.
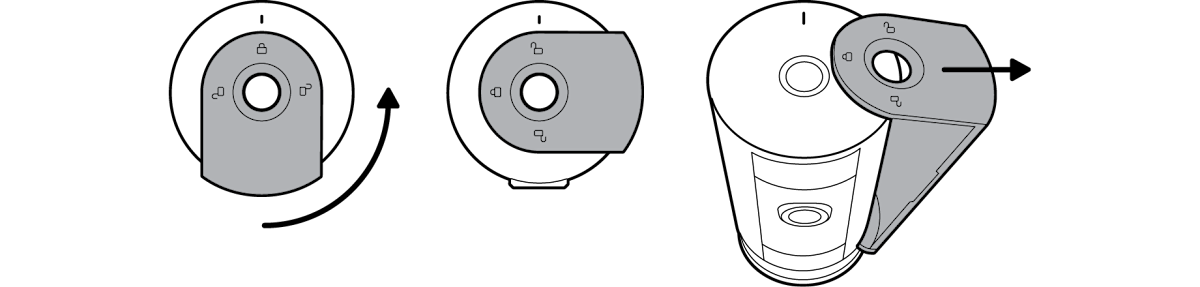
Using the privacy cover.
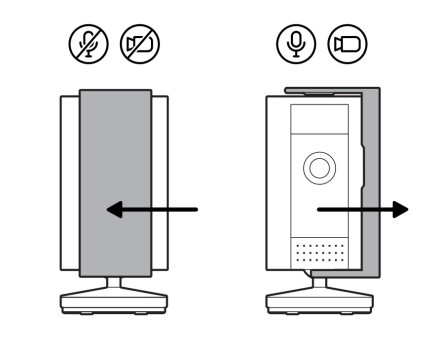
Removing the privacy cover.
Attaching the privacy cover.