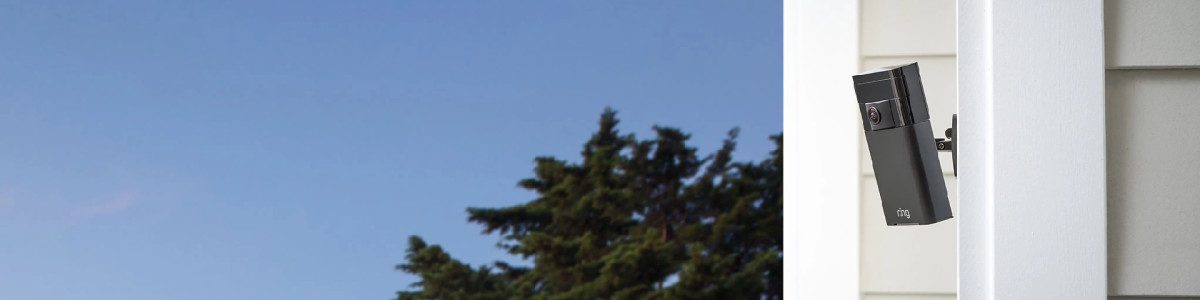
Installing Stick Up Cam (1st Gen)
Here's how to set up and install your Stick Up Cam (1st Gen).
Pre-Setup: Charge your Ring device's battery.
Make sure to fully charge the internal battery with the included charging cable. Simply connect cable to the back of the device, and plug the other end into an outlet. It may take up to 10 hours to fully charge.
Pre-Setup: Download the Ring app.
To use your Ring device, you'll first need to download the Ring app to your mobile device. Go to the App Store (for iOS devices) or the Play Store (for Android devices), and search for "Ring" and install.
Pre-Setup: Create or log in to your Ring account.
If this is your first Ring product, you will be asked to set up an account.
- Open the Ring app.
- SelectLog InorCreate Account.
- Follow the instructions to sign in.
Set up your device in the Ring app.
- Tap themenu (☰).
- Select(+) Set Up a Device.
- Choose your Ring device category.
Scan the QR code on your Ring device.
Open the camera on your mobile device, and scan the QR code on rear or underside of your Ring device.
Specify your location
- If this is your first time setting up a Ring device, you will receive a request from your phone informing you that the Ring app wishes to use your phone’s location services to pinpoint your location. Allowing the app to do so will assist with inputting your address.
- Enter your address information into the app, then confirm it.
- If you have established a location previously, you can select it from the list of your locations.
Tap to learn more about Ring devices and your address.
Name your device
Select a specific name for your Stick Up Cam to distinguish it from other Ring devices on your account. You can choose one of the default names that are suggested, or you can enter your own by selecting “Custom…” at the bottom of the list.
Put your Stick Up Cam into Setup Mode
Press and release the orange button on the back of your Stick Up Cam. When there is a blinking white light on the back of your Stick Up Cam, tap “Continue” in your Ring app.
Connect to your Ring Device
iOS: Tap Join when the Ring app asks to join the Ring wifi network.
Android: Your device should automatically connect to the Ring wifi network.
If your device does not automatically connect to the Ring wifi network, or if you chose to continue without scanning in step four, please follow the steps below:
- Press the home button on your phone to leave the Ring app.
- Navigate to theSettingsapp, then tapwifi.
- On Android, you may need to navigate toConnectionthenwifi.
- Select the Ring wifi network from the list of available networks. The network will appear as either:
- Ring-followed by the last six digits of the MAC ID.
- Ring Setupfollowed by the last two digits of the MAC ID.
- Once connected, close yourSettingsapp and return to the Ring app.
Connect your Stick Up Cam to your wifi
Be sure you’re near your router and have your wifi password ready.
- Select your wifi network
- If you have more than one wifii network, select the network closest to where you will be installing your Stick Up Cam.
- Enter your wifi password and pressContinue. After connecting to your wifi network, your Stick Up Cam may update its internal software.
Test your Device
Once your Stick Up Cam has completed its update and setup, configure your Stick Up Cam’s motion zones, then open Live View to test your camera.